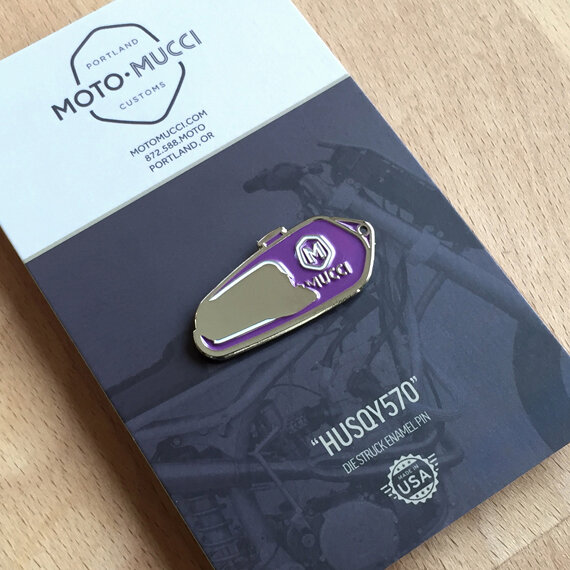
KTM 300 BUILD: Wrapping Up The Tail Light
/Some shots of how the tail light came out.
KTM 300 BUILD: Piecing Together The Subframe
/Some shots of subframe progress on the KTM.
KTM 300 BUILD: Assembling the Subrame Tail
/While waiting for the pieces to come back from the waterjet I started boxing in the subframe tail. I decided to add a little scoop to the top side so I made a piece out of aluminum.
KTM 300 BUILD: Designing The Tail
/With the main subframe supports in place I could take dimensions and get it into CAD. I decided to start sketching around how the tail light area could look. I knew I wanted to do something interesting with the lens shape.
I decided on integrating the lens into a rear spoiler that also housed the muffler. I built it all in CAD and rendered it up.
Made a few tweaks then sent it to the waterjet along with a couple of frame gussets. The lens was machined out of clear polycarbonate and was designed to house a 25 LED light strip.
Custom CB360 2 into 1 Stainless Exhaust
/I've built a couple custom T304 stainless exhaust systems lately for CB360s. Here's one with a straight pipe style rear. The pipe diameter actually steps up .25" to house a secret 9" glasspack baffle. It'll sound and run better without sacrificing the straight pipe look the customer wanted. The bike pictured is just a loaner for mock up purposes. This one's heading to Florida.
KTM 300 BUILD: Welding Up The Subframe
/More subframe work coming along. I tacked everything together while mounted to the bike. After it was rigid enough to remove I made a jig out of angle iron to mount it to. This way when I weld everything up it doesn't warp. Anytime I need to add a bunch of heat to the subframe I can bolt it to this jig first to keep everything in place. It works great.
KTM 300 BUILD: The Kick Off
/Here's the new long term build project: a 2014 KTM 300 XC-W Six Days model. The owner has a lot of other purpose built dirt bikes so he's looking to turn this one into a street tracker. Purists may want to skip over this one as I'll be stripping everything Six Days related off this bike and custom making most of their replacements.
The strip down process begins. Everything goes into labeled boxes and baggies for future reference. As a street bike we won't need the 14" of travel so the WP suspension came off to get rebuilt. 2 inches was taken out of the travel and stiffer springs and valving were fitted. The fork tubes were anodized and rear shock was painted satin black.
Above is the new street ride height. With that set now I can start plotting out the subframe. To keep the weight down the subframe will be made out of 6061 aluminum just like the stock unit. The uprights have complex curvature to them so it took a few tries to get everything to hit the right points.
Pt. 5 Making A Custom Sport Classic Seat
/Part 5: I got the seat back from Newchurch Moto the other day and it came out great! Her stitch work is phenomenal. We went with a marine grade "perforated" vinyl. The vinyl allows you to do a looks-like perforation that doesn't actually put holes through the material. This means it's still water proof. The sides are leather.
You can see the new placement of the LED tail/turn light strip inbetween the seat and frame. I don't remember if I mentioned it but I built brackets to mount Scrambler fenders front and rear. I also machined the triple to accept standard bar clamps and fitted some Moose Racing aluminum CR-HI bars. Just a little scrambler-style flare within the owner's budget.
Pt. 4 Making A Custom Sport Classic Seat
/I had a brass logo die made so I could punch out leather tags to be sewn onto the upholstery. I have friends that own a motorcycle luggage company so I hopped up to Seattle to use their 30 ton clicker press.
Everything got shipped up to Ginger at Newchurch Moto for the final upholstery work.