SHORT FILM: El Solitario - Impostor

"Impostor incarnates the spirit of Savage Cinema, the wildest & most radical section inside the 62nd San Sebastian International Film Festival. To honor the European debut of Dana Brown's On Any Sunday: The Next Chapter, Savage Cinema has joined forces with, motorcycle’s avant-garde specialty store, El Solitario to produce this haunting piece. Impostor is dark, powerful, excessive, raw, burnt, merciless... Alive!"


PROJECT DREAMONE50: How To Replicate an Exhaust 101

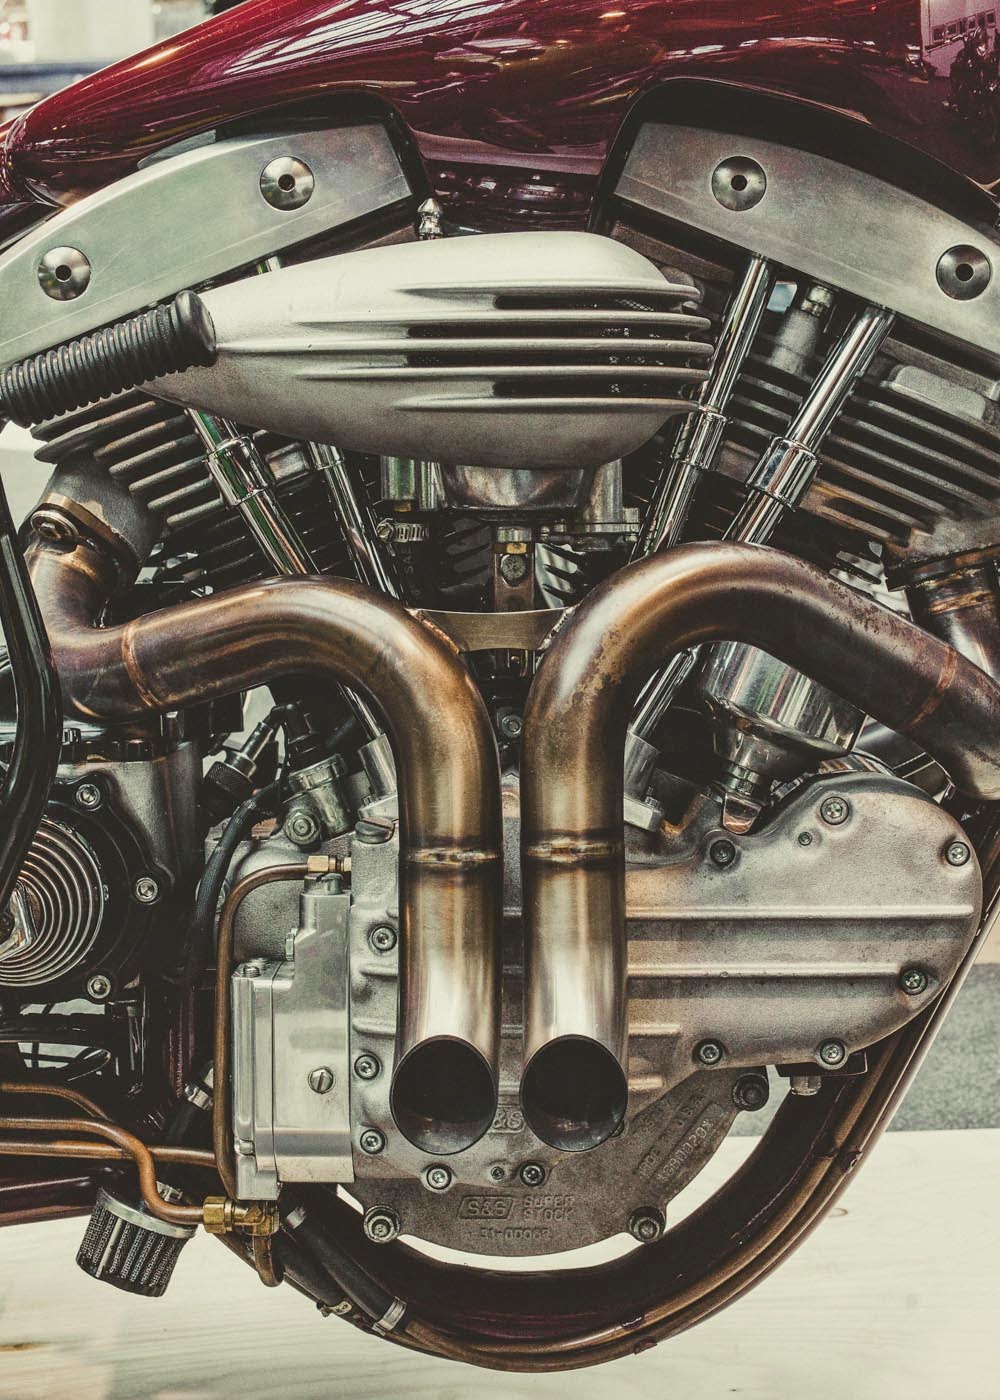
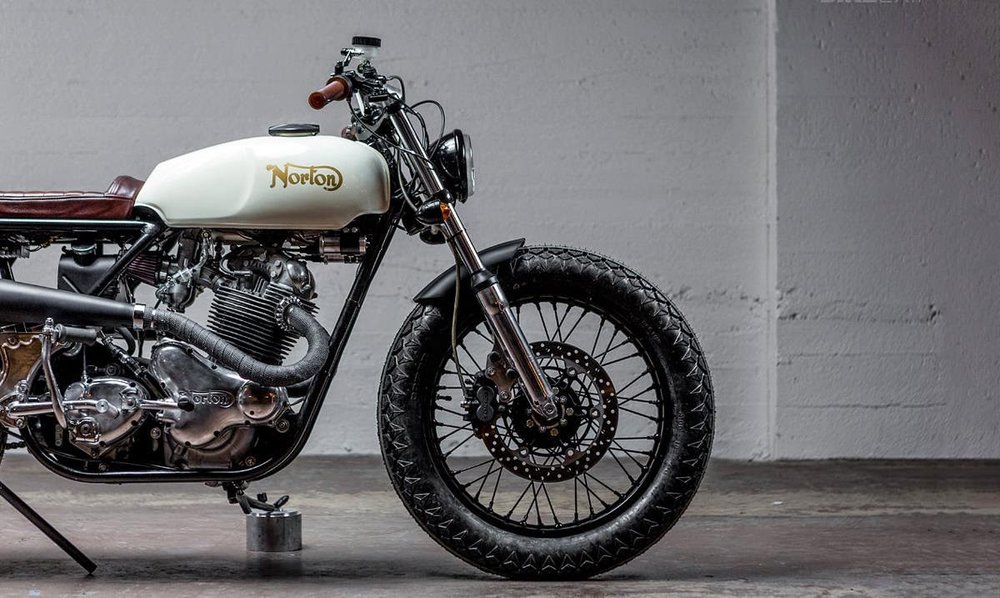
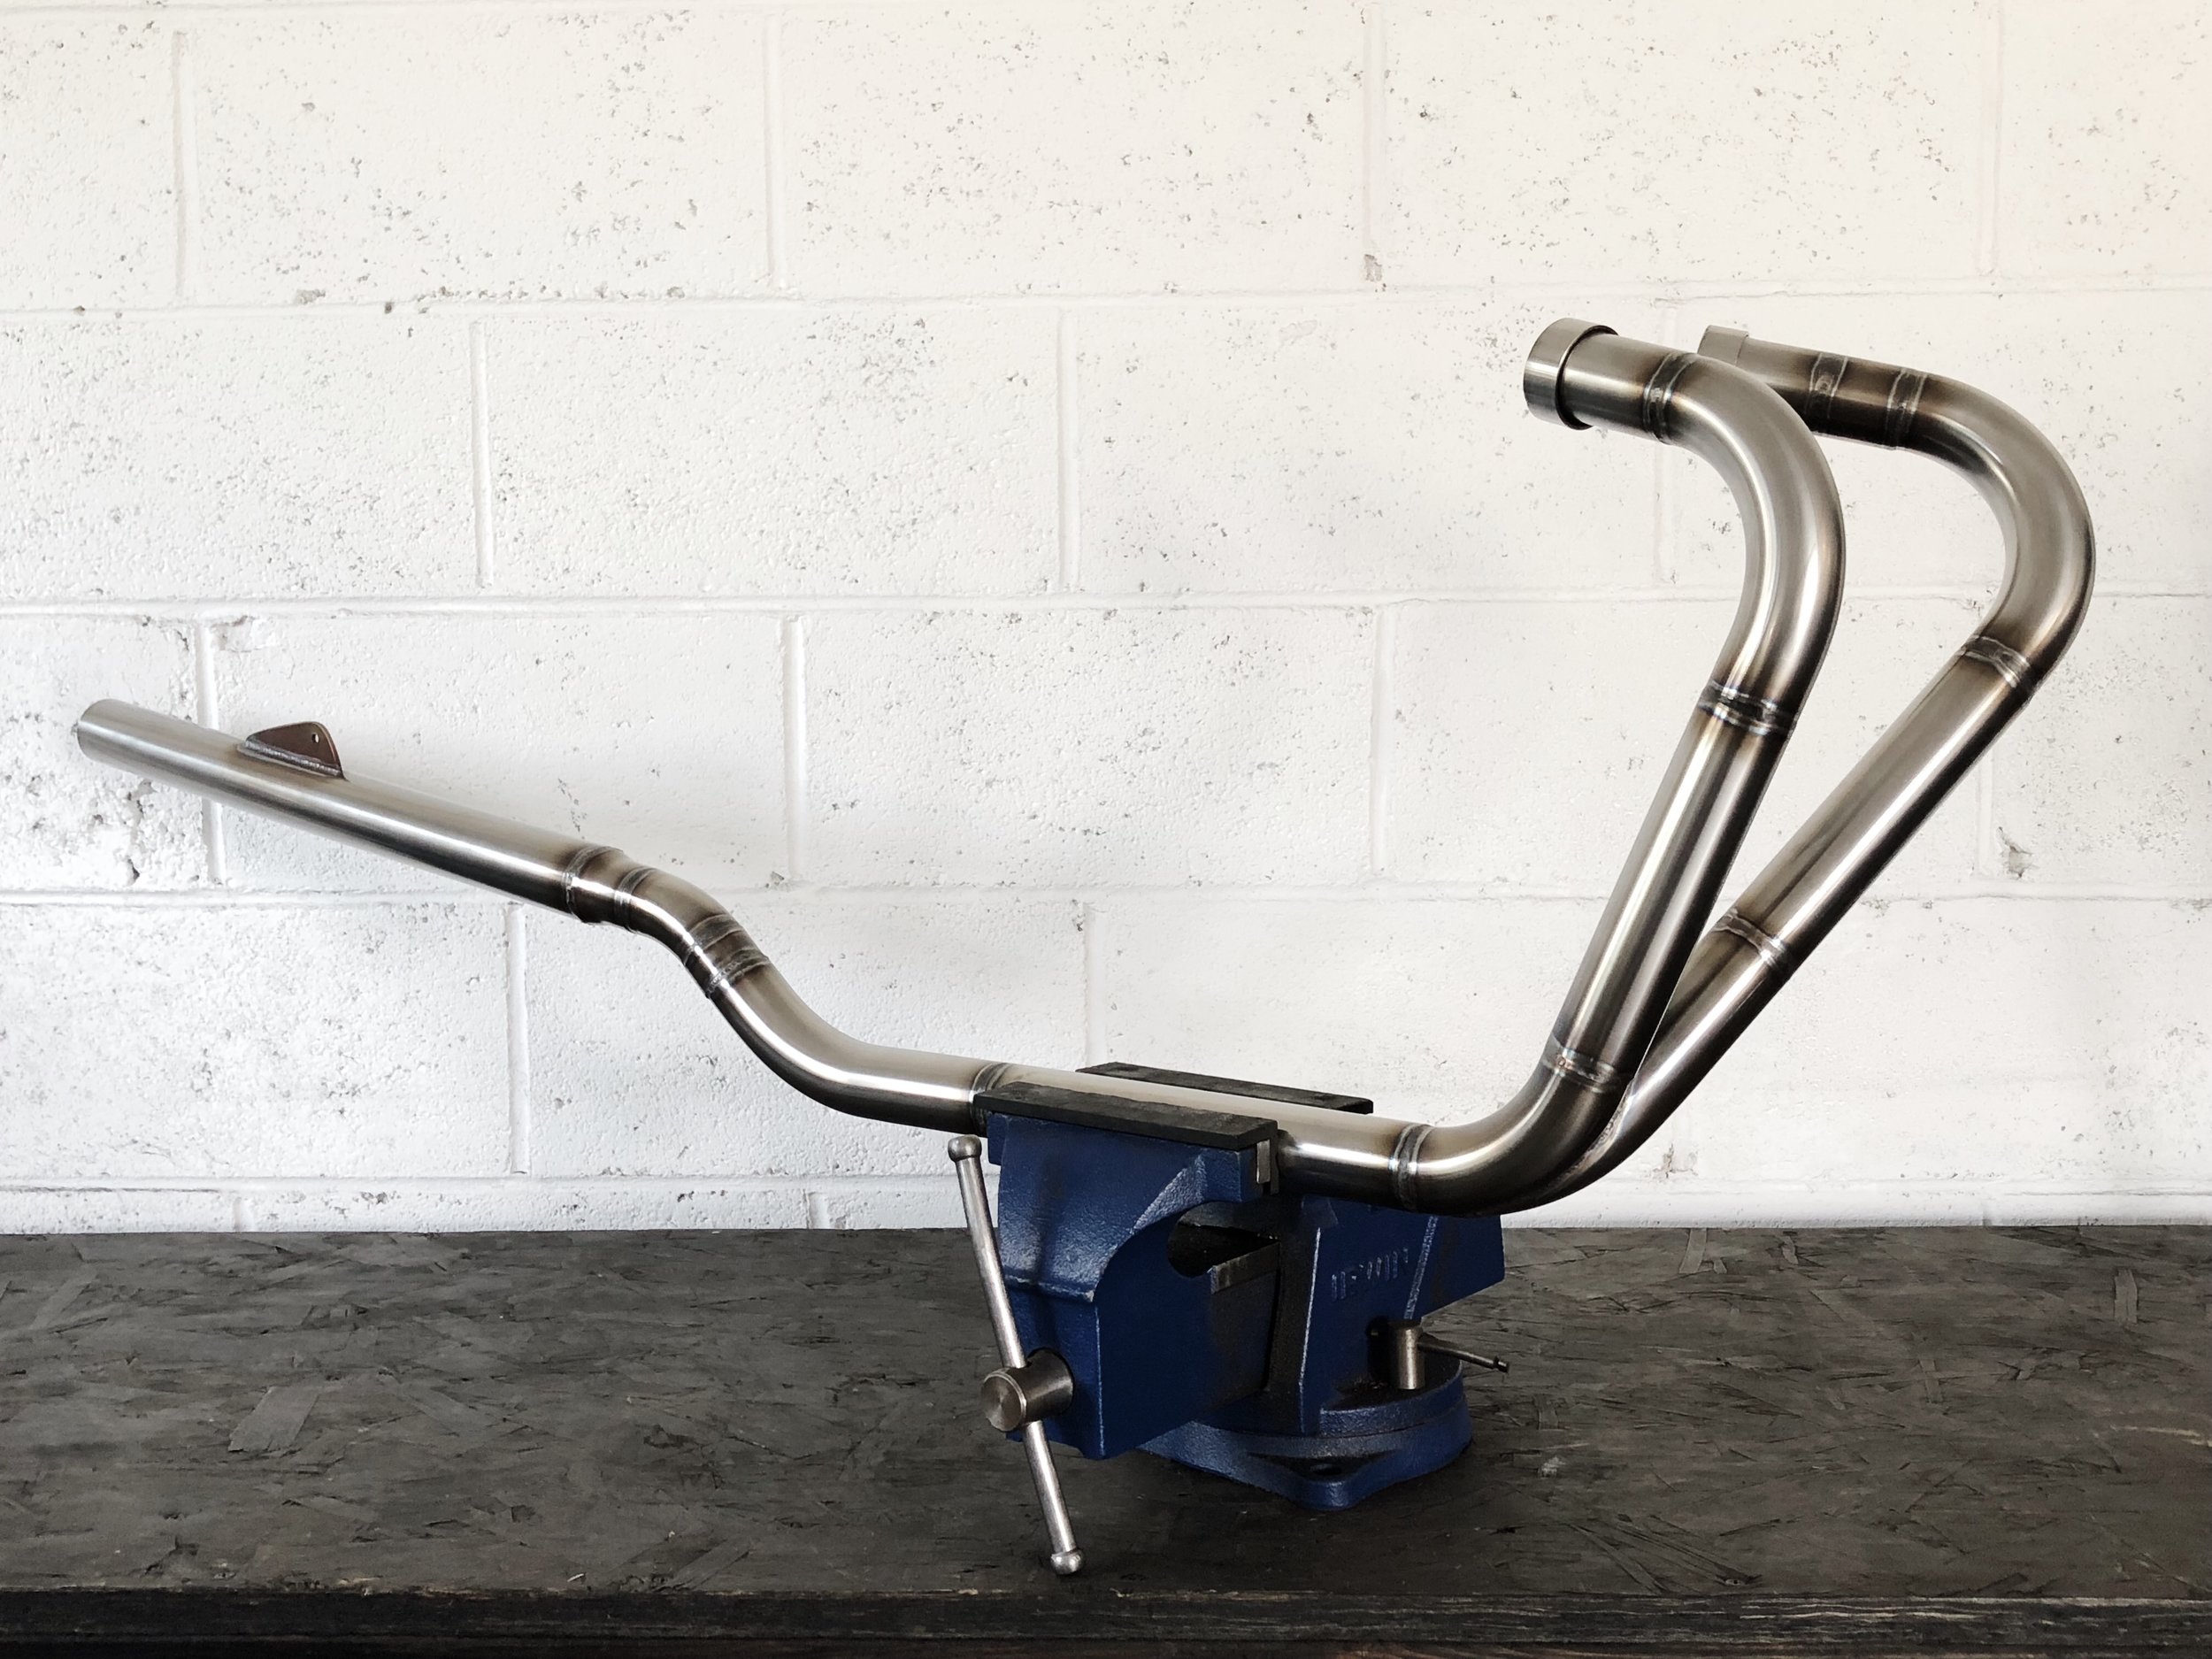
Turns out finding a clean set of headers for one of the first motorcycles Honda brought to the US is nearly impossible. Lucky for me the Honda CA95 exhaust may be the easiest system to replicate. The radii of the bends differ slightly from the left to right cylinder but otherwise they're just one bend then straight back. The only aftermarket systems out there are from Taiwan and are not mandrel bent. This means the pipes have a crushed inner radius and are oval through the bend zone. I bought a set of these to check them out. They were indeed total shit. Here's a quick tutorial on how I made a fresh set.
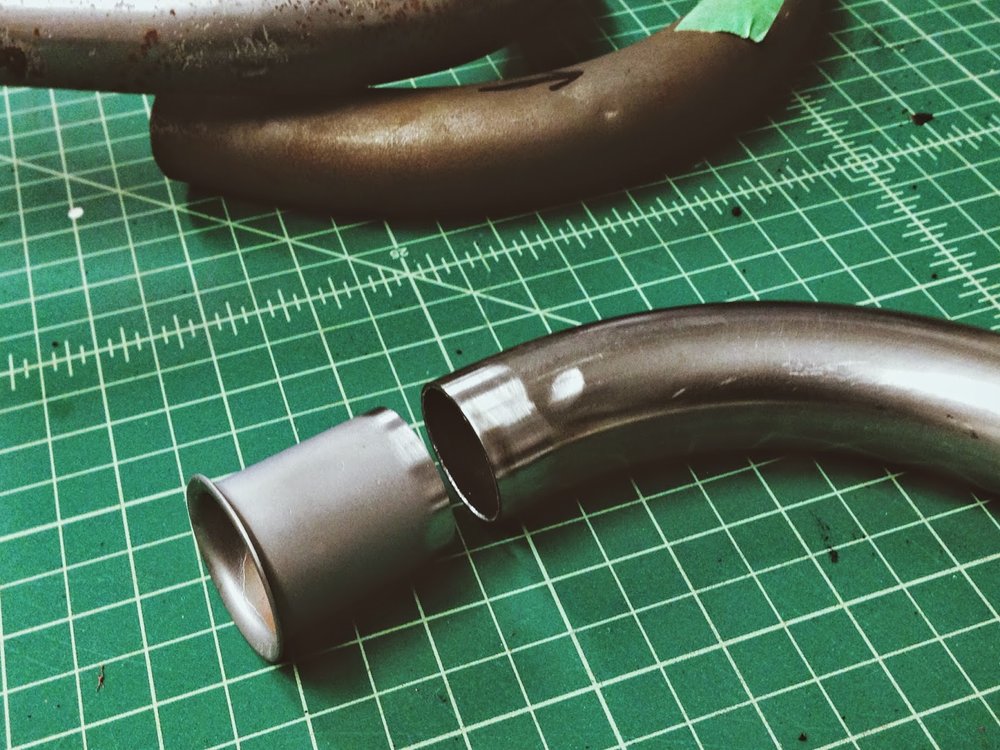
The first hurdle I had was sourcing the correct mandrel U-bend sections. Pipe bends are measured by their center line radius, or CLR. The pipes on this bike are only 1.25"OD so they're difficult to find especially in specific radii. My stock bend measurements were around 4.00" CLR for the left cylinder and 3.75" CLR for the right. I found U-Bends in the 3.75" measurement at www.mandrel-bends.com but could not find 4" anywhere. So I bought 2 of the 3.75" to see if I could make it work. Which I did. I won't leave you hanging.

1. Chopped out the bend section of the stock pipes, leaving at least a couple inches of straight on either end.
2. Set up the above jig to map out the angle coming from before and after the radius. 


3. Fit the new bend into the jig aligning it against one of it's straight sections. In this case the upper straight. Mark where the lower portion of the bend touches the jig/wood and mark your cut at 90 degrees to the jig.

4. Chop it. Above is showing what the new setup will look like pre-weld.
5. Put the stock pipe with header flange back into the jig and mark where the flange ends (I marked it on the upper piece of wood.)


6. Chop the header fittings from the old pipes (or buy / make new ones if you can. I didn't have anything that could recreate this style flange.)
7. Chop the new pipe down (engine side) per your measurements then tack the old flange onto the new pipe. It's always best to tack weld things together until you're sure everything fits before fully welding. This lets you snap the pieces apart easily should something not line up.


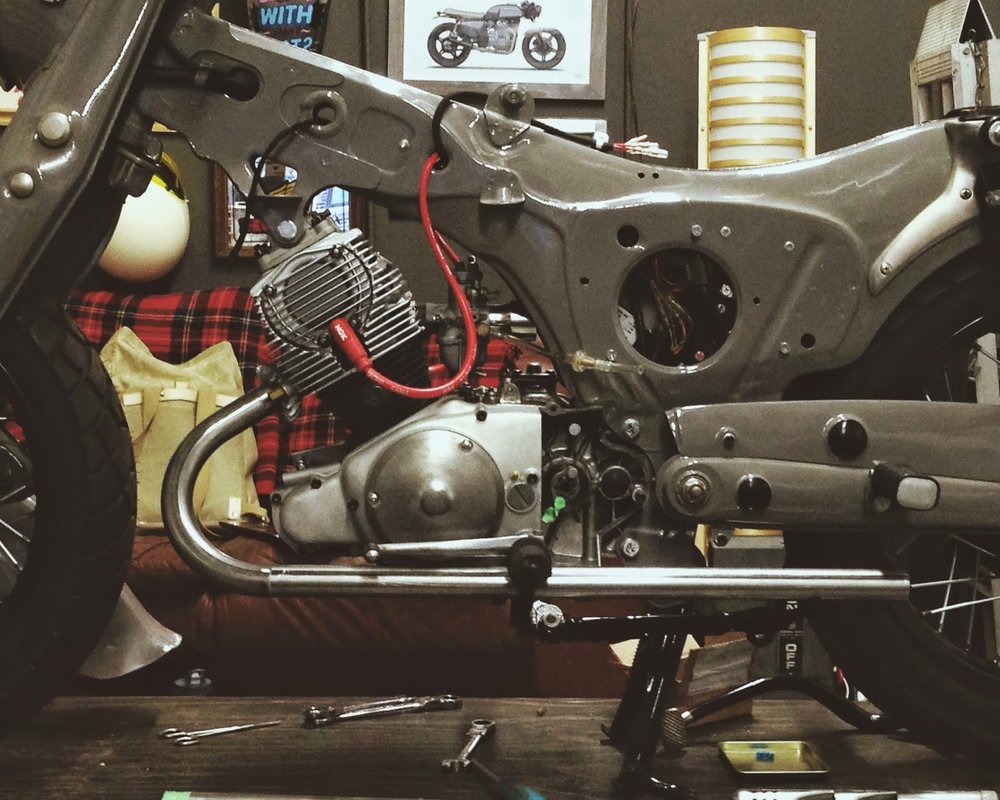
8. I installed the header with tacked on flange to the engine then hovered the straight section in there to make sure the exit angle was correct. I then tacked the straight sections on exactly where I wanted them. Don't forget to match pipe exit height from the rear of the bike. 


Here they are all tacked together. I probably used 4 tacks per intersection. You want enough tacks for them to hold their own weight. 
9. Time to weld! Make sure you have 3-4 tacks evenly spaced around the pipe before welding. This will prevent the pipes from warping away from eachother due to the heat of welding. Throw them back on afterwards to check your work. If they moved you probably either didn't have enough tacks and/or used too much heat.


10. Time to smooth the welds. You can use a pretty coarse file to knock the welds down flat to begin with then just step to a medium and fine grit. Your goal is to get all the scratches from the previous grit out. Take it slow, it's time consuming. You don't want to dip into the new pipe otherwise you'll create a valley in that area that will be visible after polishing. Always hit it at a 45 degree angle to avoid deeply scoring the pipe with the edge of the file. After hitting it with a fine grit file I bring the pipe to the bench grinder where I go over it with a medium and fine grit metal finishing wheel. They're basically Scotch-Brite pads in wheel form. 3M and Norton make good ones. 


That's all for now. I still have some hours of filing and polishing to do to these welds. After that I'll start making some rear brackets and mounting for the bafles. 

DAILY INSPIRATION: Lindsay Bodanza's 1978 Honda CX500

1978 Honda CX500
Built by Lindsay Bodanza and Bryan Dawley
Partial photos by Lana Macnaughton.

The Honda CX500 has a lot to offer for the money, you just need to coax it out of it's terribly awkward shell. If you were to ask most riders to put a price tag on a "bullet proof, water cooled, shaft driven transverse V-Twin" you'd likely get figures in the Moto-Guzzi range. For those who can spot the swan in goose-down these bikes can be a great foundation to build from and had for roughly their weight in scrap. I picked up my donor for just $700, in running condition, with 3 rubber made bins filled with spare parts. Up until about a week ago I thought that was a great deal. Lindsay and Bryan slapped that thought in the mouth after picking up their CX500 specimen for just $275! I'm not even sure that would get you a plastic, Chinese, 'No. You-build-it', bicycle from Wal-Mart. They may have a future as contractual Craigslist-whisperers. Craigslist-whisperers that have the ability to turn their super-thrift bounty into super-rad machinery. Here's the scoop from Lindsay on how this stunning CX came to be.


"My boyfriend Bryan Dawley is a Product Designer and started building the CX in his garage with the intention of selling it. Since it was a side project he did for fun it took the better part of a year to complete. I spent many a weekend with him down in the garage helping him with the fabrication work, welding or grinding bits and pieces off of the metal frame. I didn't see his end vision for the bike and initially thought it was ugly. During those months I became interested in riding a motorcycle myself and eventually bought a 1966 Honda S90 as a starter bike. Within a week, I wanted more CC's. It was around that time that we finally had the CX wired with a fiberglass seat pan installed and fired her up for the first time. The engine sounded amazing and I took it for a spin down the 101 in Encinitas and fell in love. Dawley knew from the moment I pulled back into the garage with a smile from ear to ear that he wasn't going to be selling the bike. From that point on I became more involved and interested in all of the finishing details. When Christmas rolled around that year, the bike was finished and Dawley surprised me with the title and key wrapped up in a Christmas box. It's hands down the best gift I ever got from a man."


"The bike is now up in LA and without fail, every time I ride it someone stops and asks what make and model it is, or comments on how mean and badass it looks. A lot of people think it's a Moto Guzzi at first glance.  Regardless of the attention it gets, the bike will always have a special place in my heart." 
Specs: 
- New front end, brakes and electrical
- Chopped and capped subframe
- Firestone Champion Deluxe tires (Lindsay's planning to swap these out for some dual-sport tires soon)
- Dual gauges - speedo and tach
- New CDI box to make it run.
- Built battery box and relocated under engine
- Relocated all electronics into pan under seat frame
- Gazi Shocks, 14 in eye to eye
- Deluxe tank found on eBay. Painted it Land Rover Coniston Green
- Rebuilt carbs
- Ground all tabs off frame
- Laid up fiberglass seat pan and had a custom seat upholstered
- Fabricated headlight mount to run 6in. vintage light 


Lindsay's part of the all girl rider group - Venice Vixens.
Follow them on Instagram: @VeniceVixens

PROJECT CX500: Progressive 412 Rear Shocks

Rear Suspension Update:
Progressive Suspension 412 Series Shocks


The CX500 build is an ever evolving platform. I ride the bike daily around the city so it's both out of necessity and desire. Considering it started as a budget build there wasn't a lot of money thrown at the systems one might want to upgrade for improved performance - like suspension and braking. I'm slowly beginning to give attention to these areas on the bike when I've got time.

First up is that rear suspension. The shocks that used to be on there were far too stiff, and just plain shitty. I think they were Emgo units but I couldn't verify because they had no markings on them. I got to talking with David Z. over at Progressive Suspension about a new set up for the rear.

On Progressive's site they list the 412-4211C shock for a CX500 which is a 13" shock with a 90/130 spring rate and a 3.89" stroke.
I was looking for a 1" drop in the rear so I ran through their catalog and picked out the 412-4049B/C models. They're a 12.00" length with a 3.01 stroke and 90/130 rate. Meaning the shocks are an inch shorter but have a .88" shorter stroke and an identical spring rate. They come in Black and Chrome I believe. I've removed the dust covers from mine. So far I love them. The ride comfort is amazing yet still sporty. They're allowing me to go for much longer rides without ass-fatigue.

I know there are a lot of other CX owners that follow the blog so just sharing the info. :)