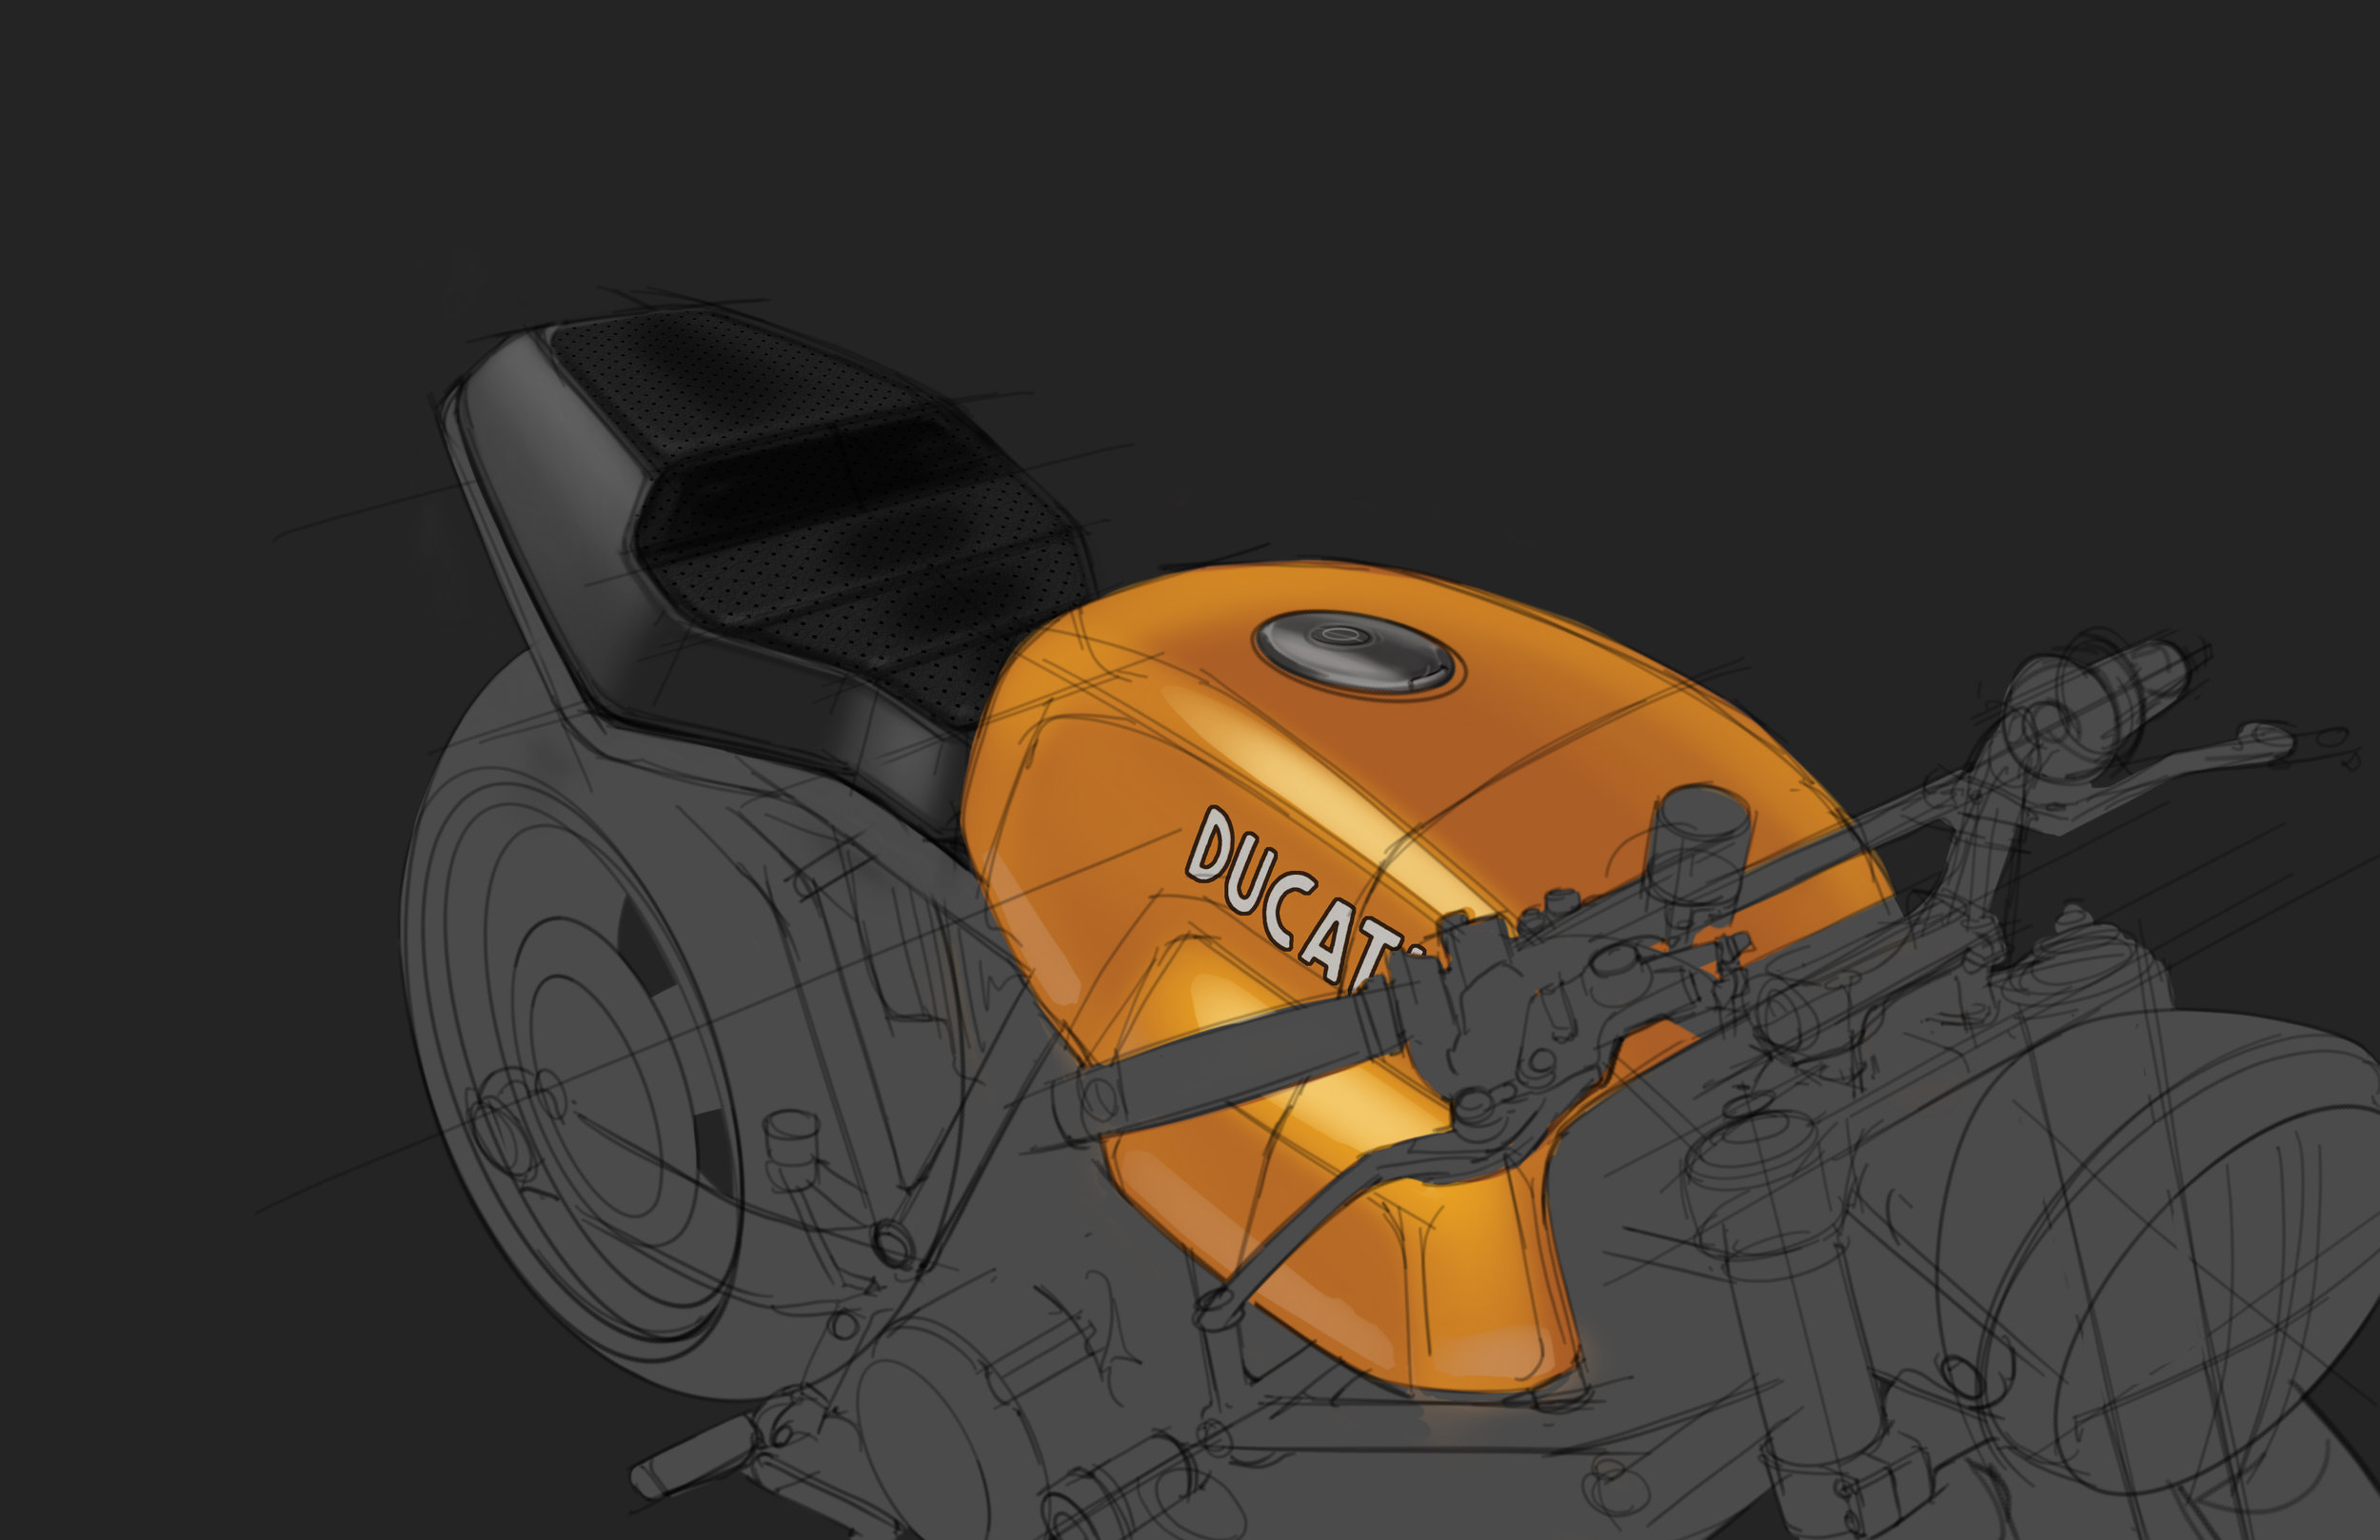
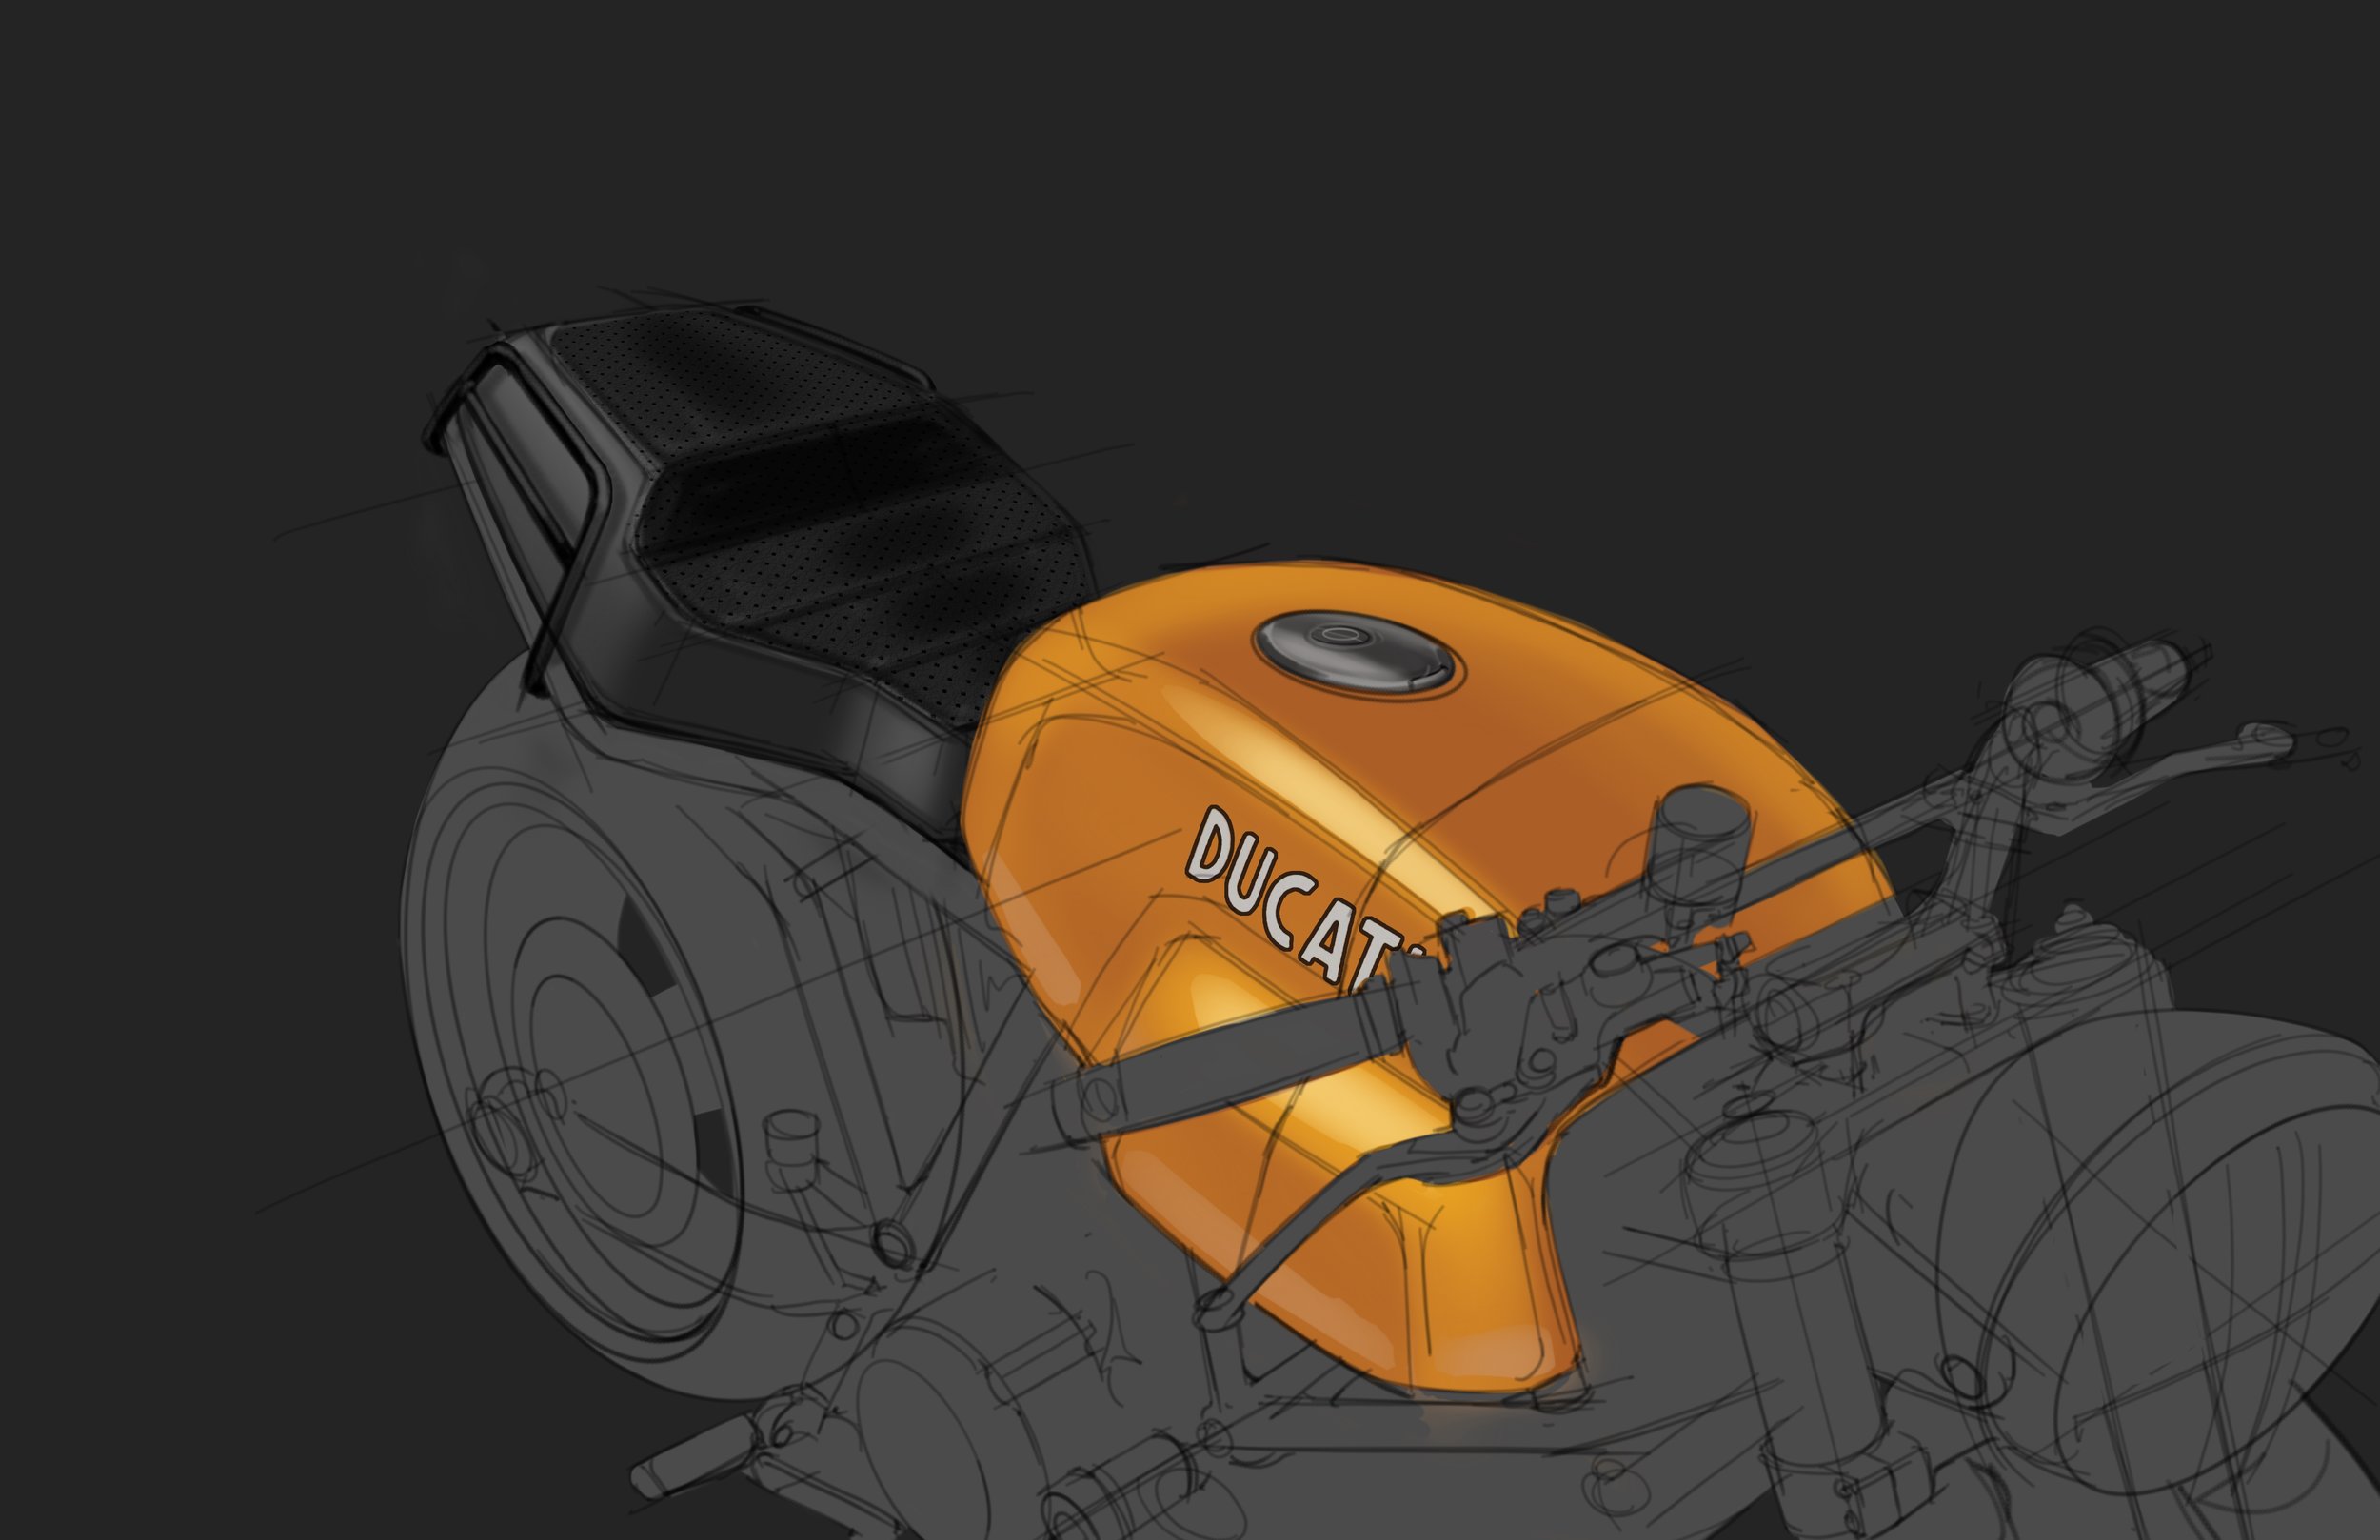
KTM 300 BUILD: The Kick Off
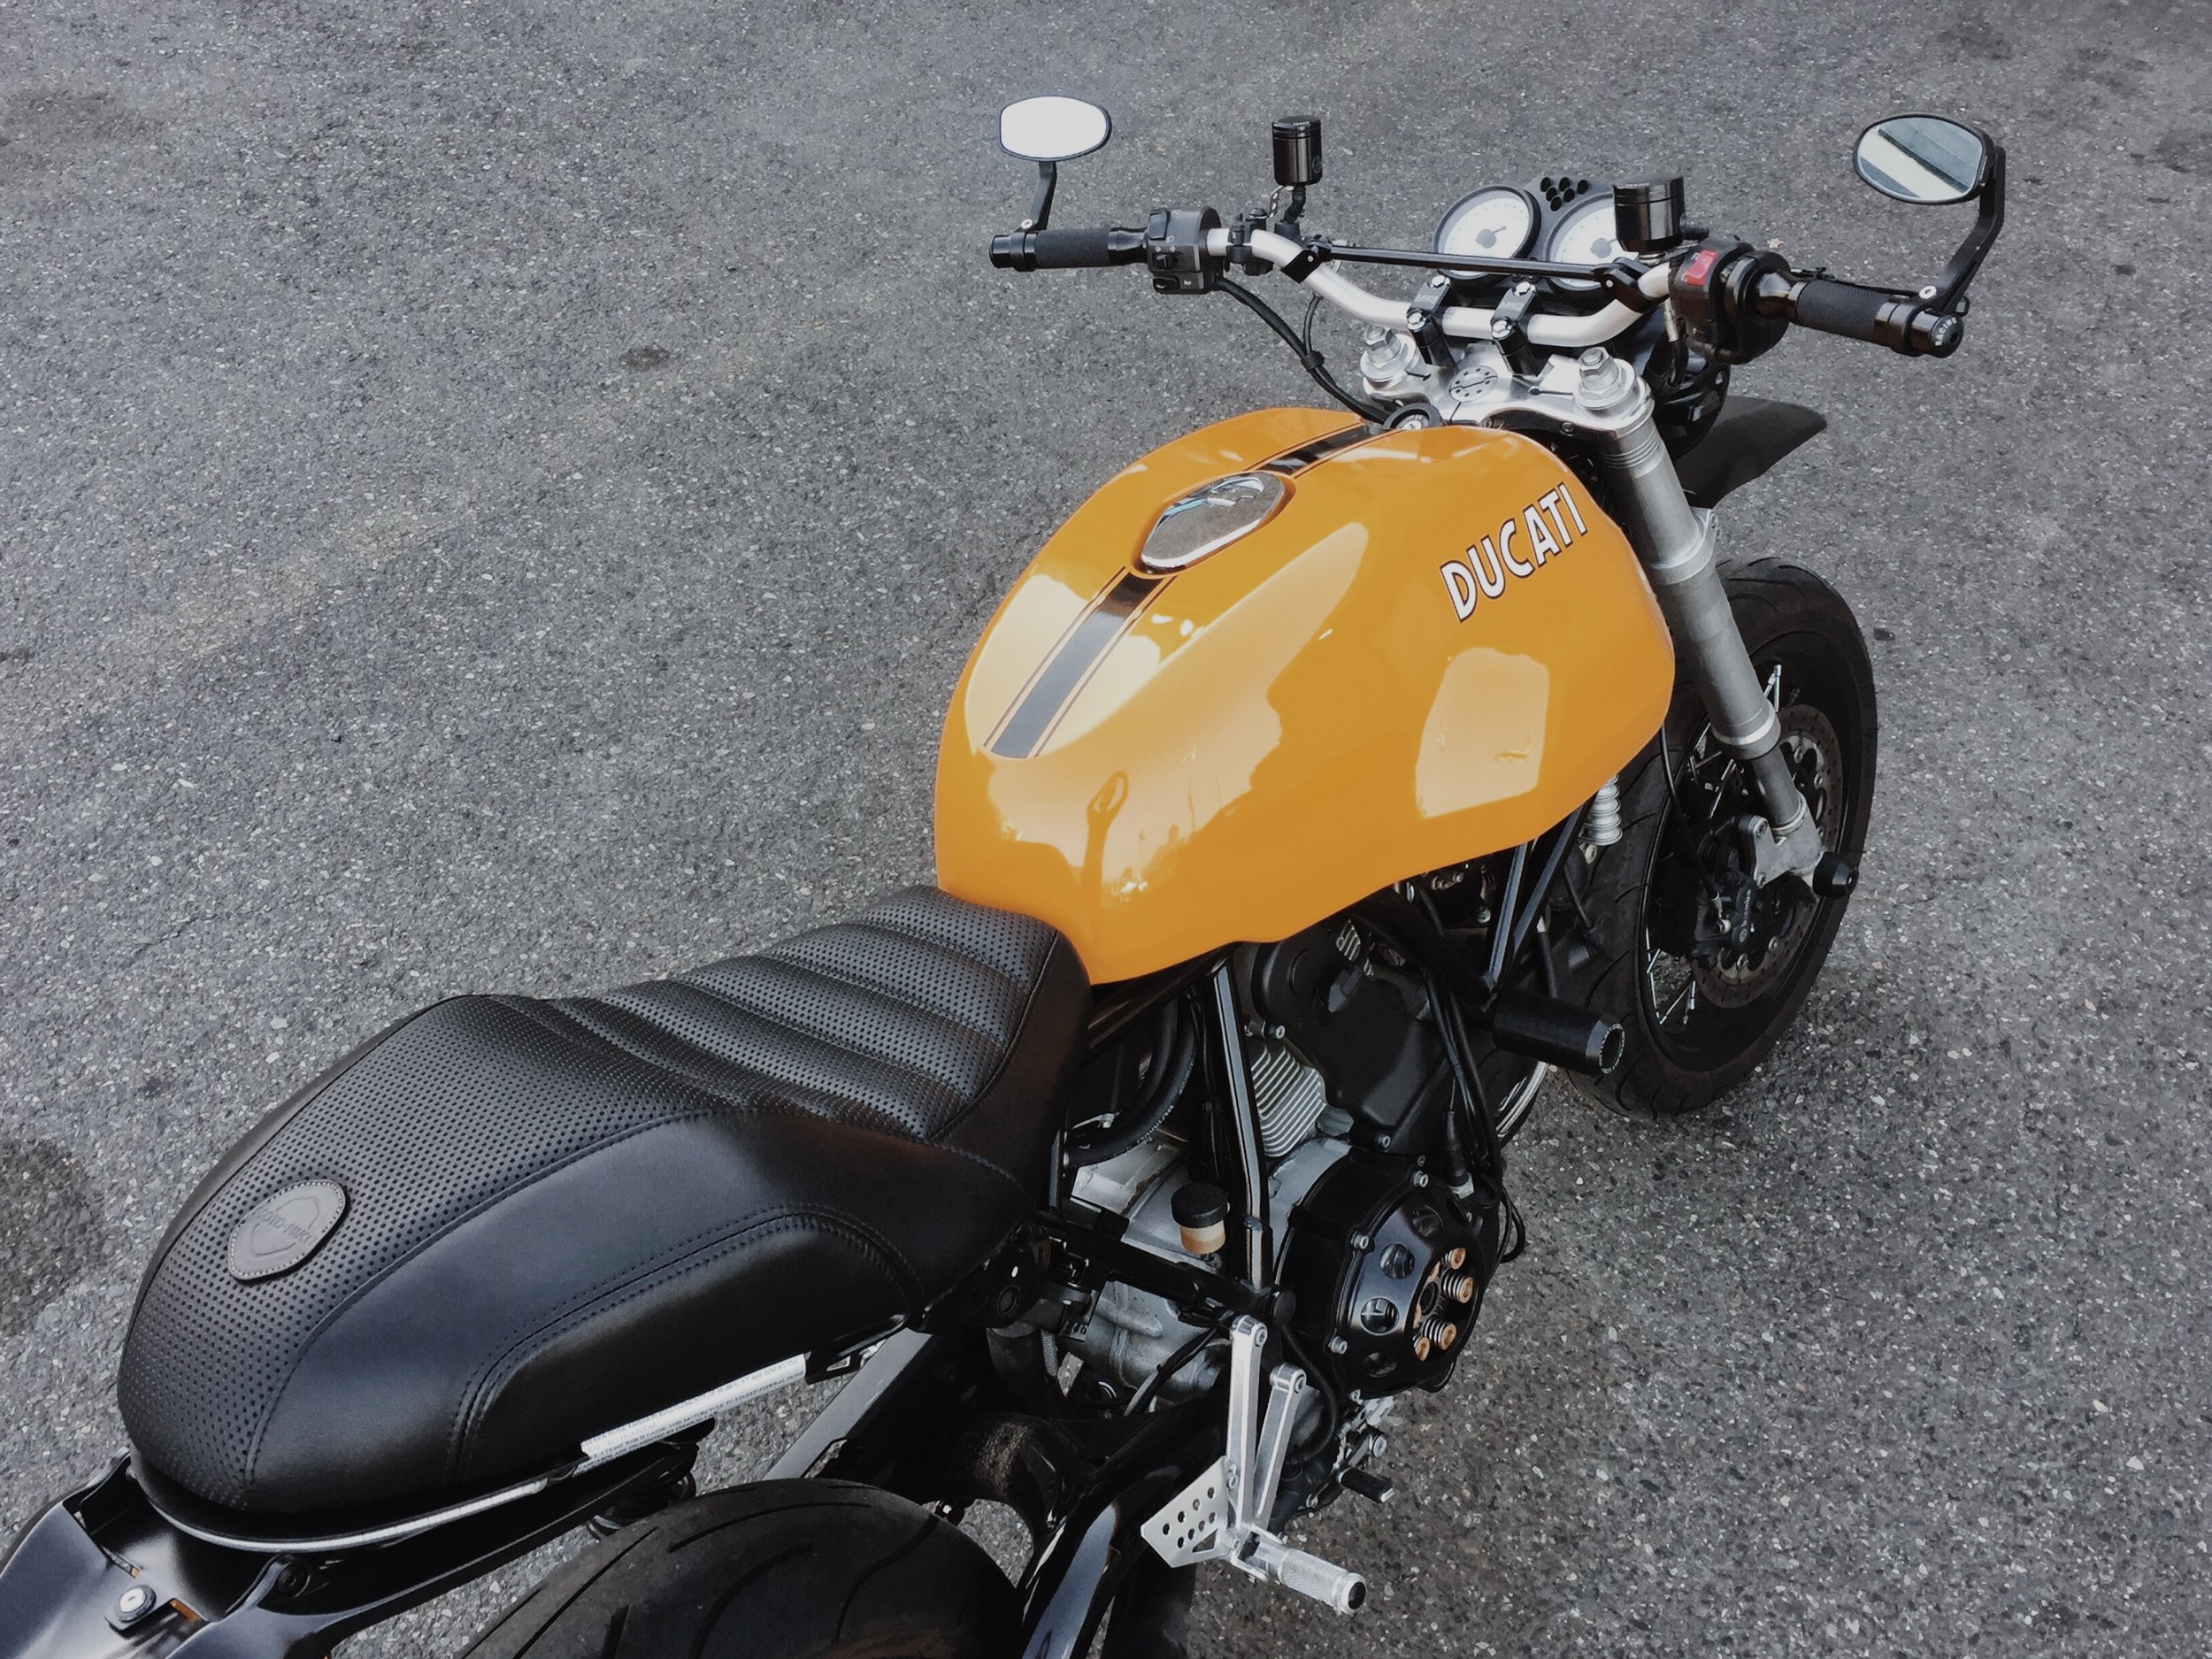
Here's the new long term build project: a 2014 KTM 300 XC-W Six Days model. The owner has a lot of other purpose built dirt bikes so he's looking to turn this one into a street tracker. Purists may want to skip over this one as I'll be stripping everything Six Days related off this bike and custom making most of their replacements. 

Moto-Mucci_Custom_KTM_300_Build (2).jpg

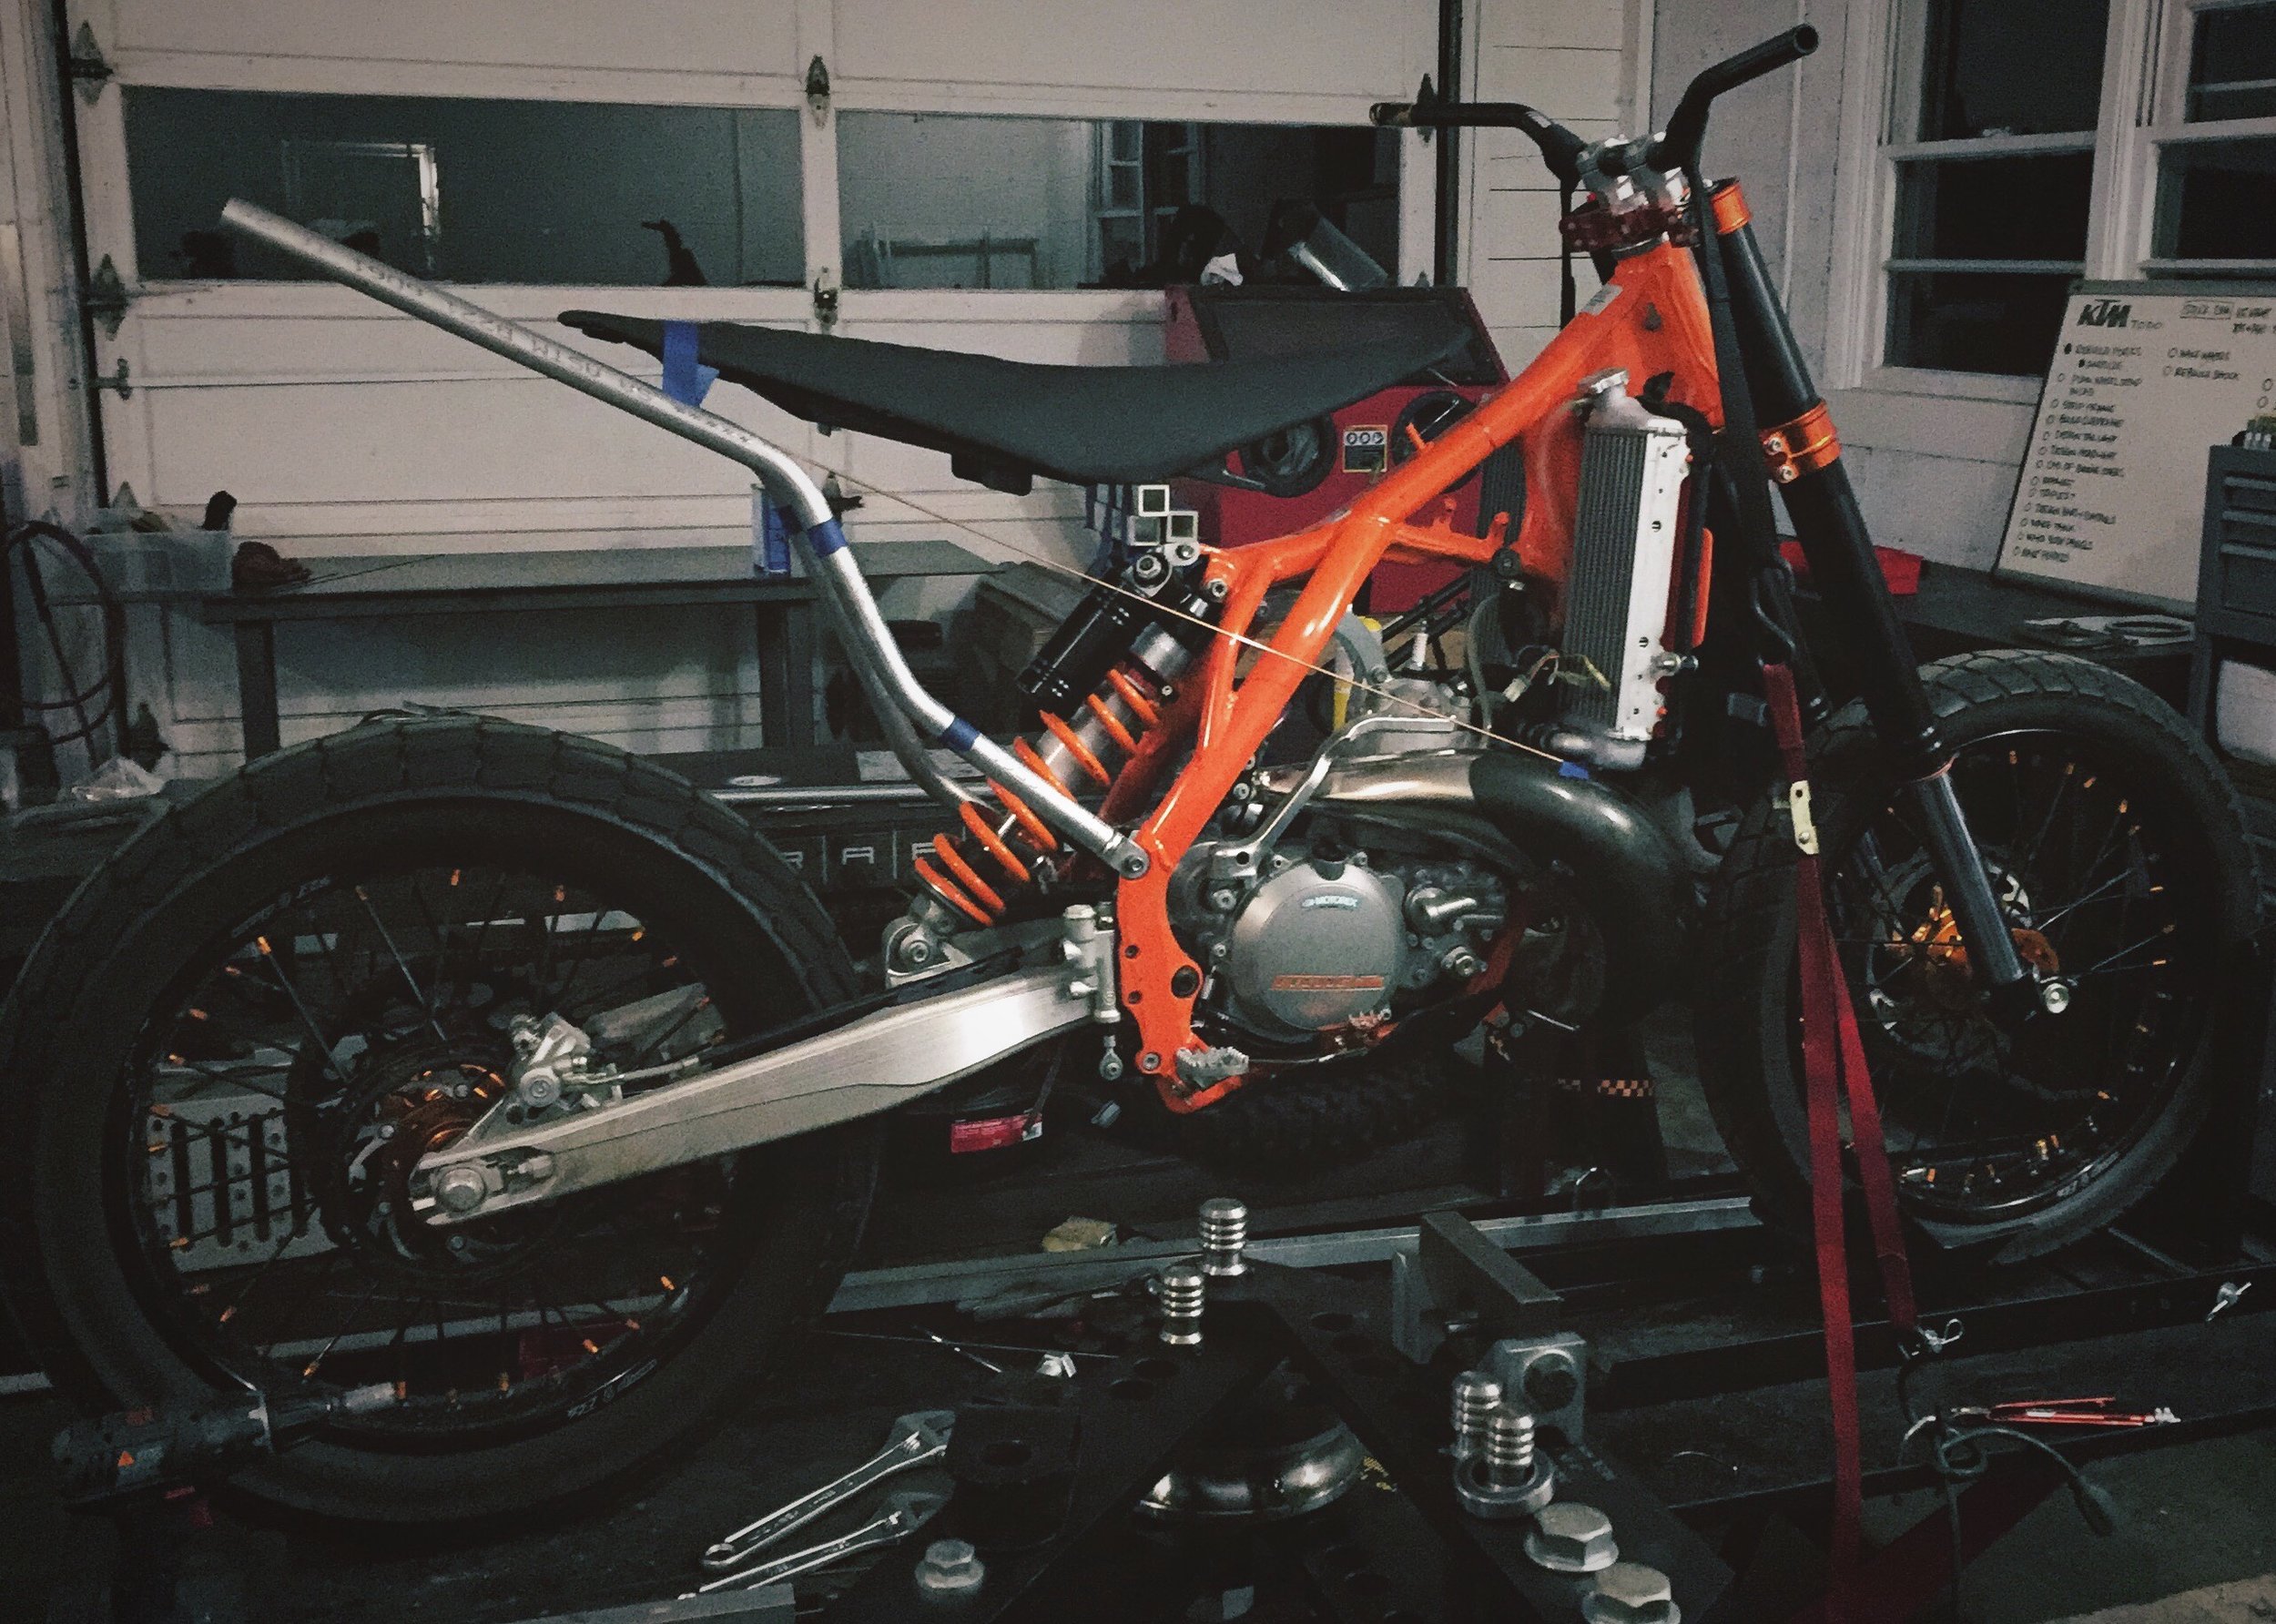
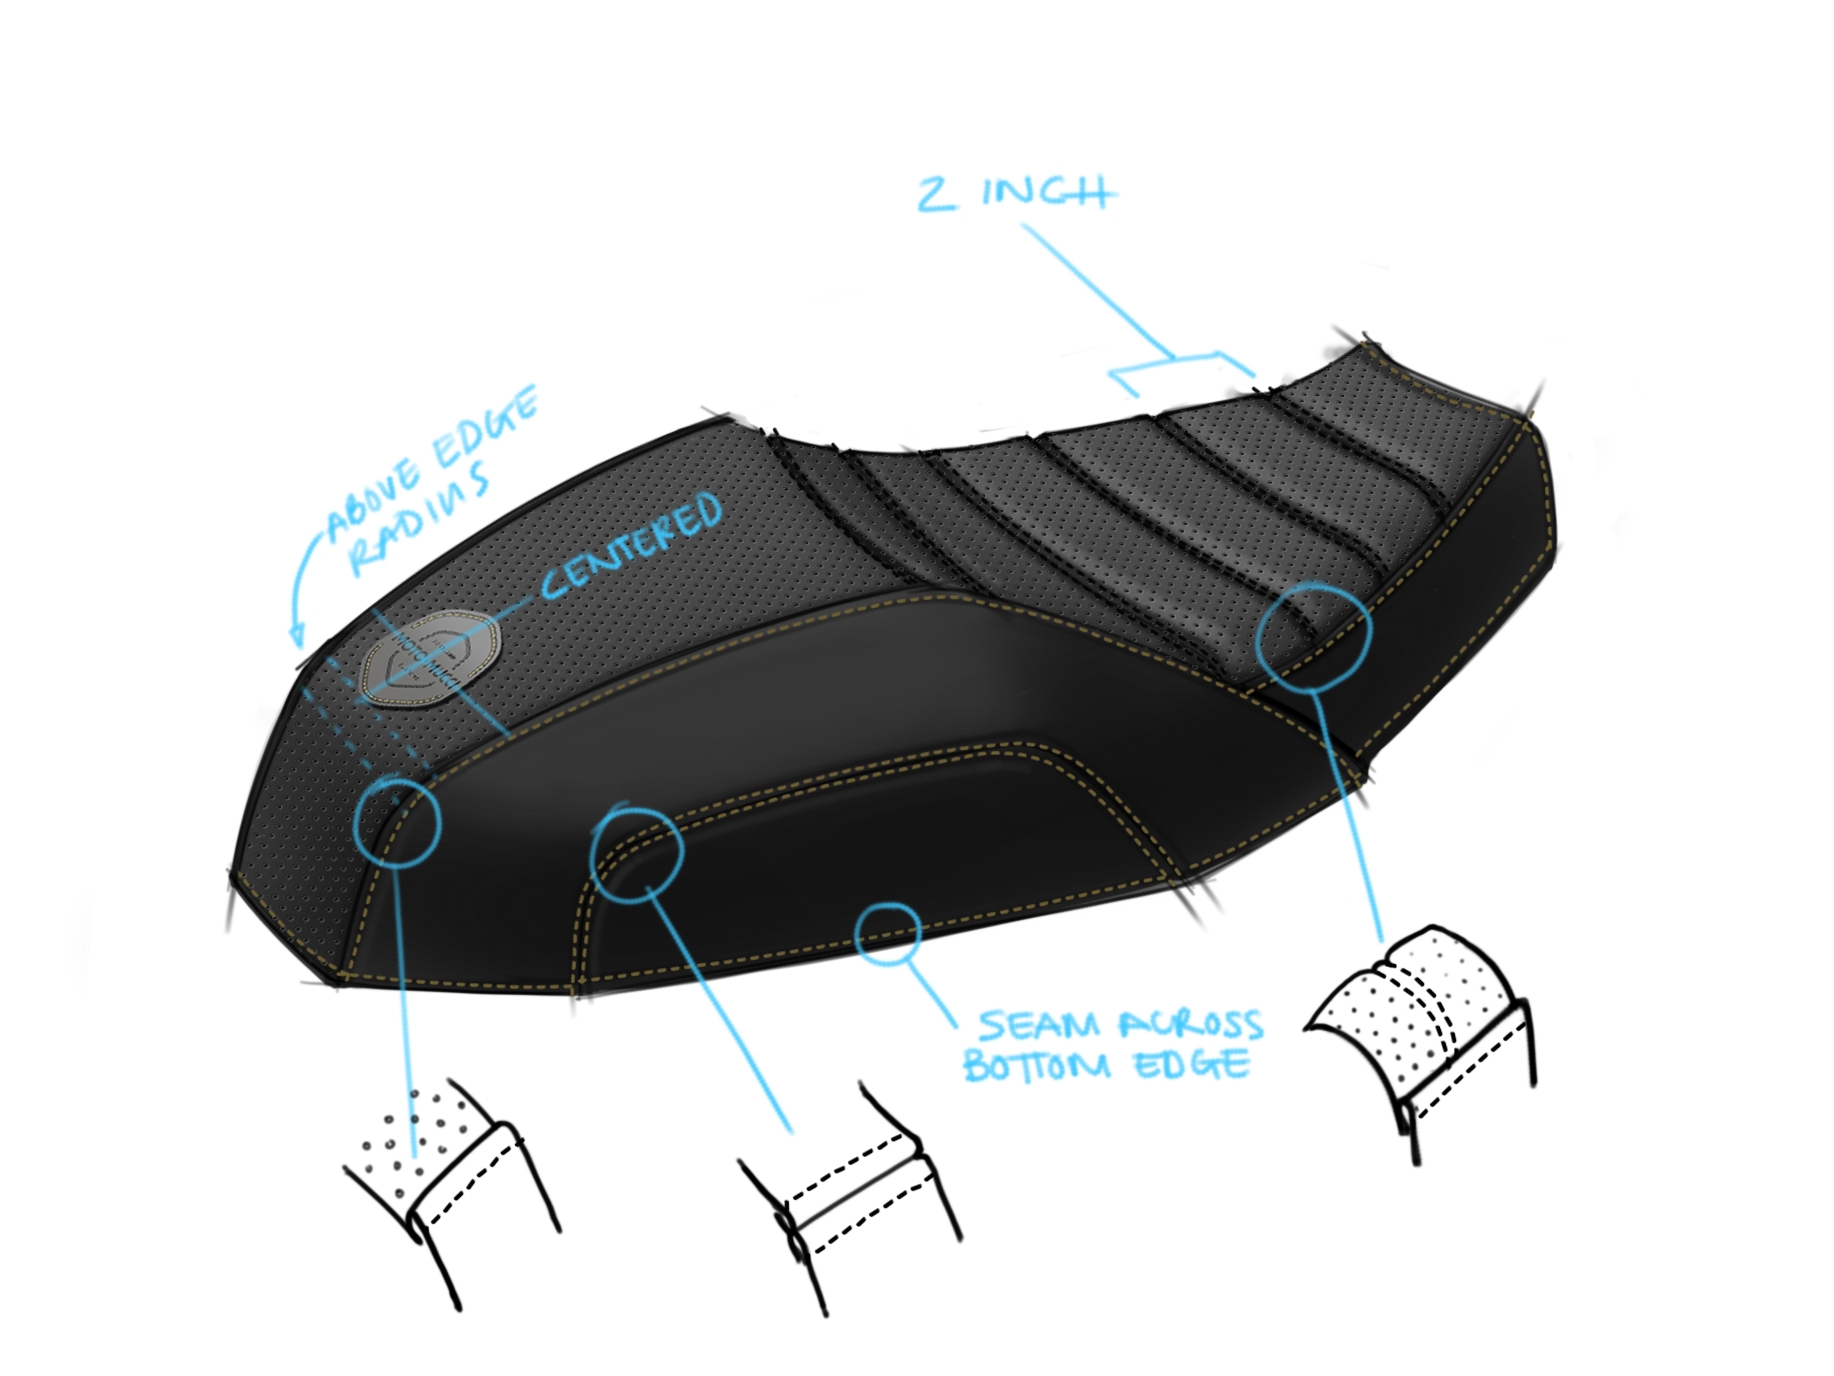
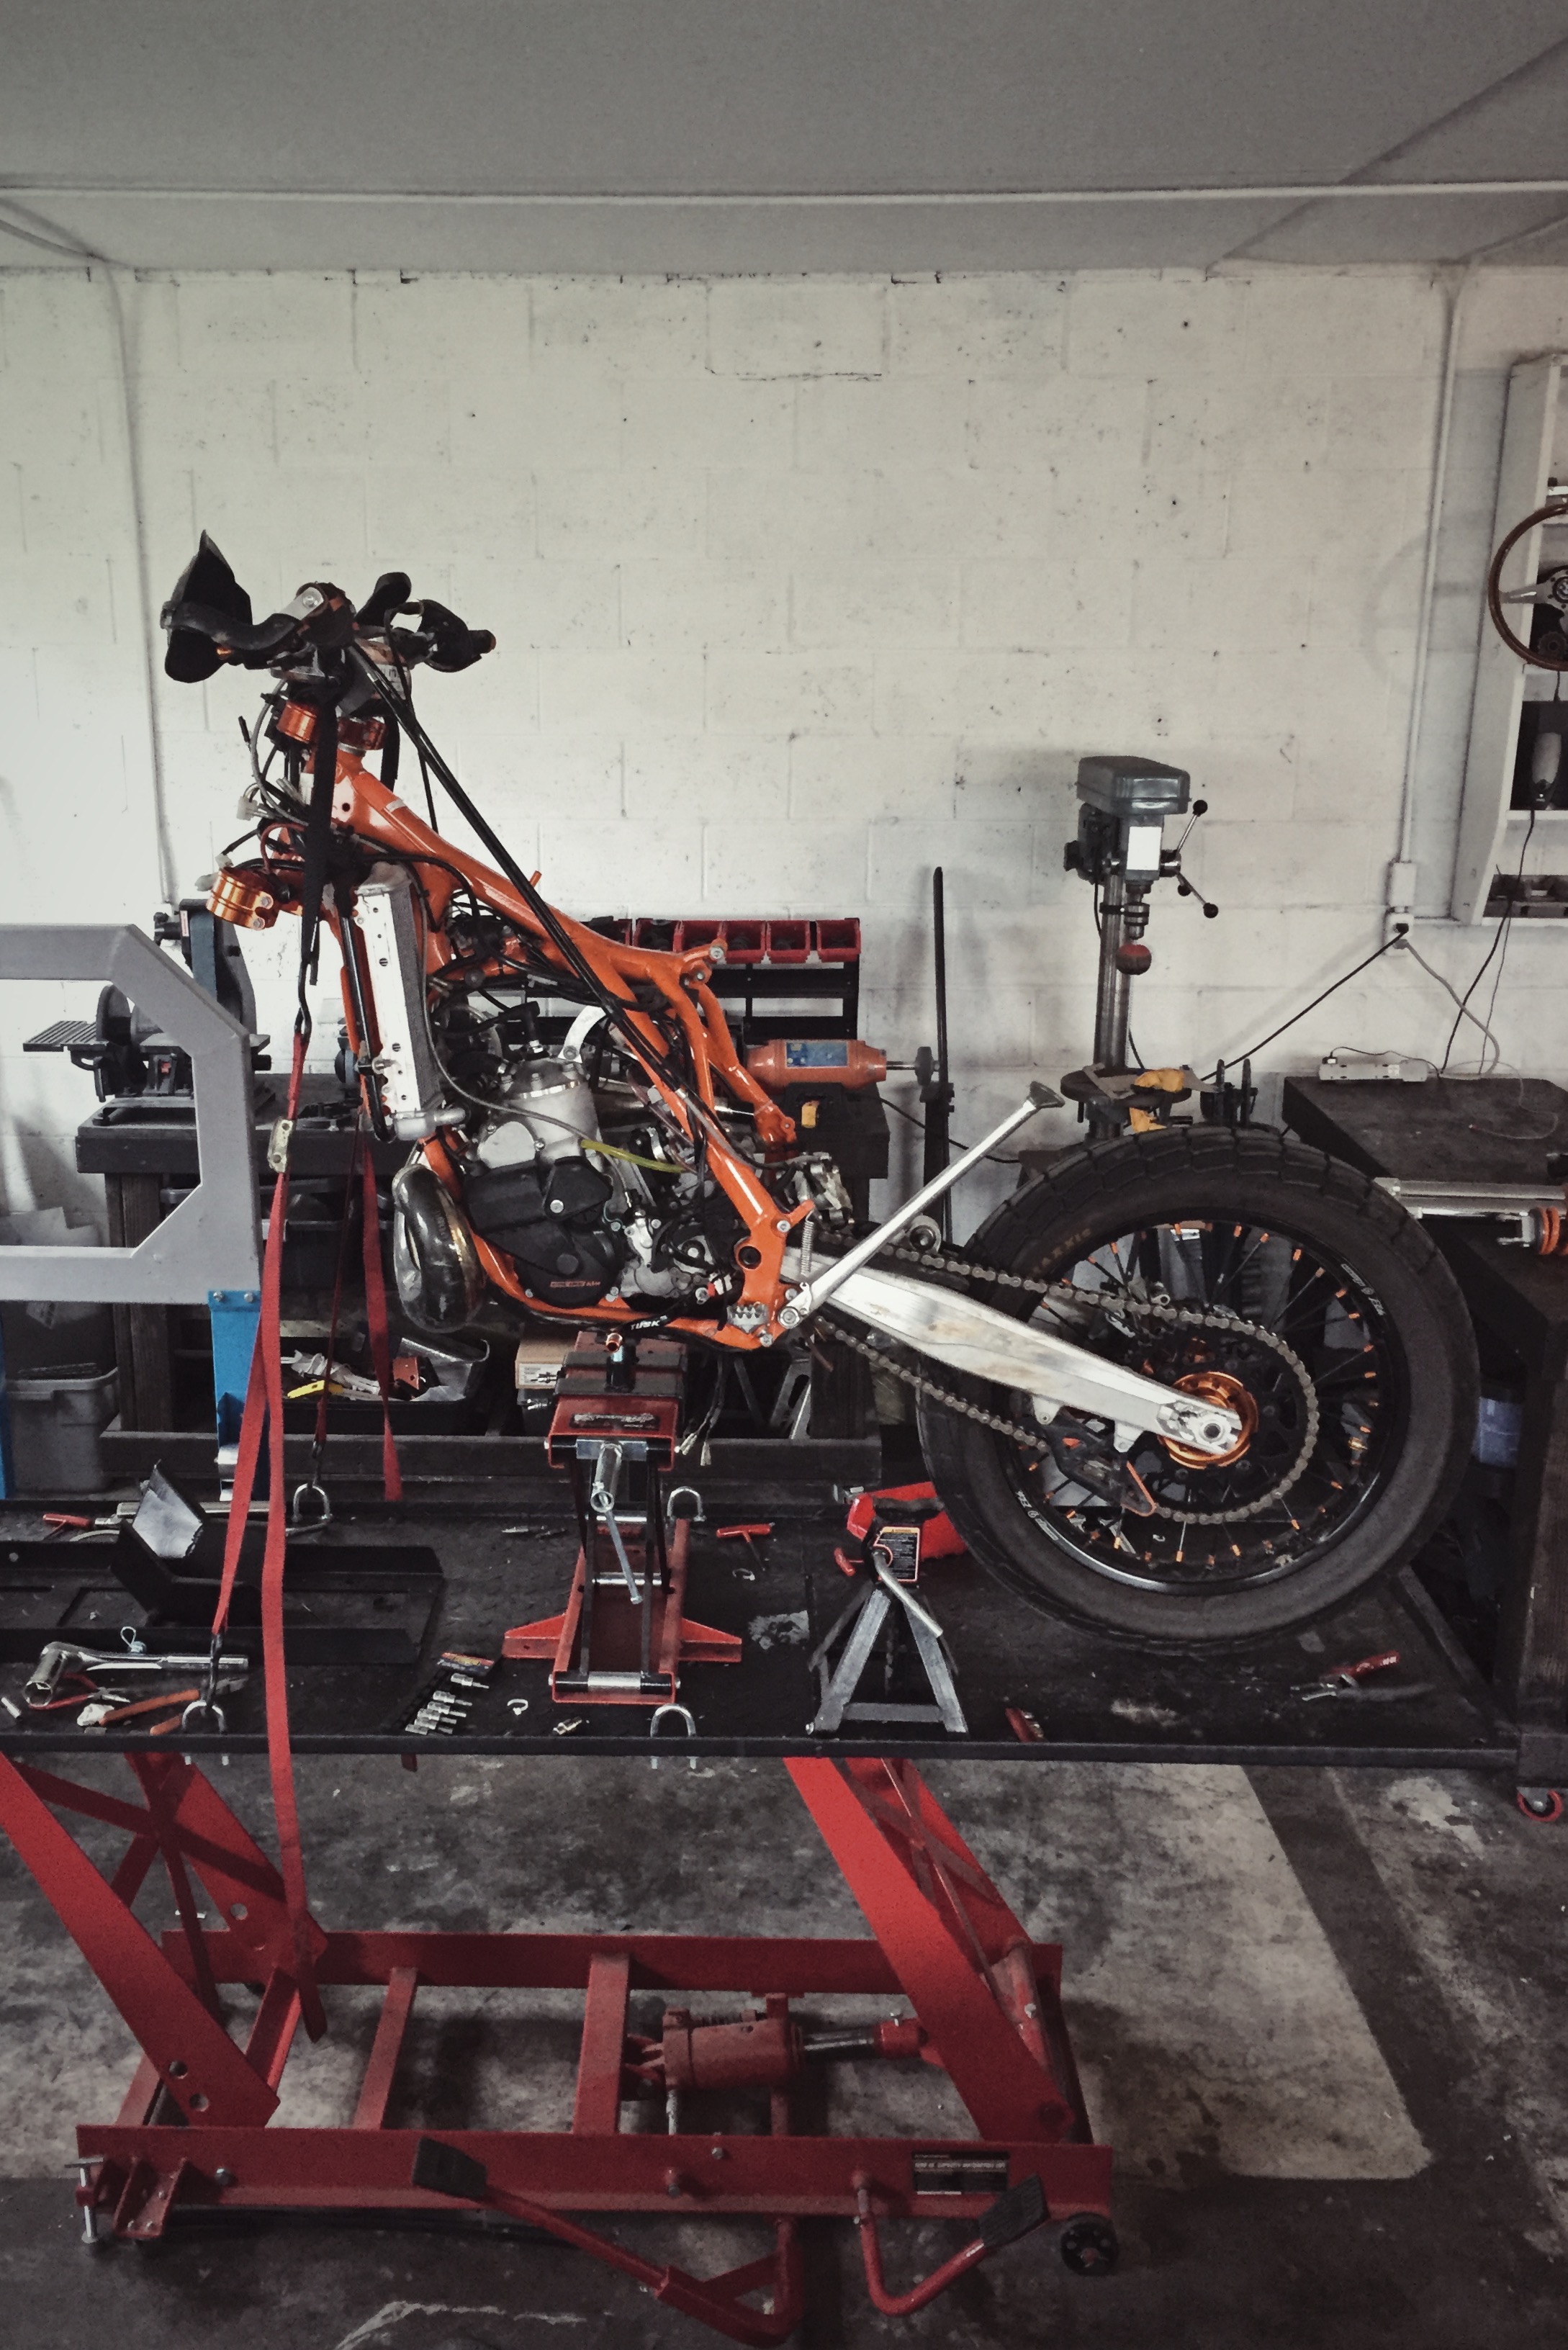
The strip down process begins. Everything goes into labeled boxes and baggies for future reference. As a street bike we won't need the 14" of travel so the WP suspension came off to get rebuilt. 2 inches was taken out of the travel and stiffer springs and valving were fitted. The fork tubes were anodized and rear shock was painted satin black.

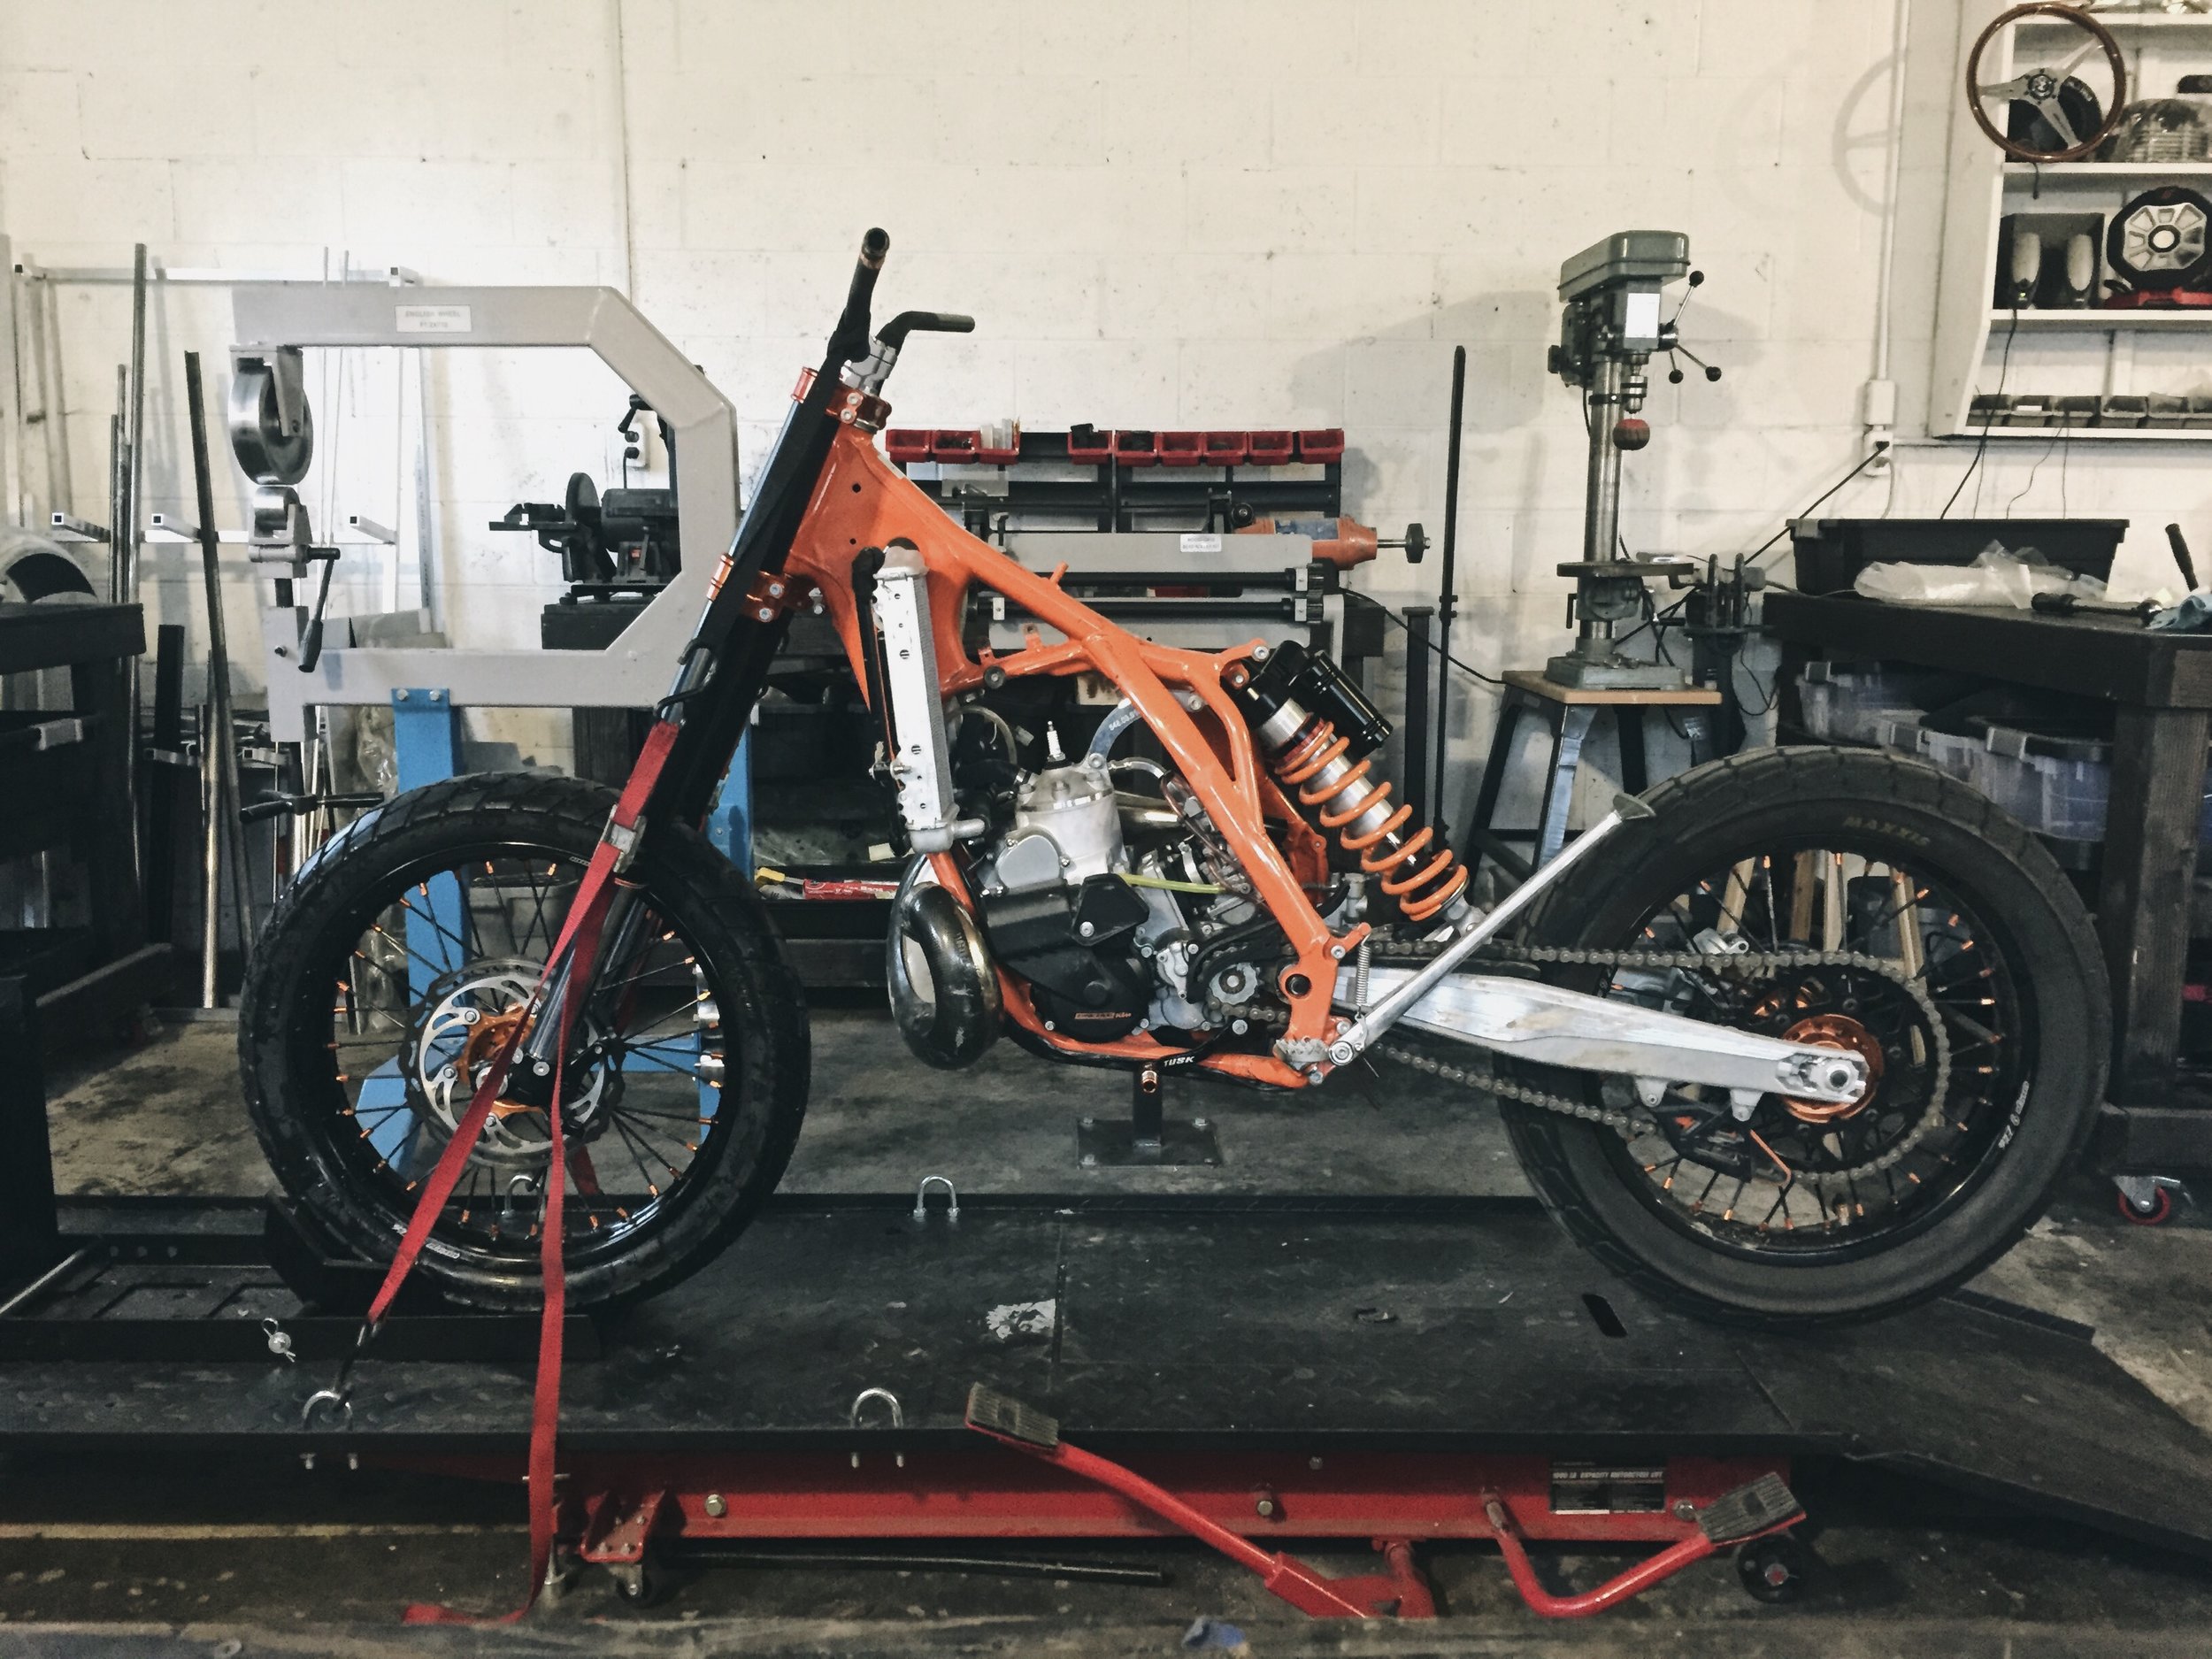
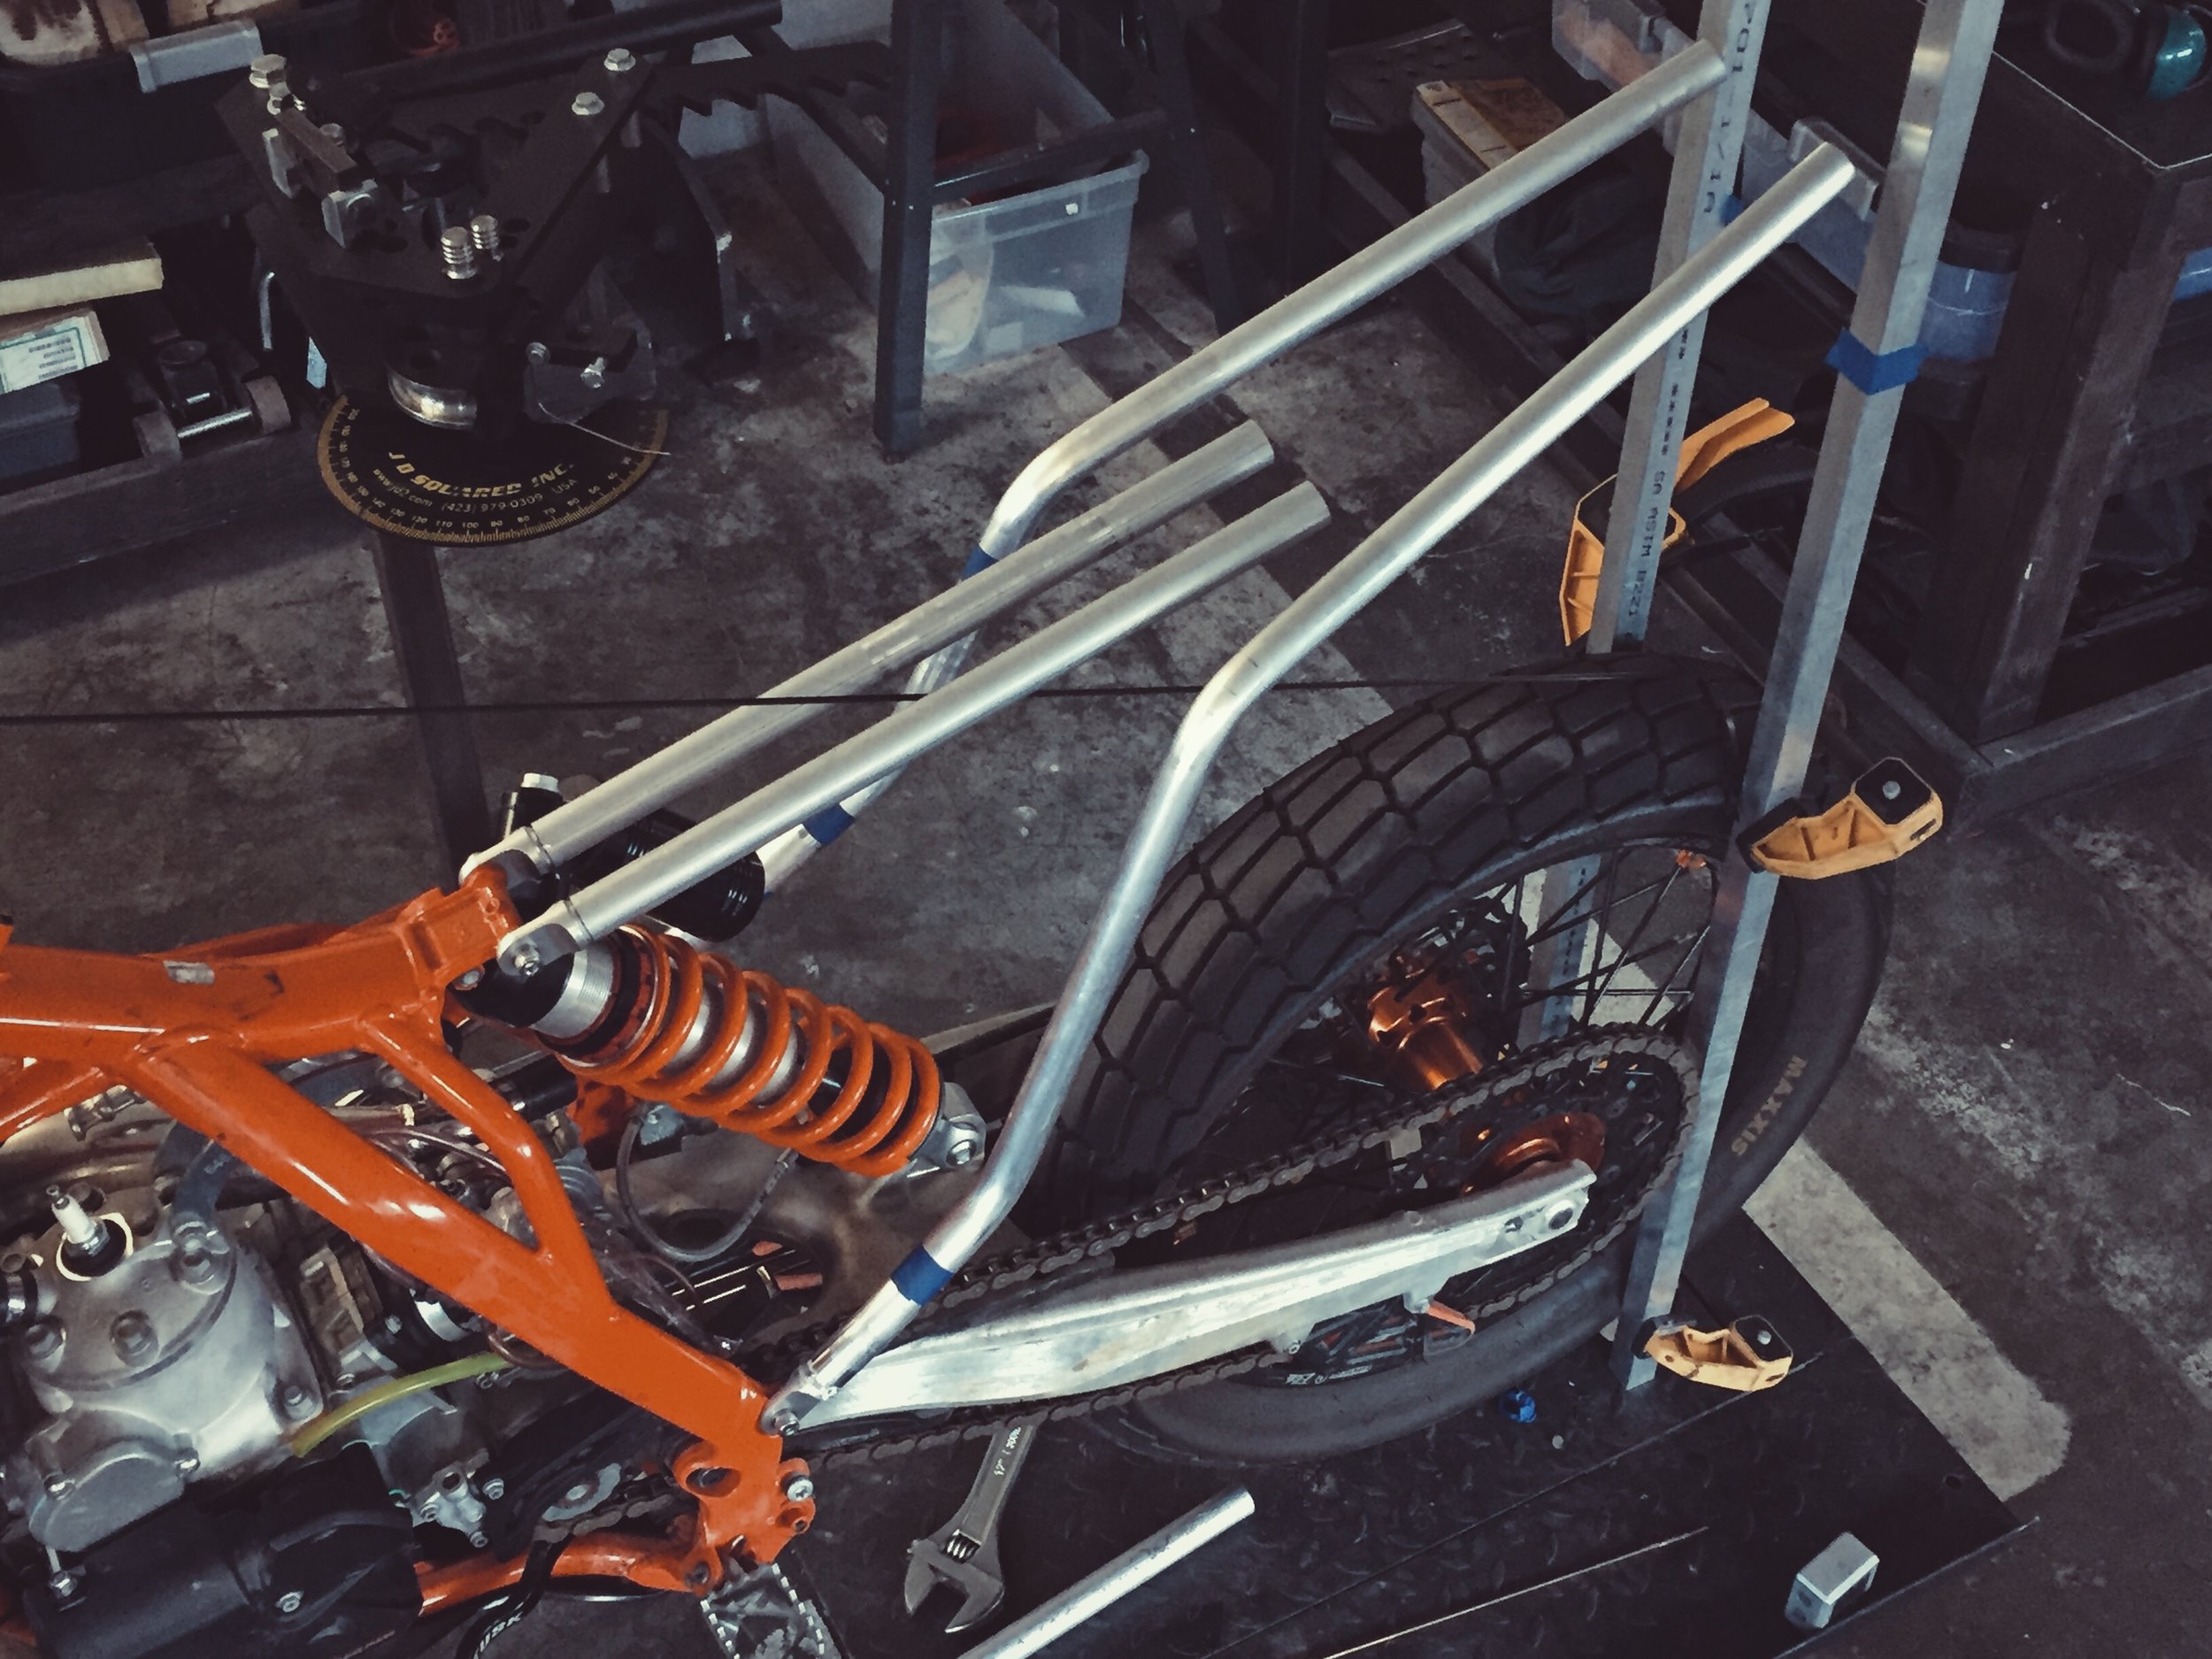
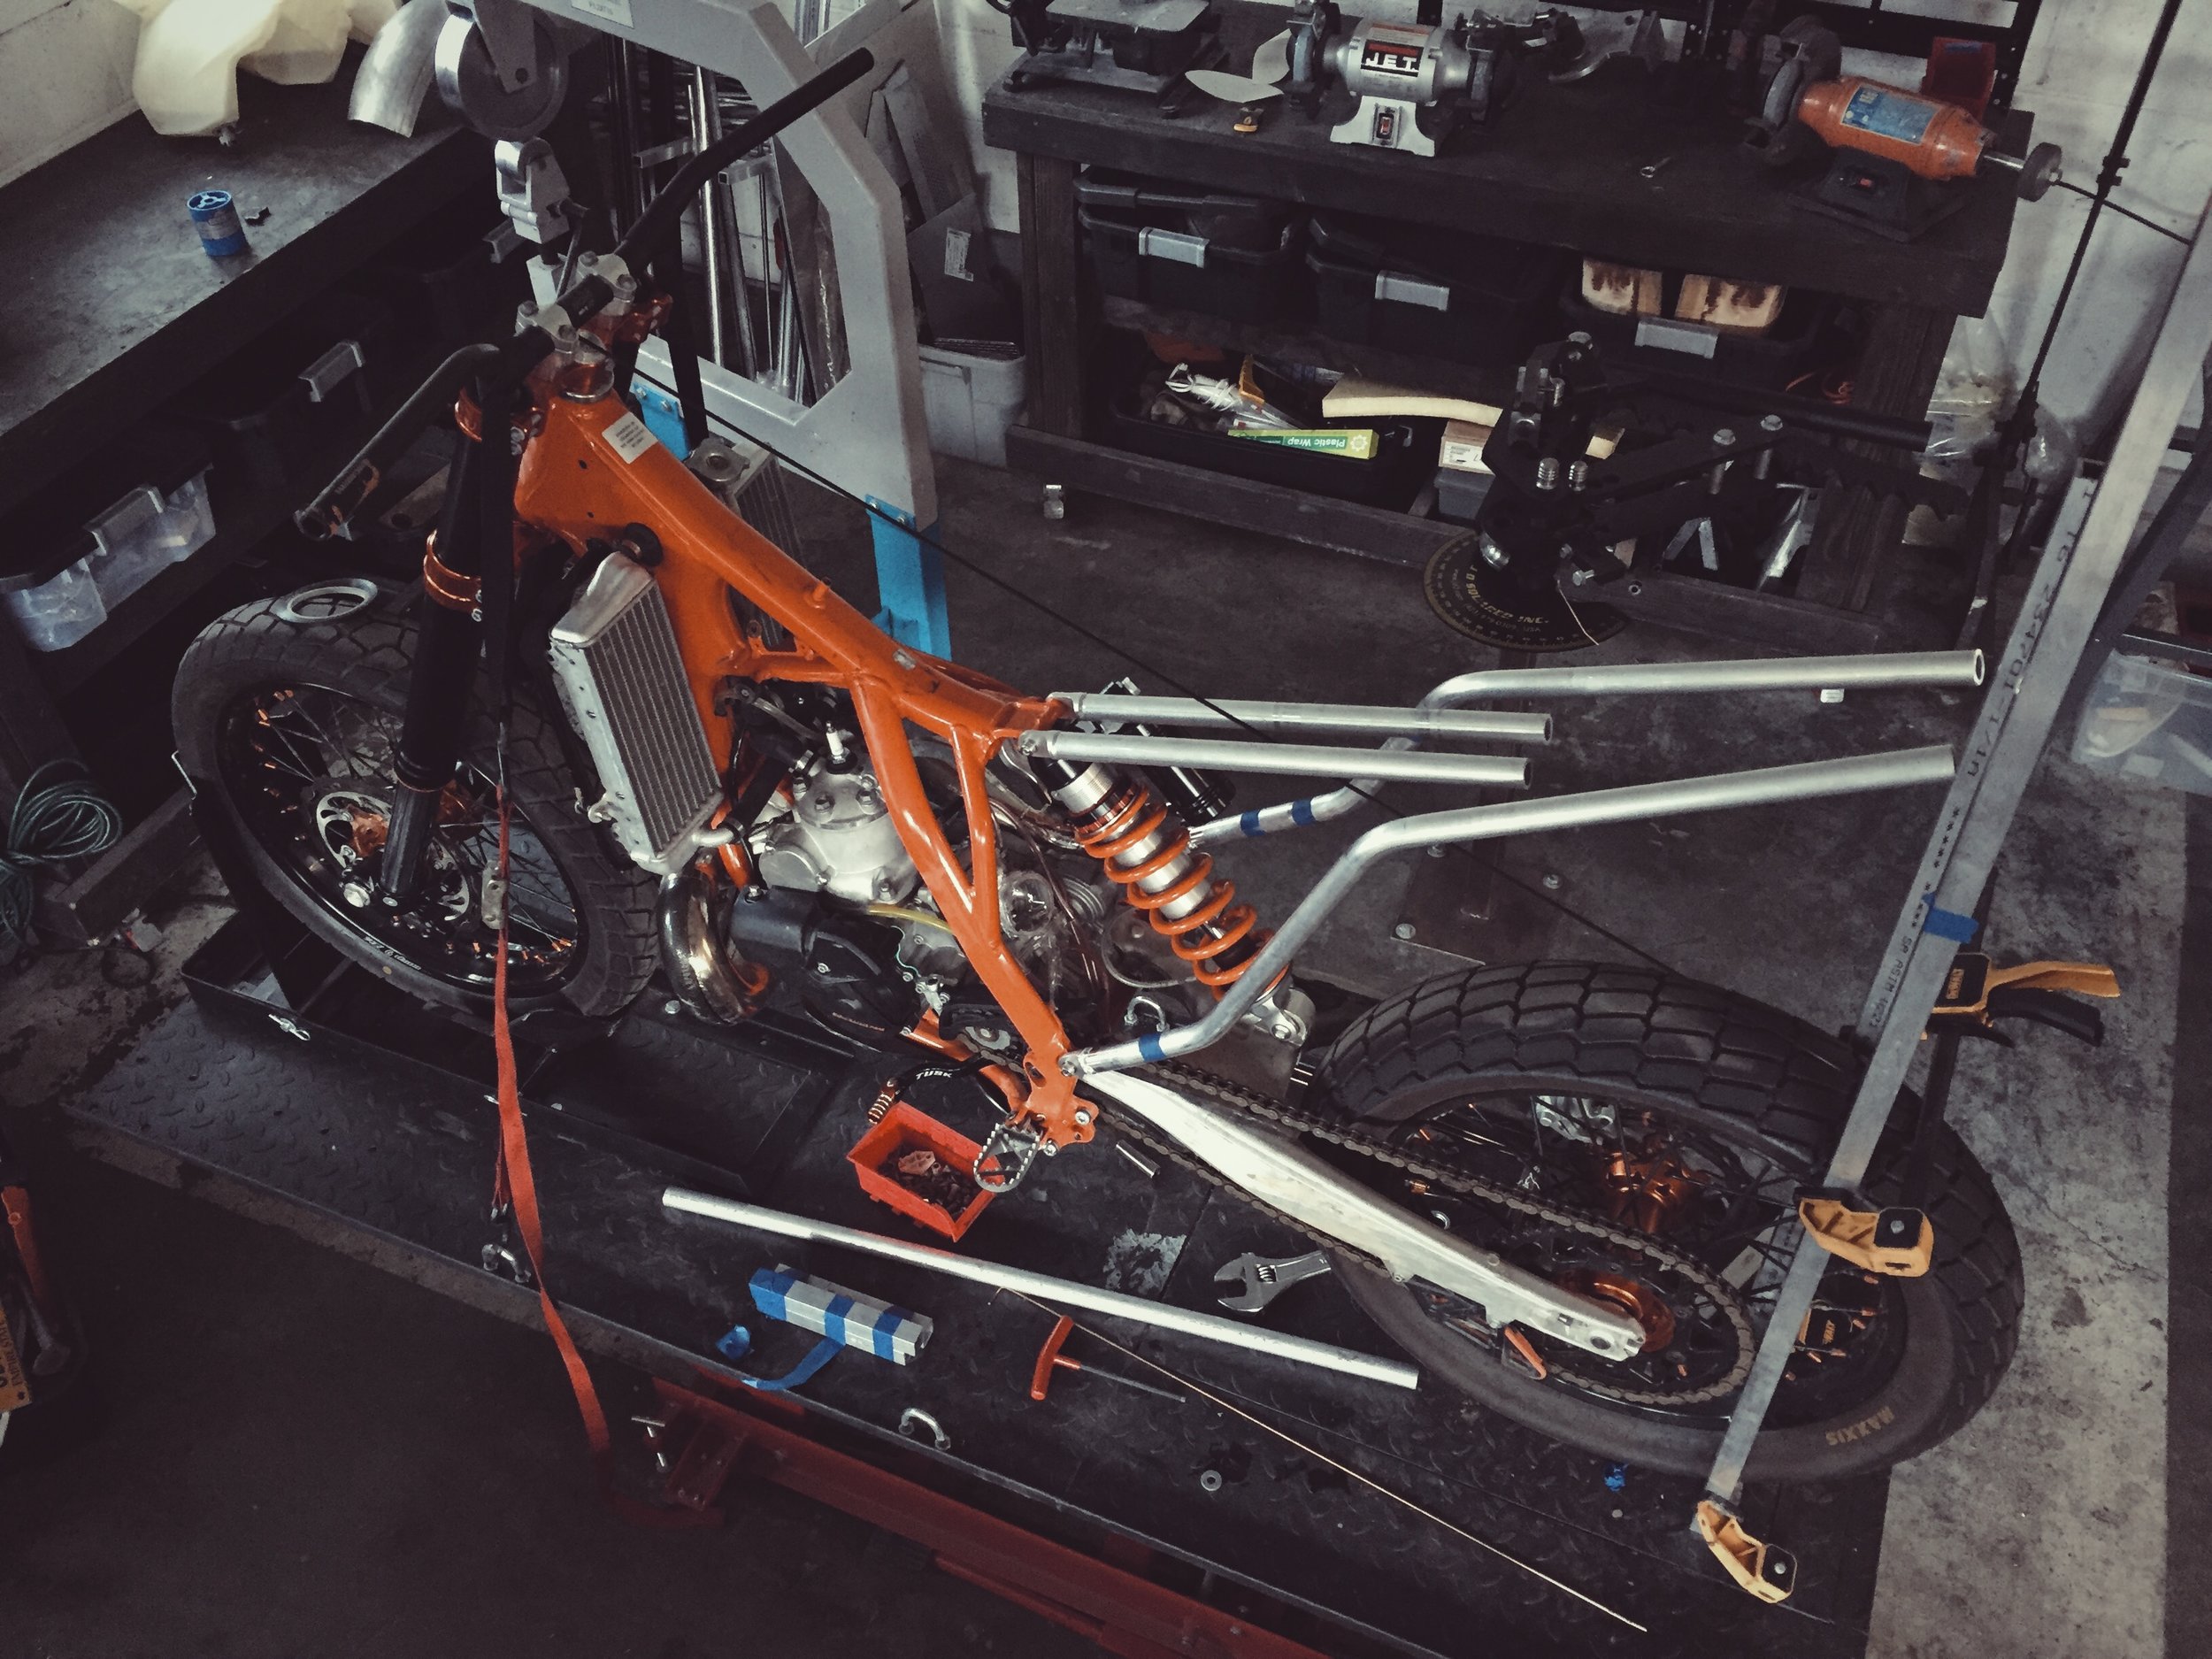
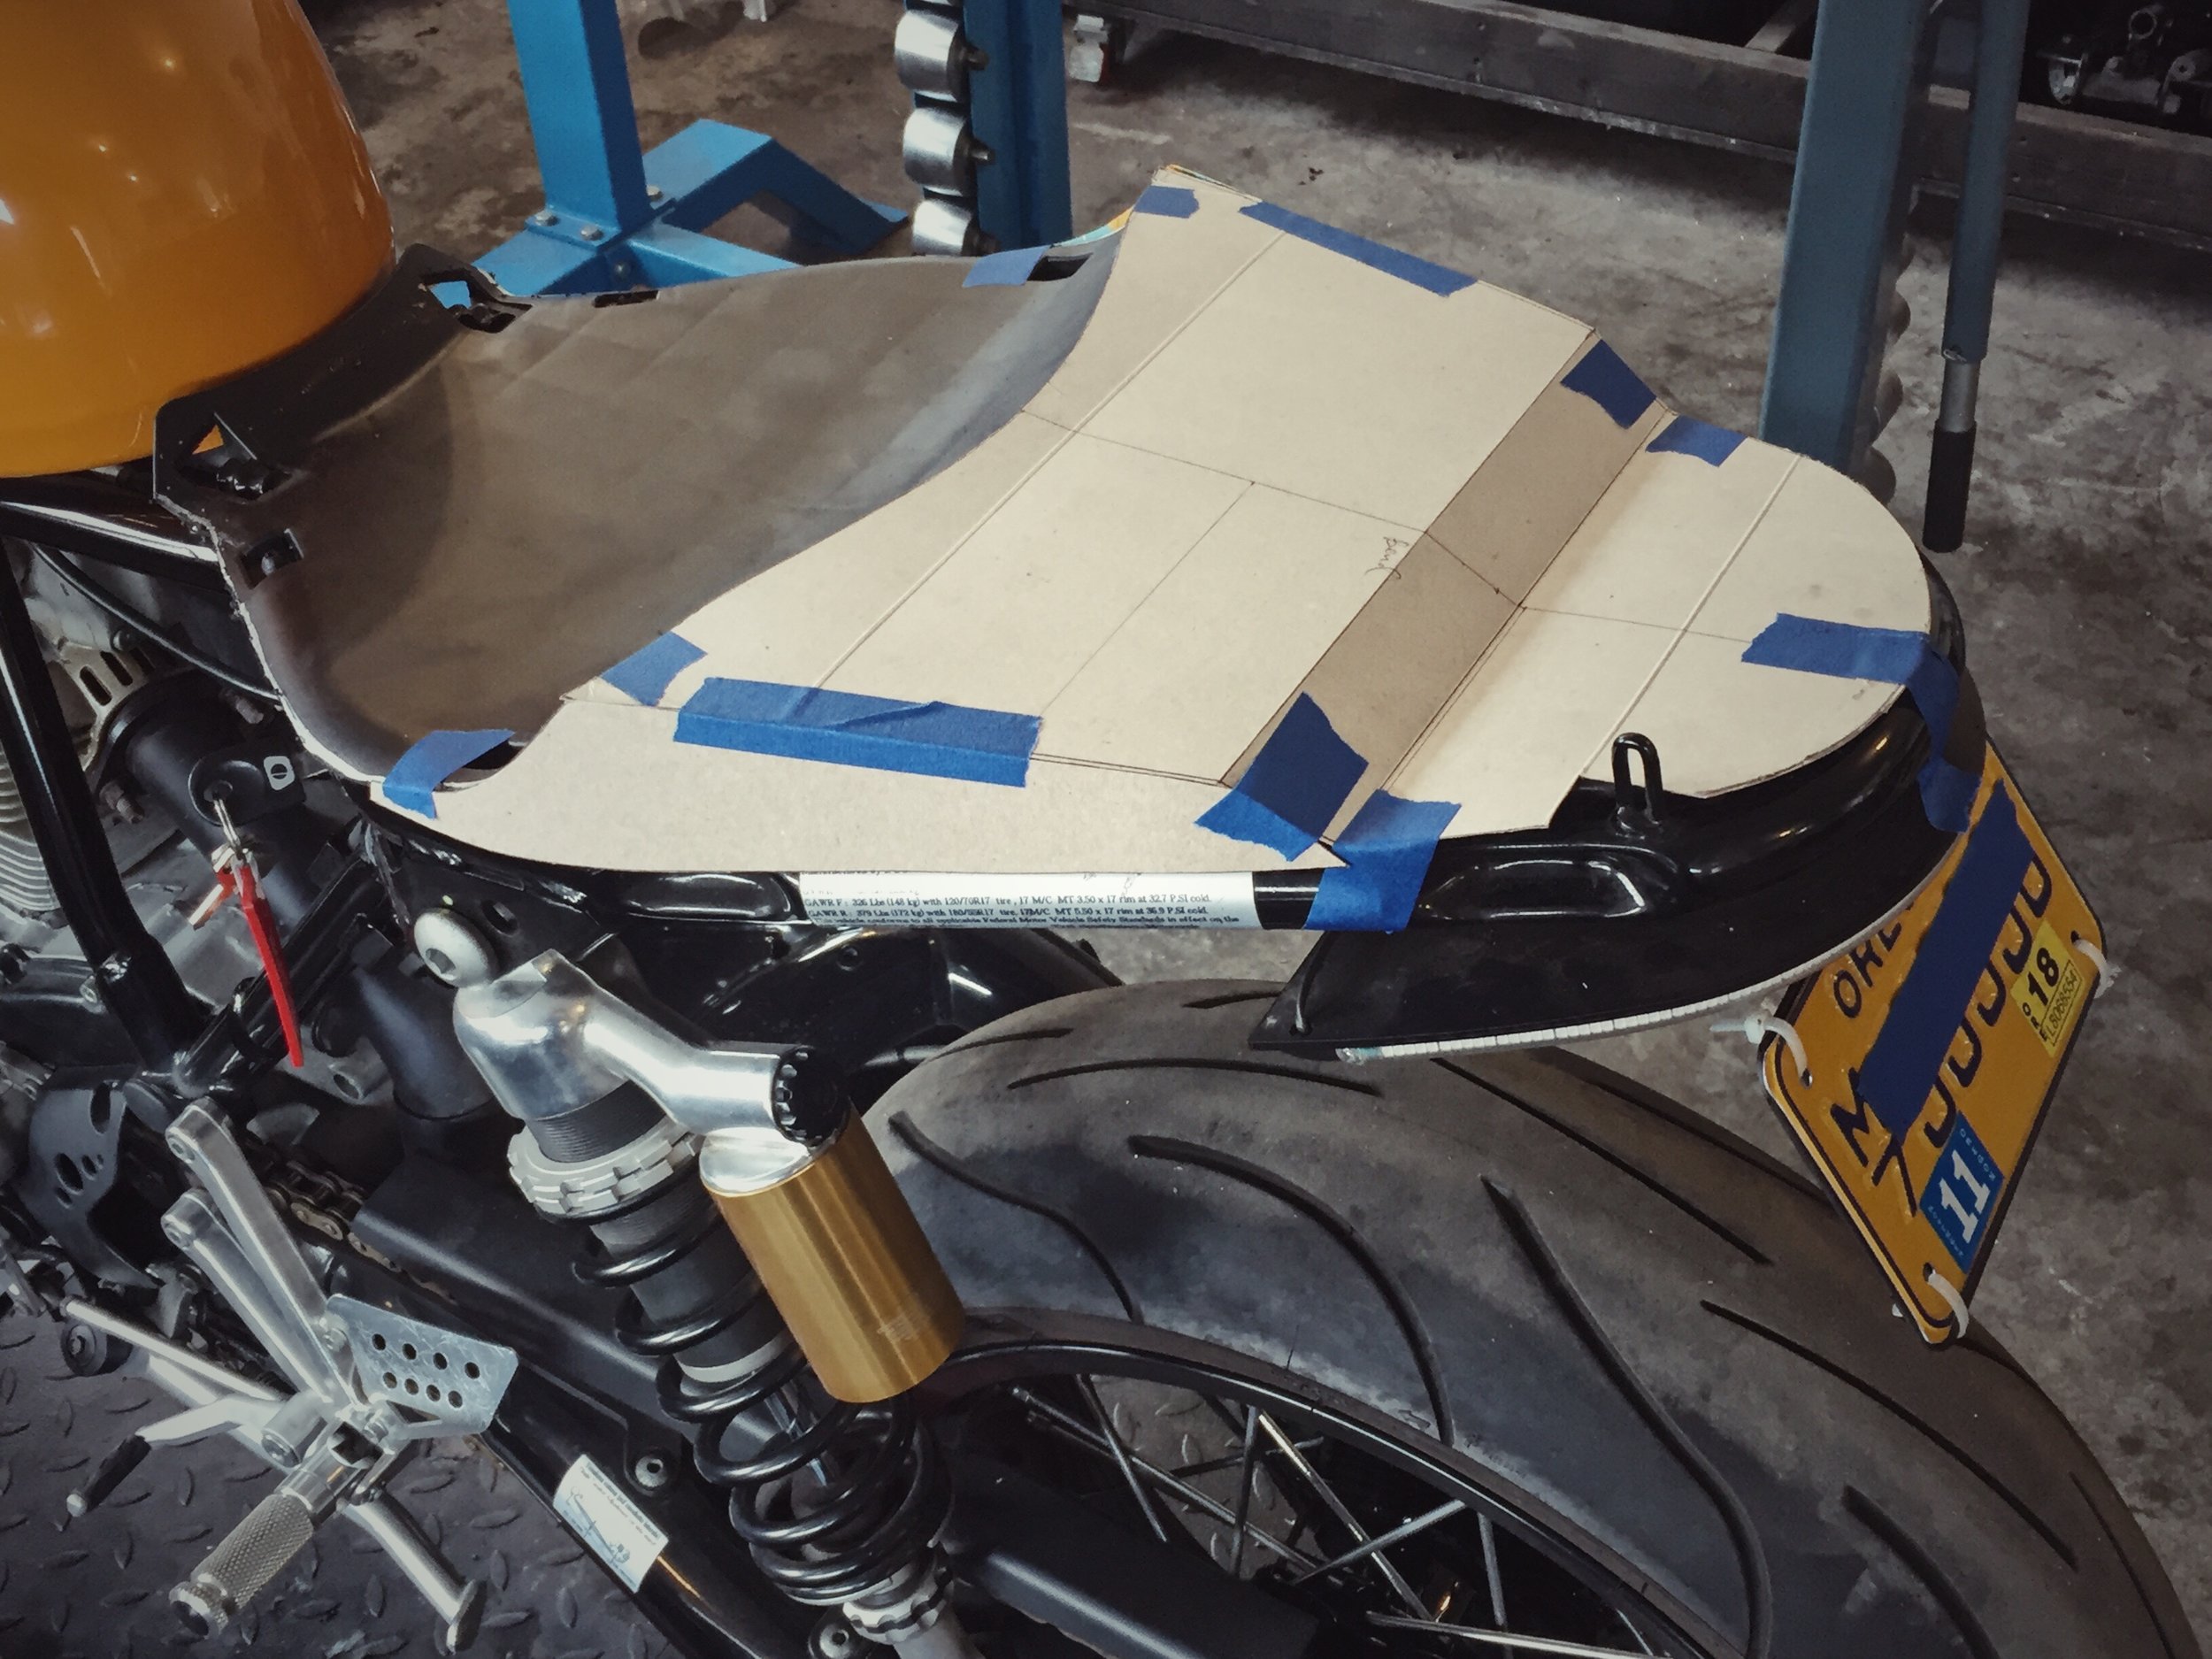
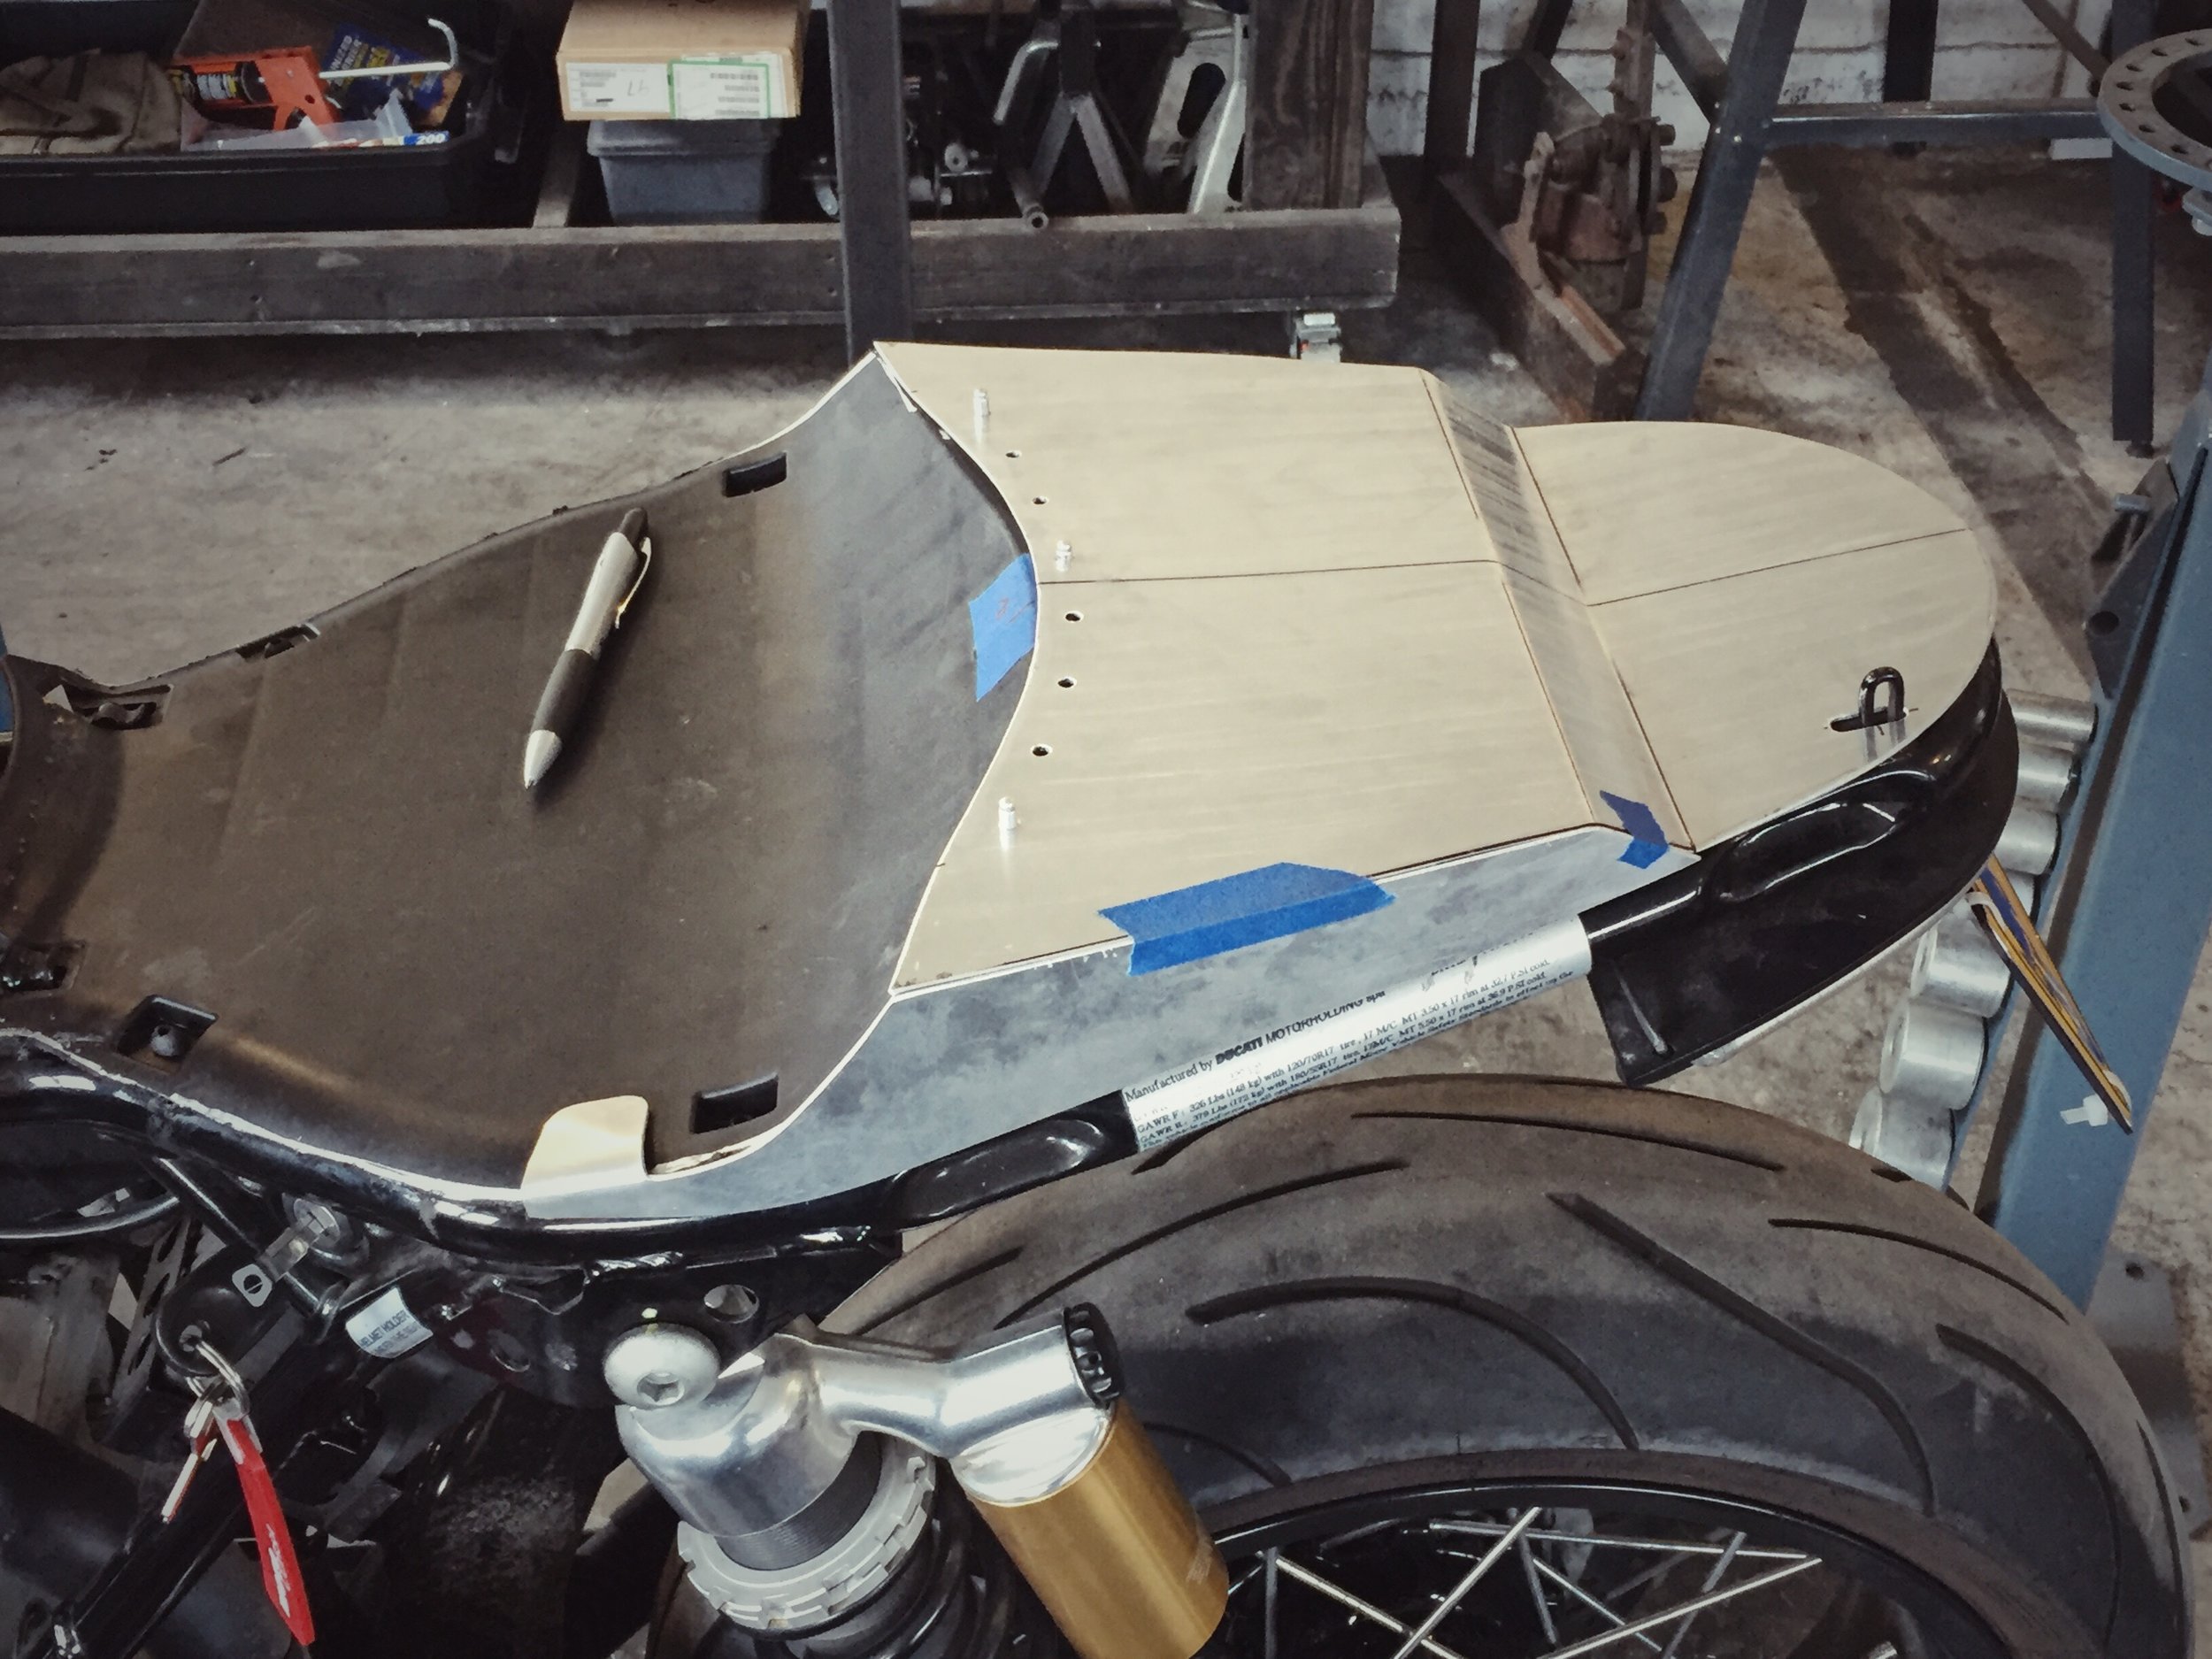
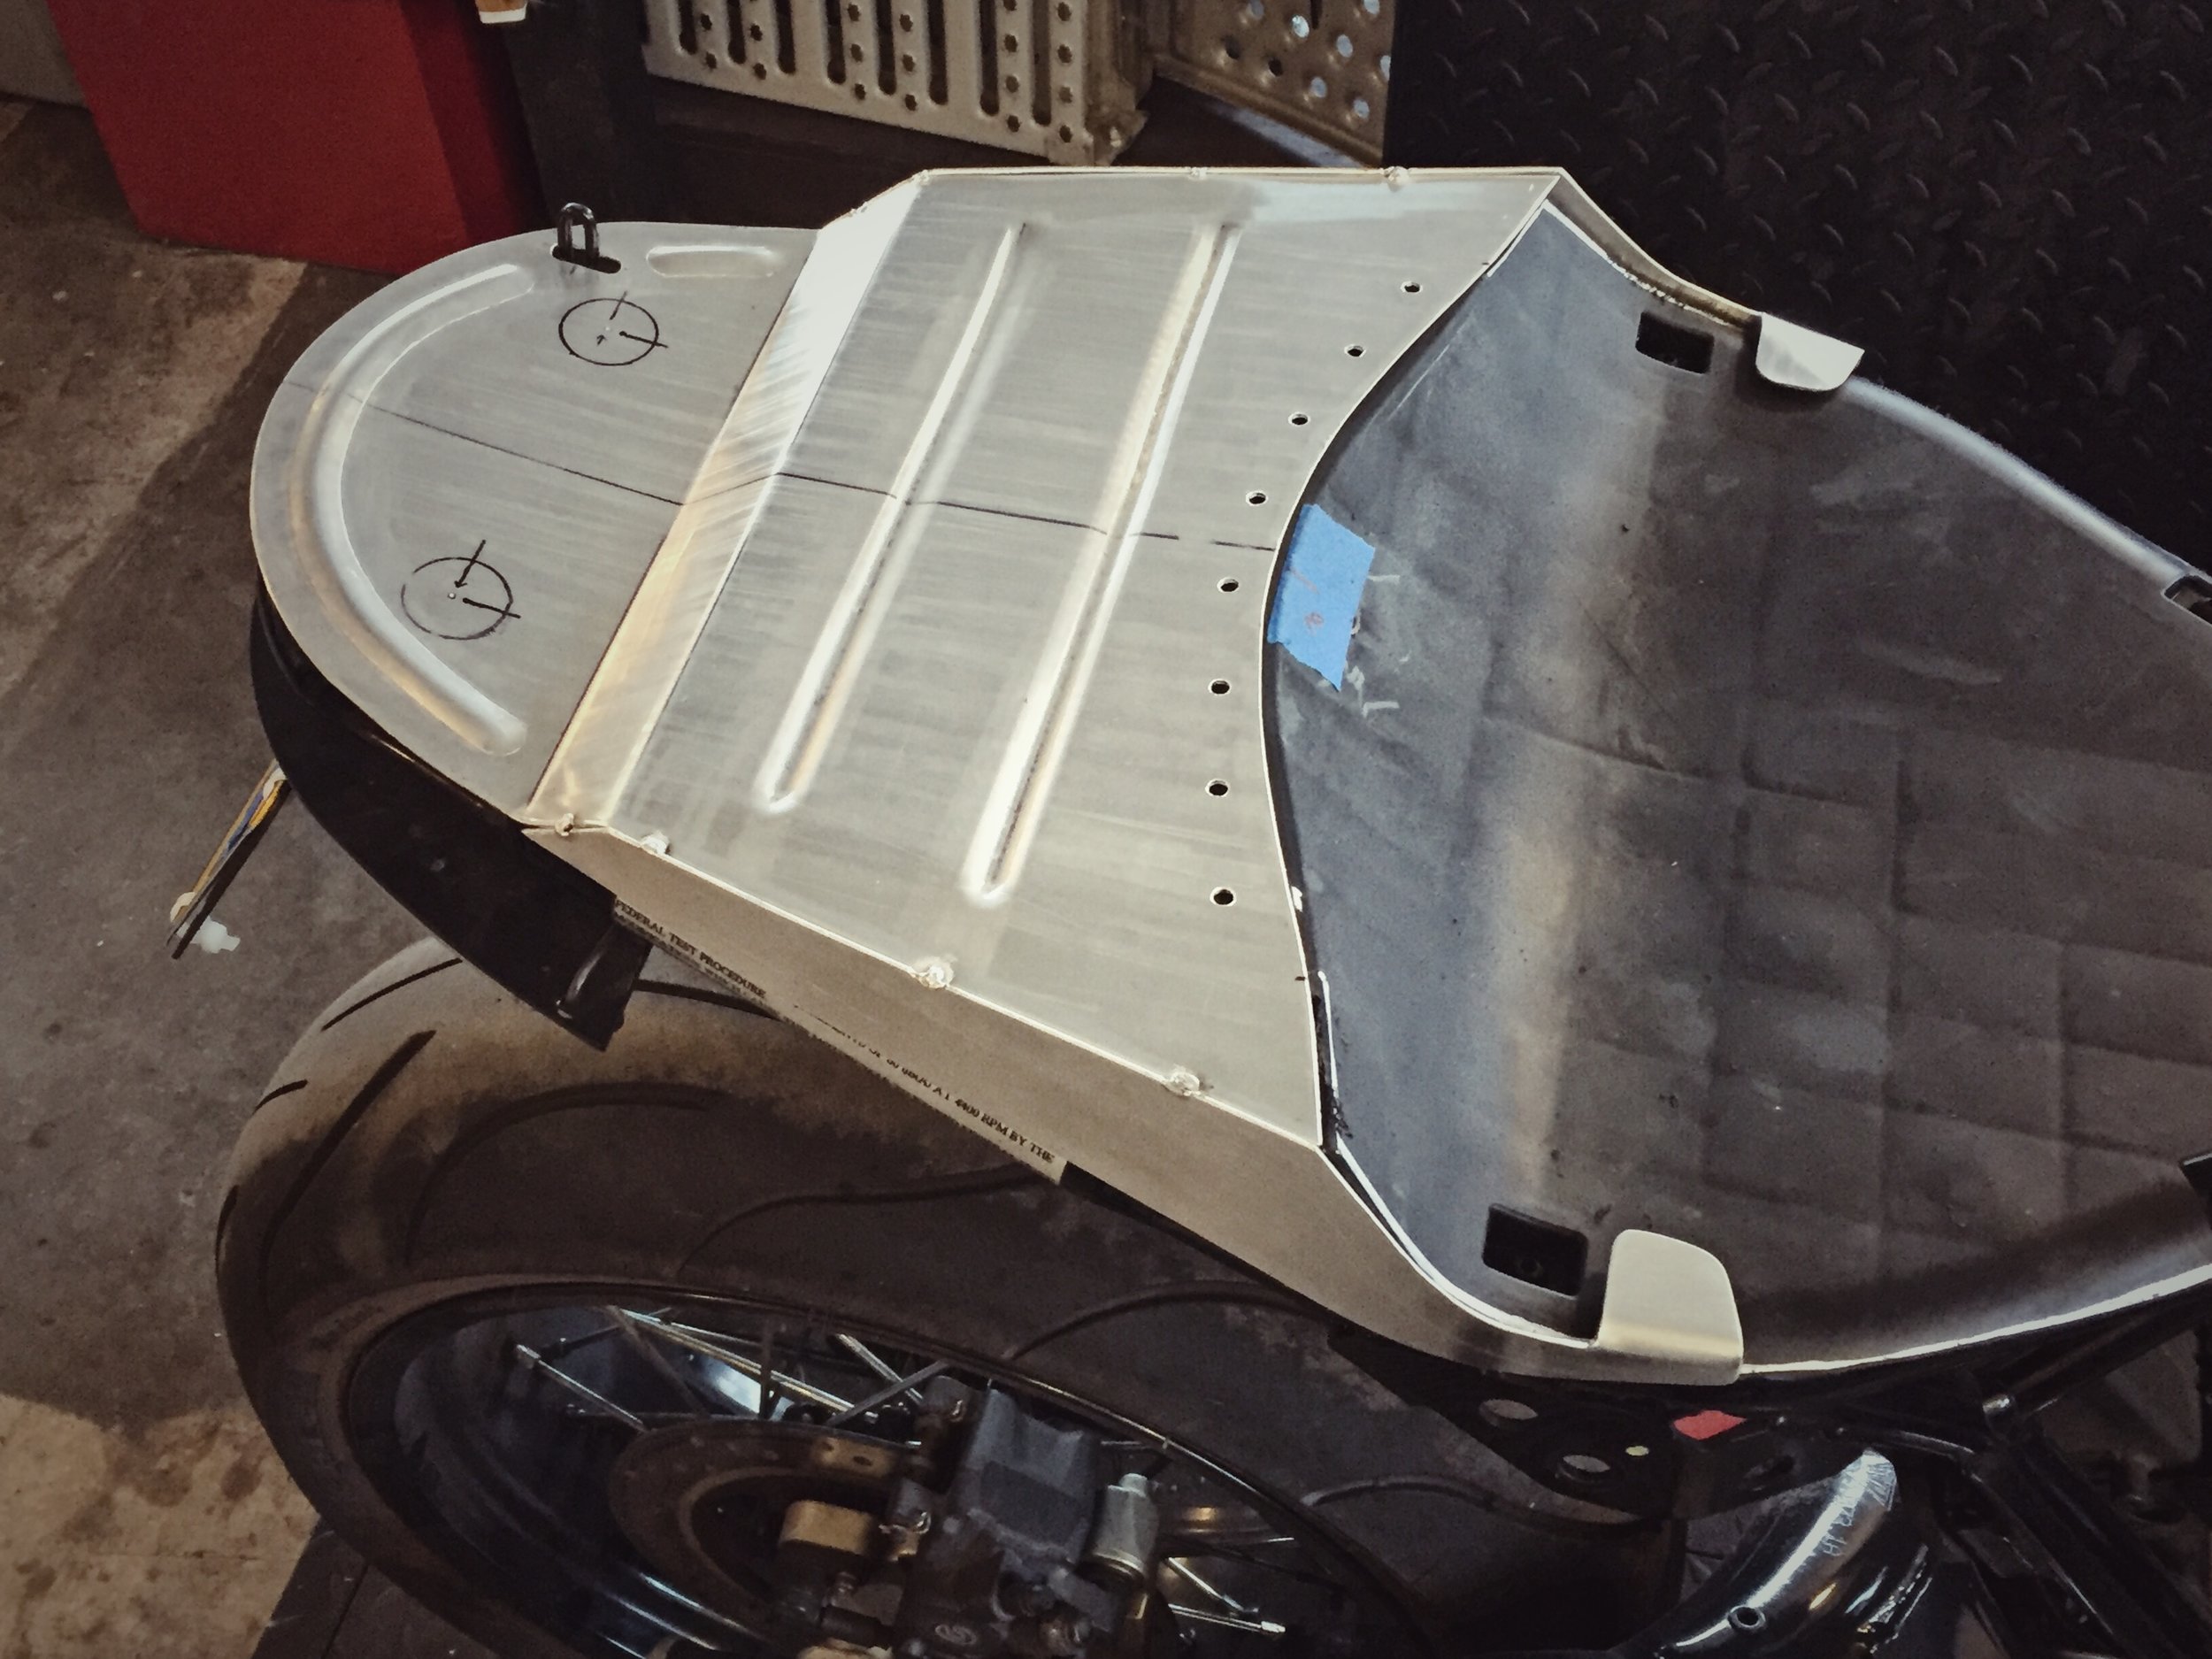
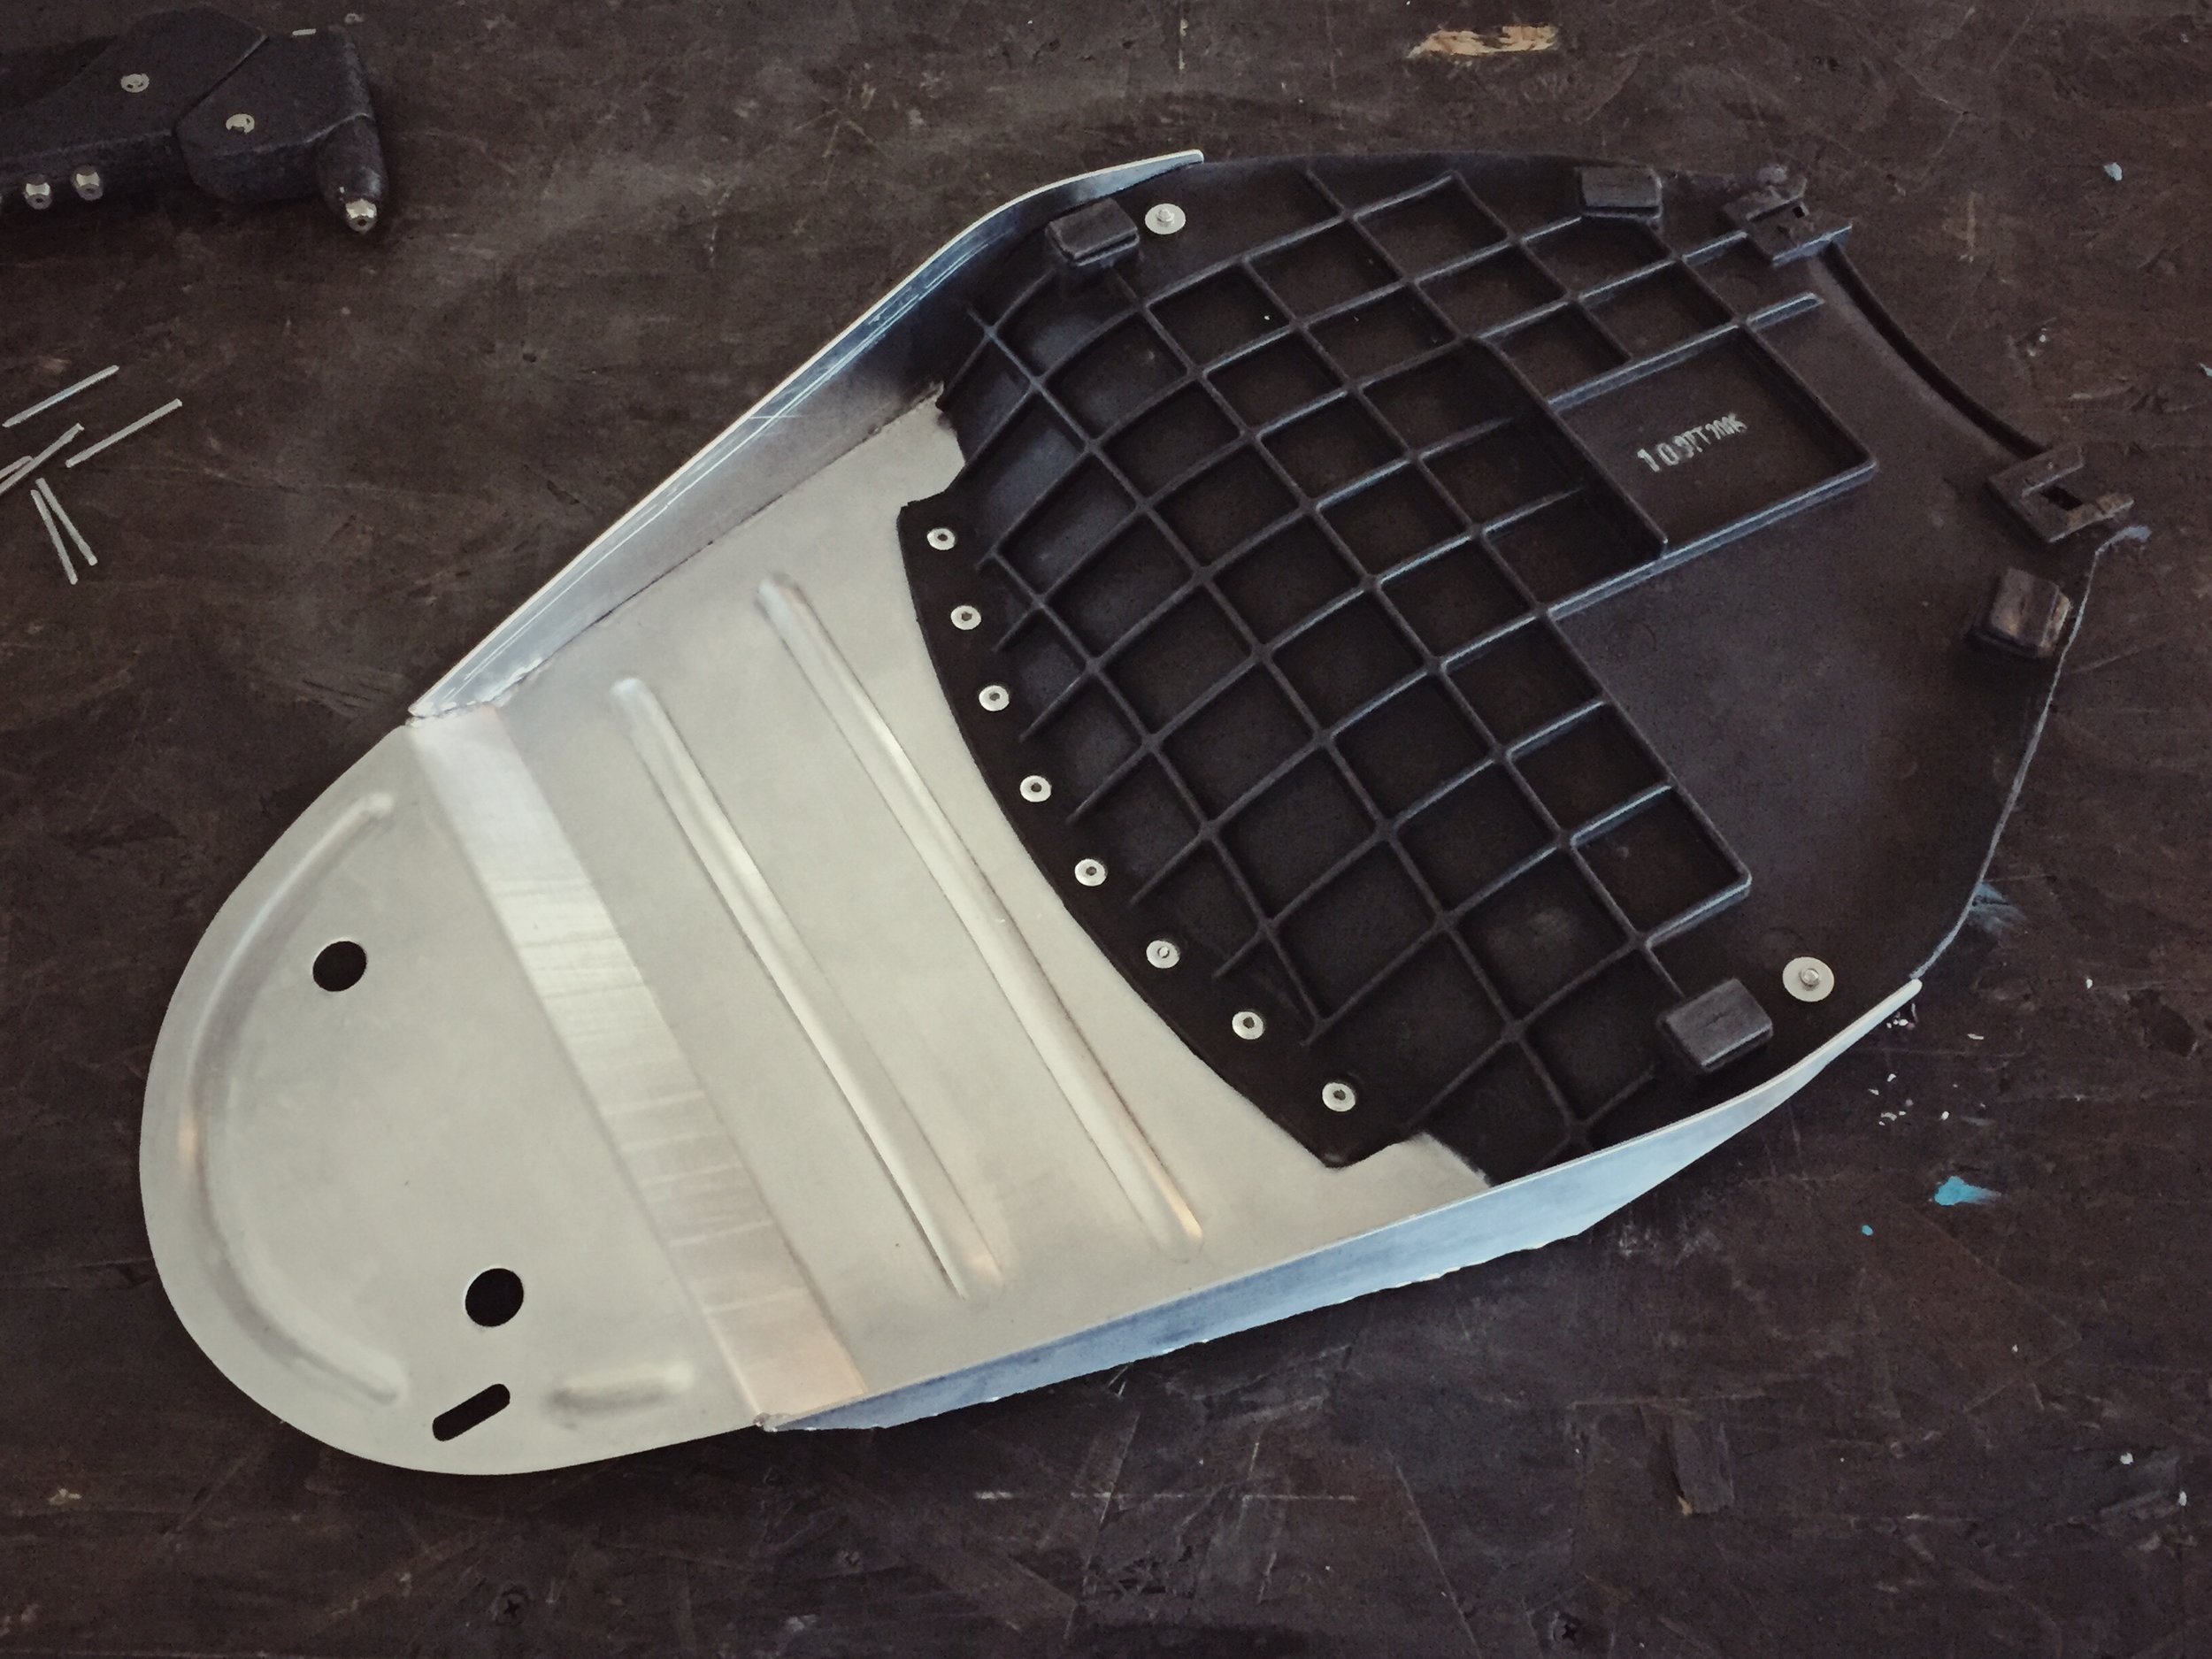
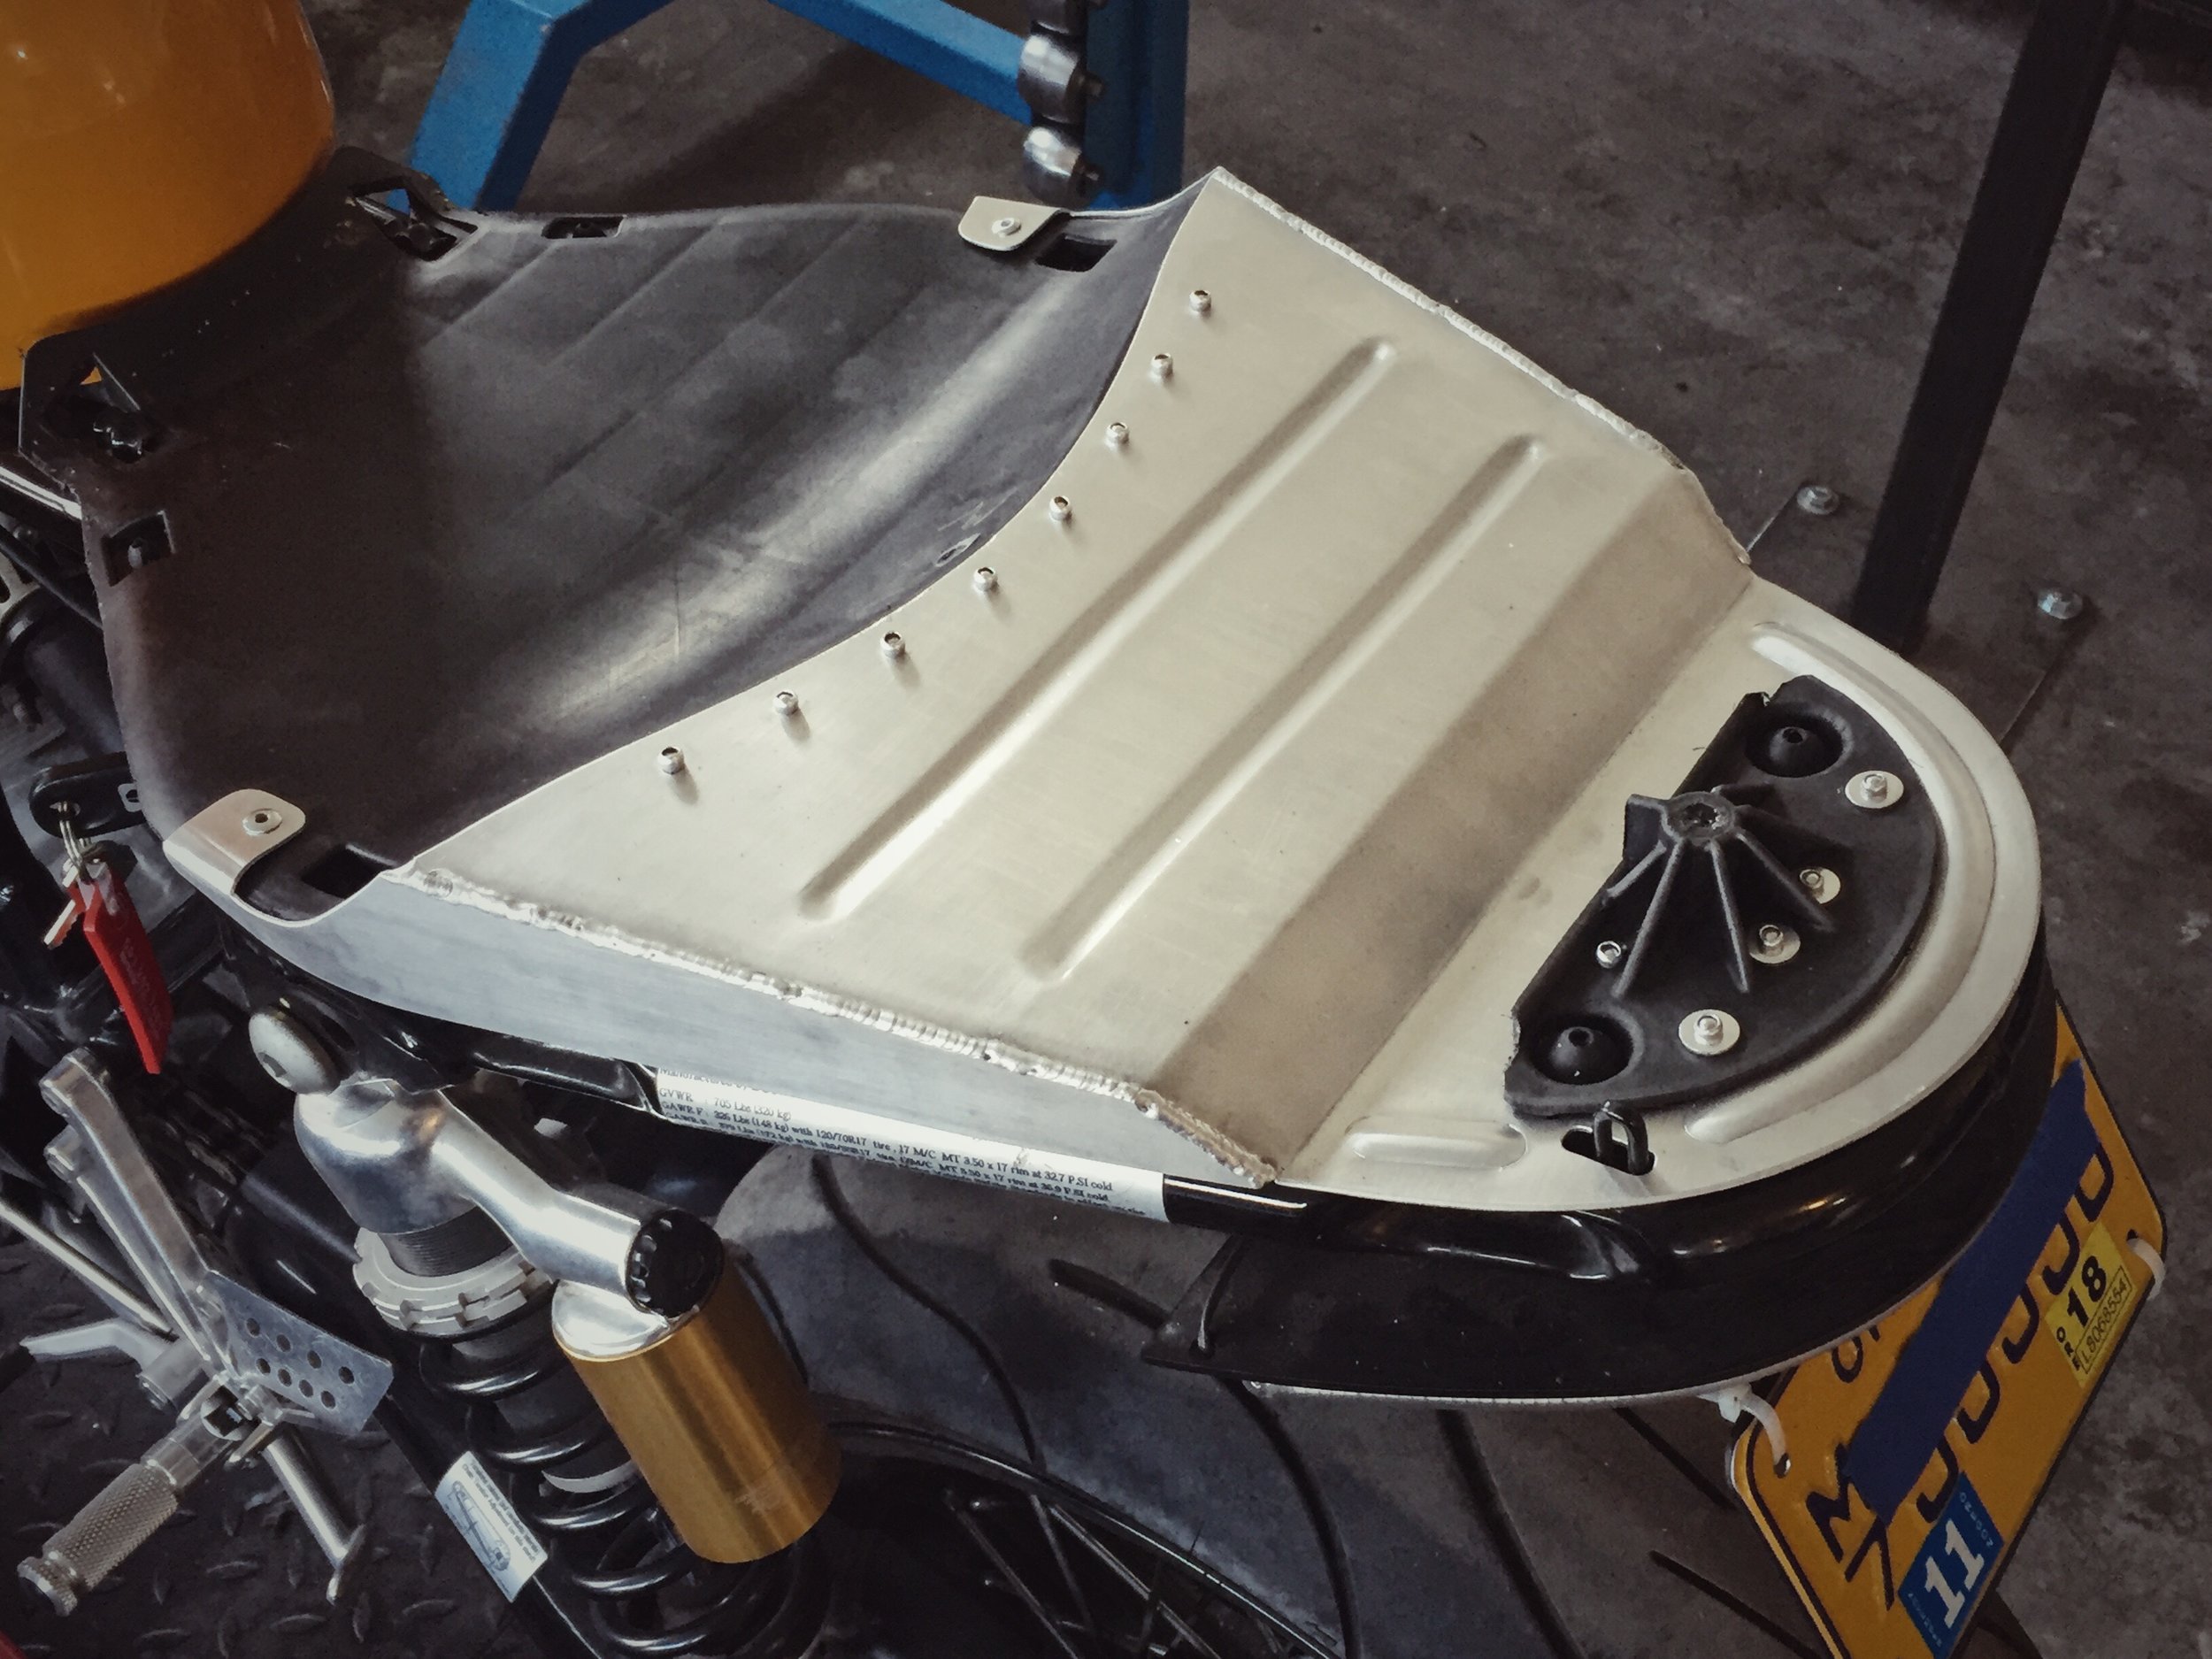
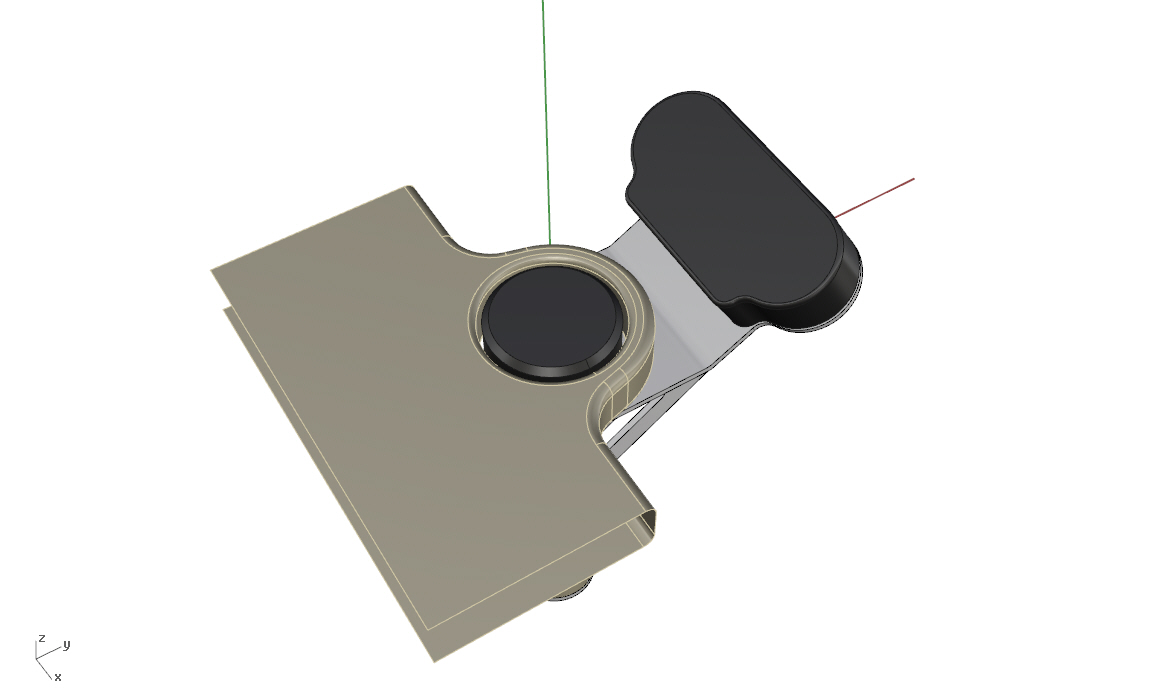
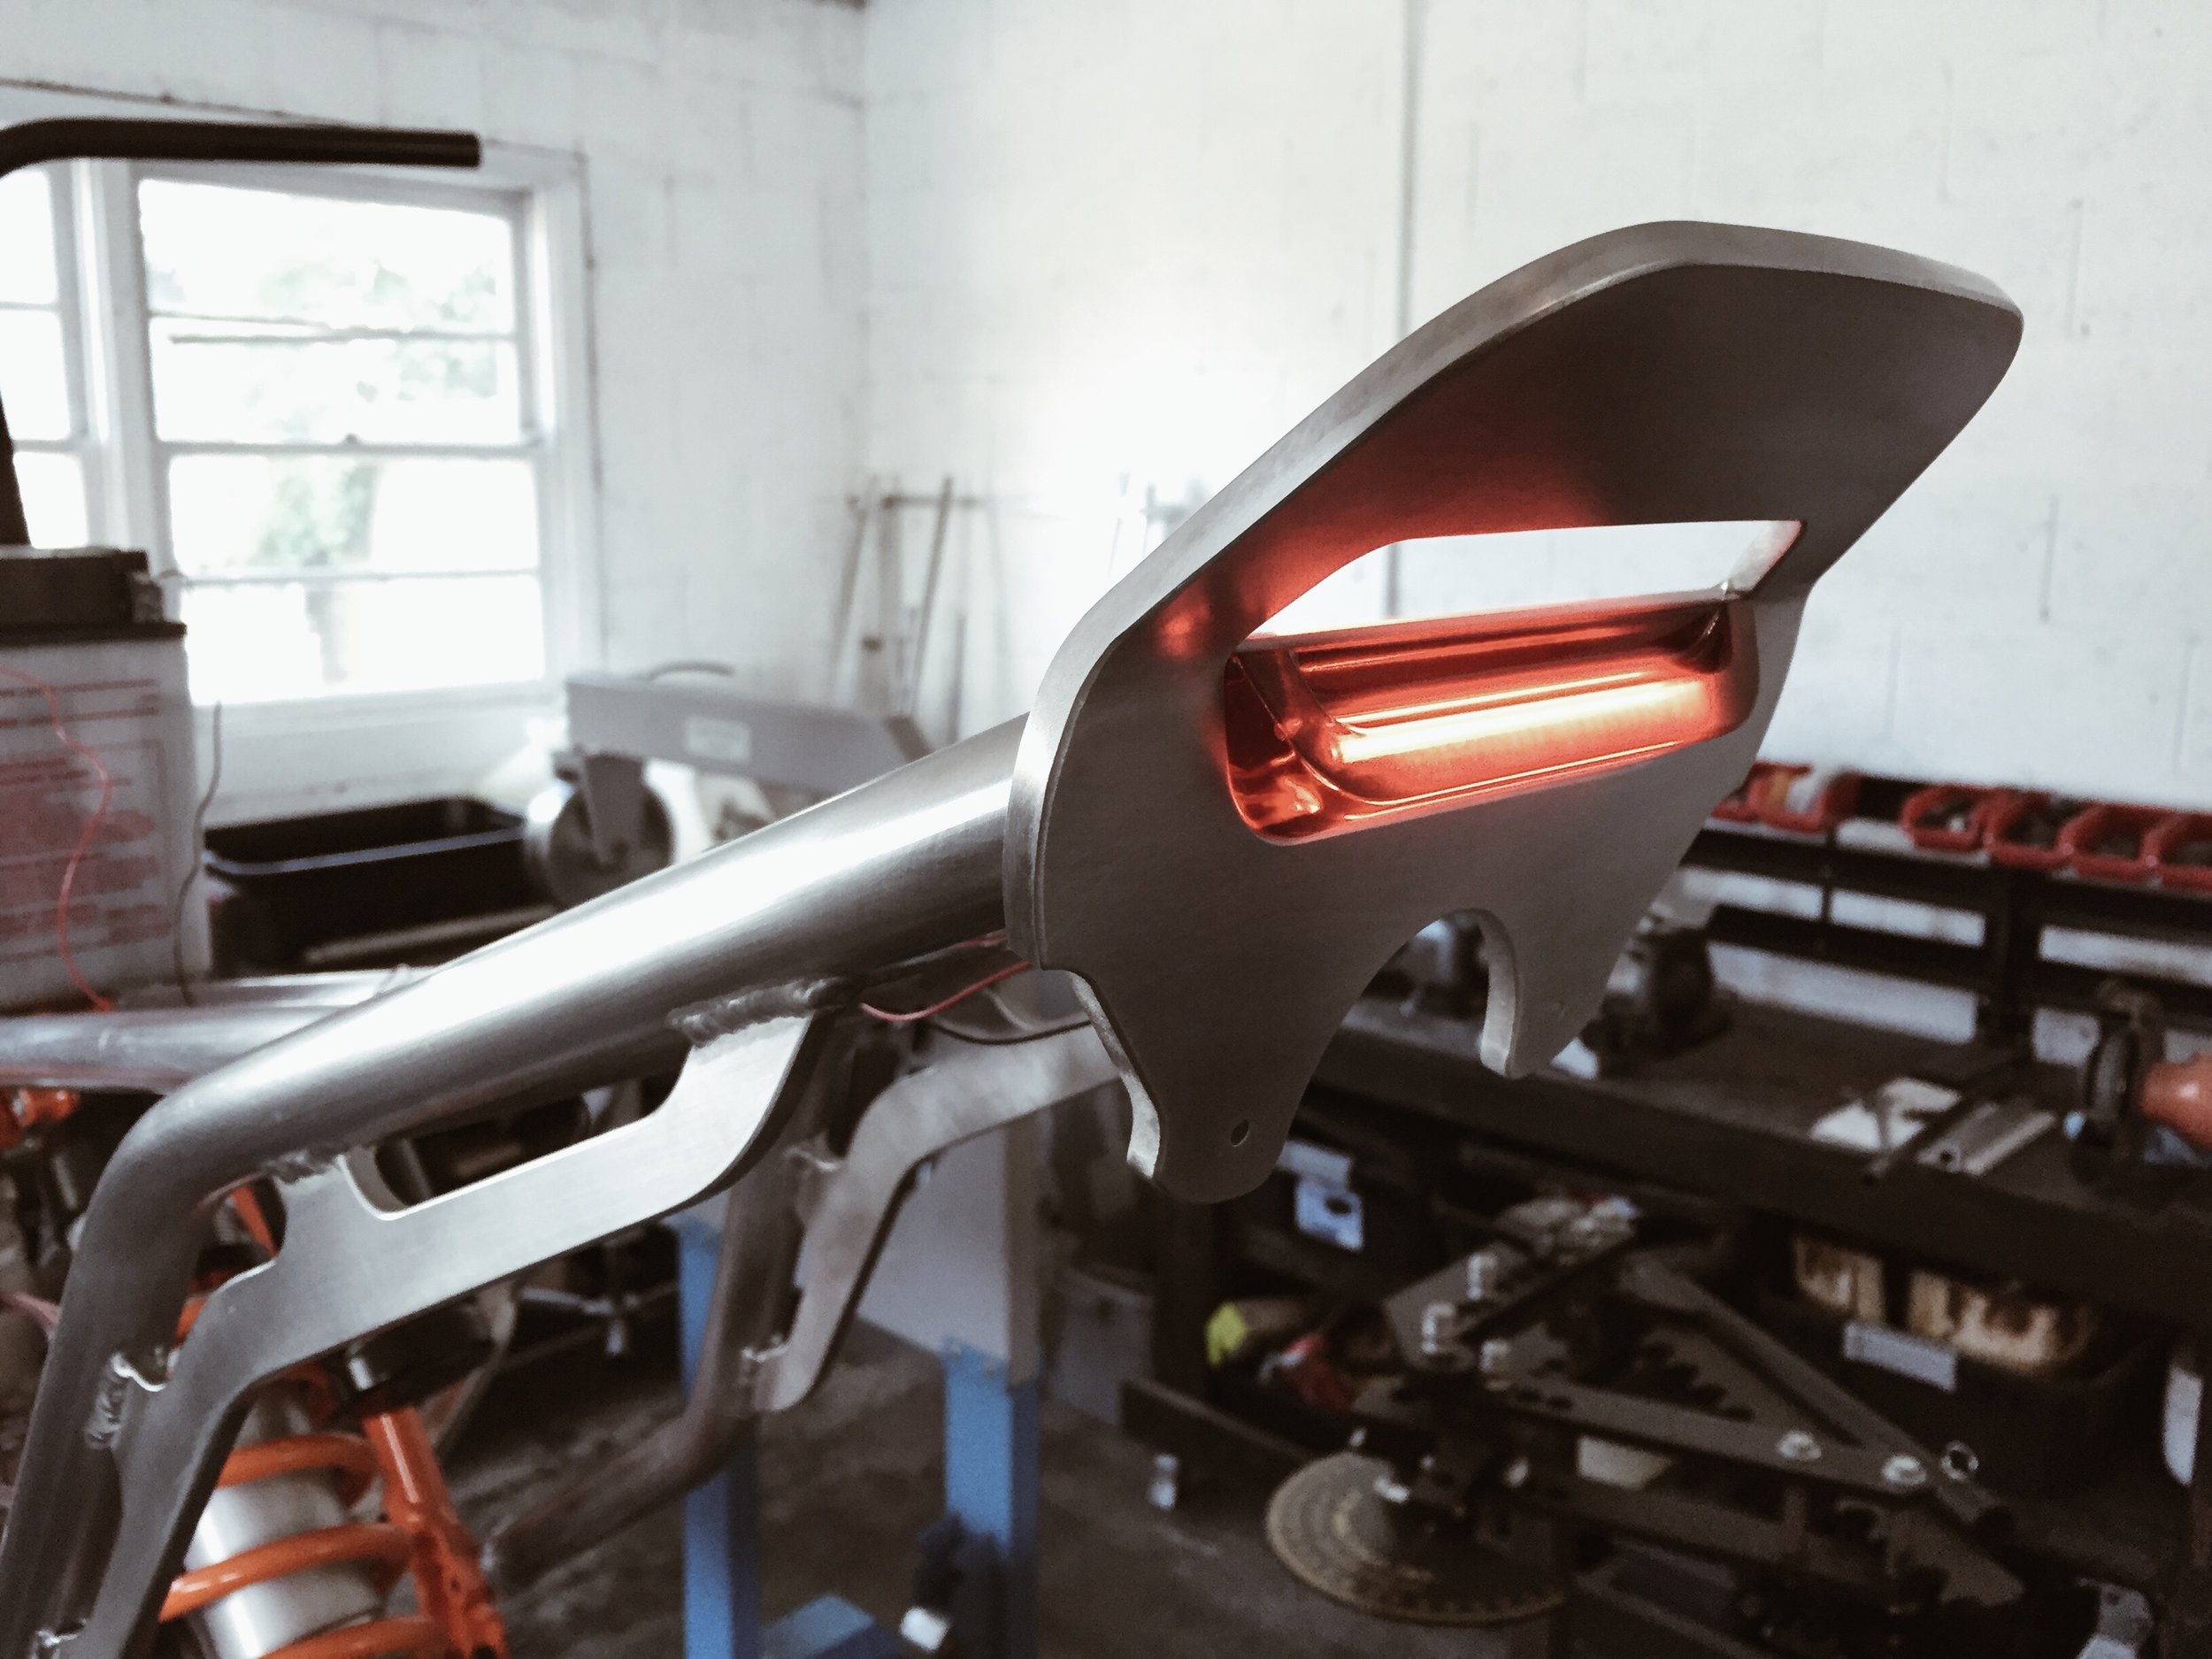
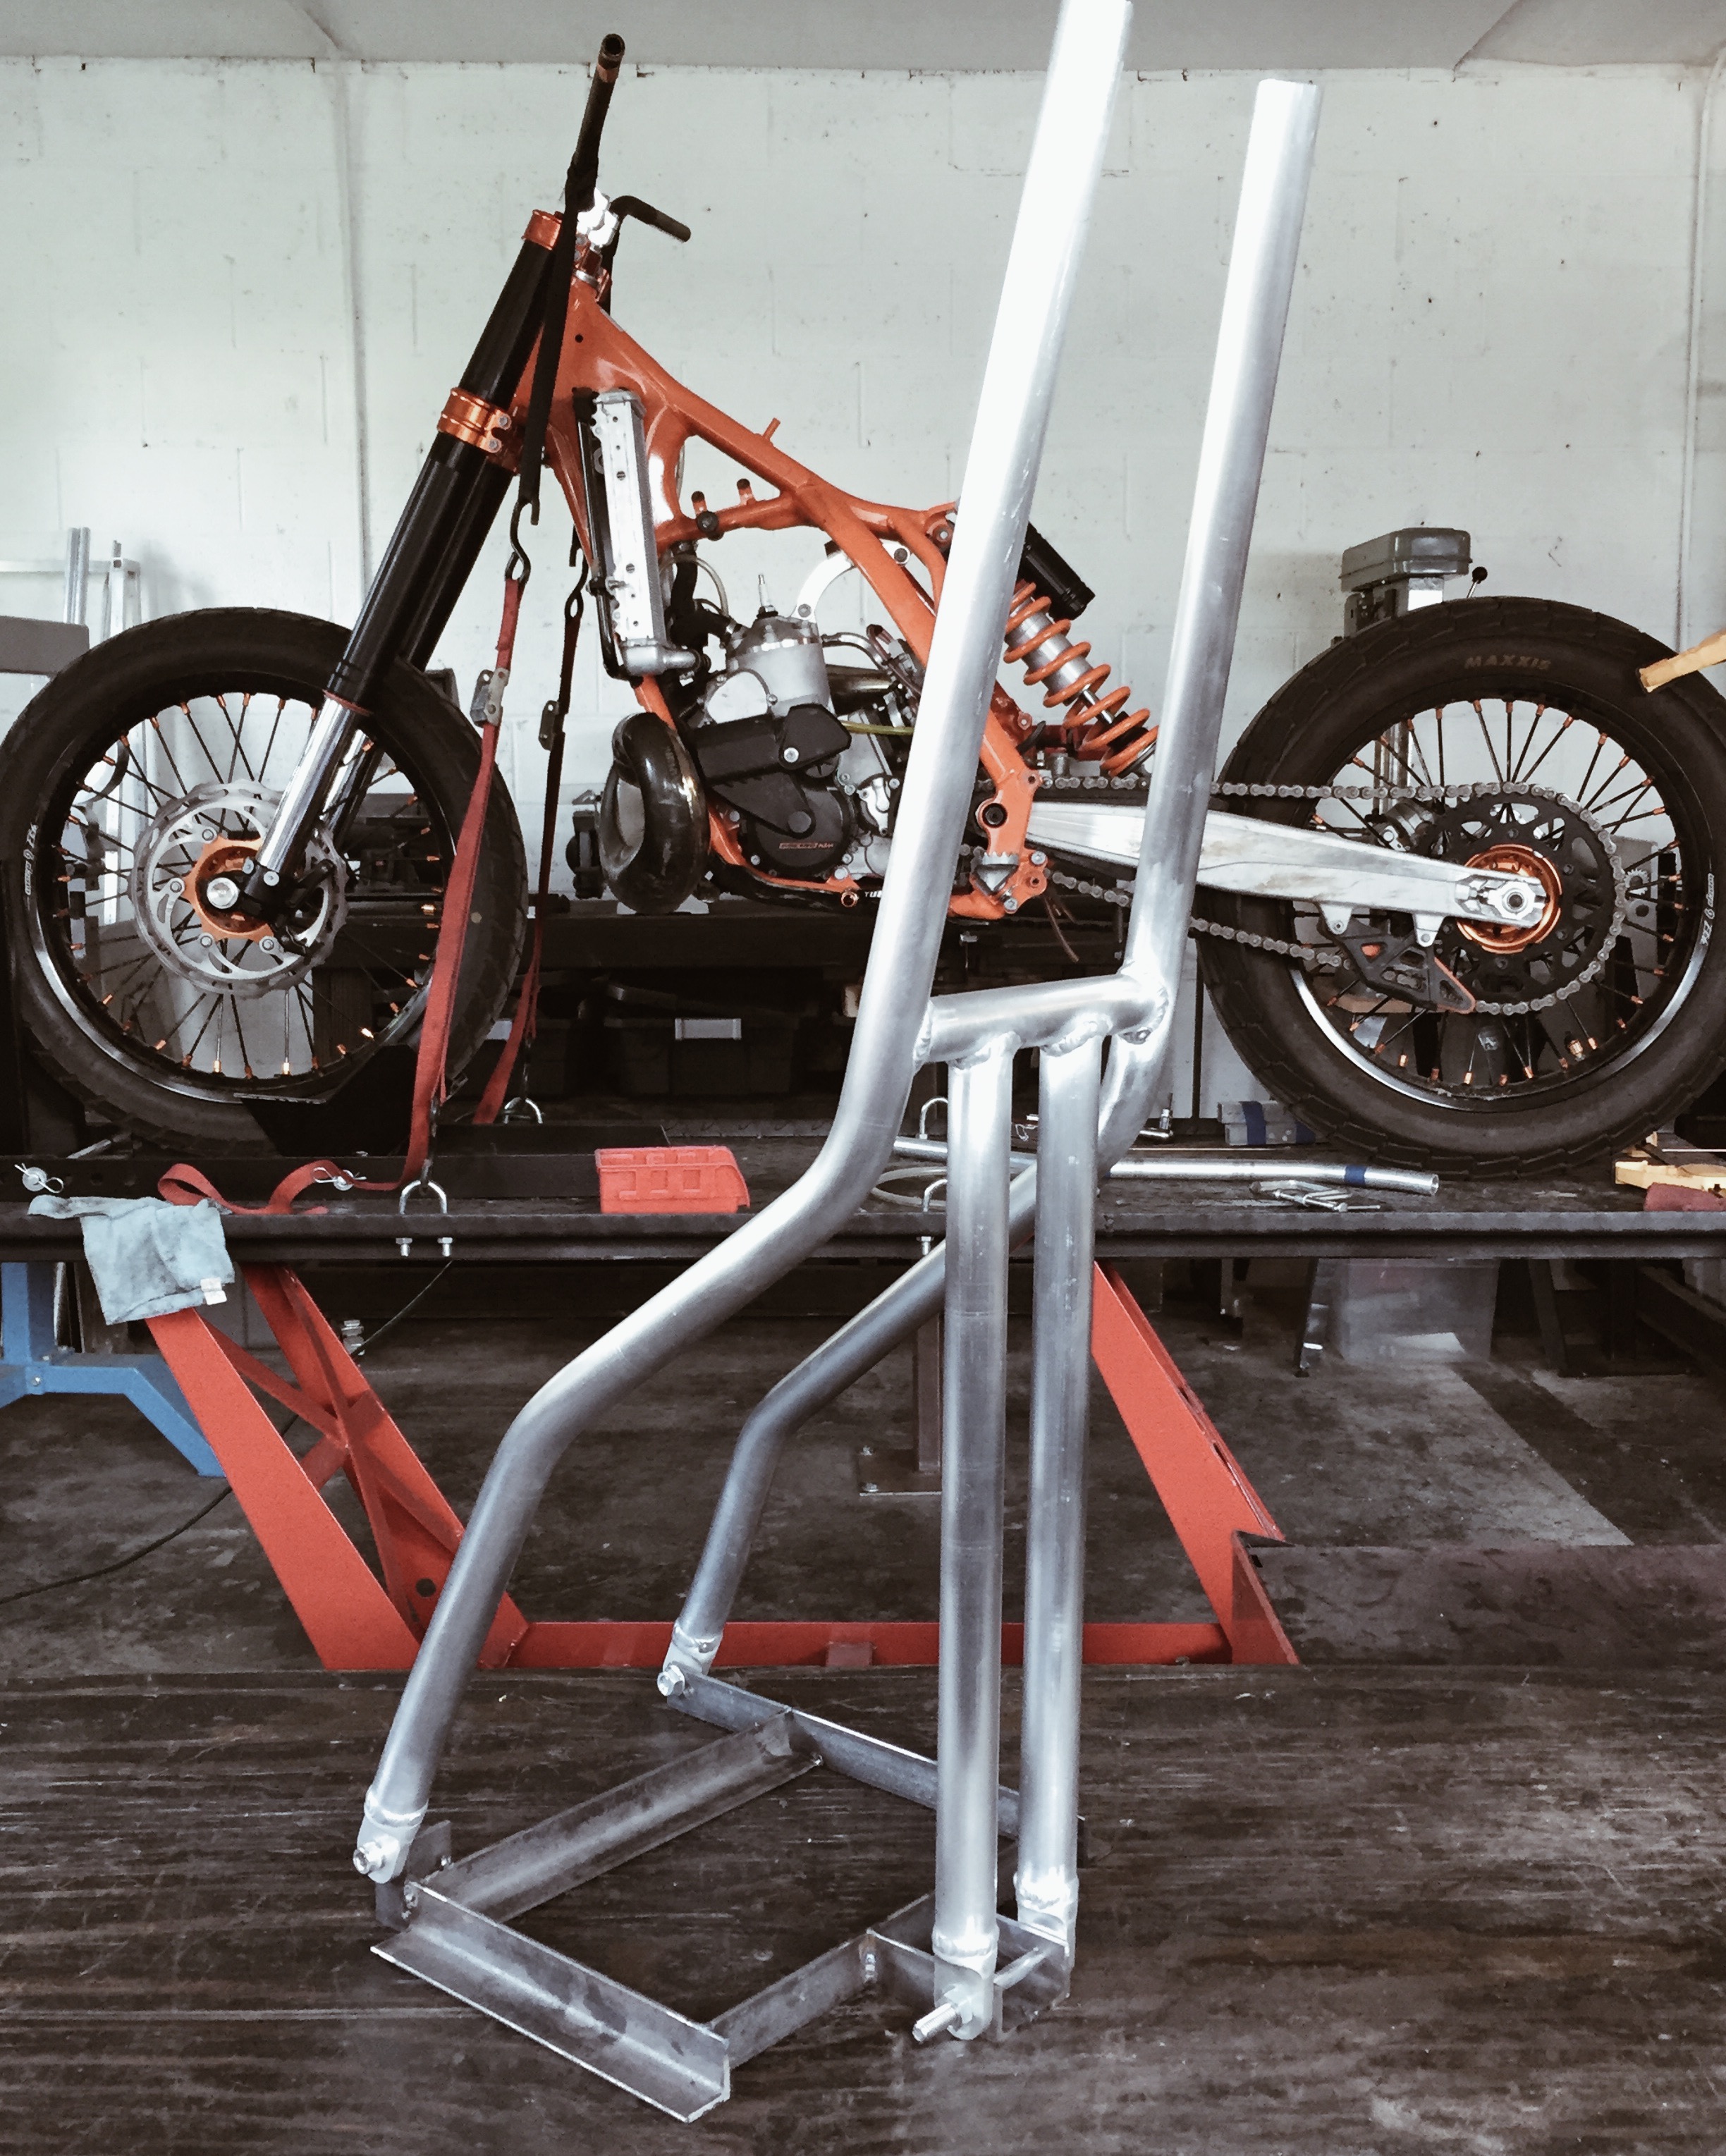
Above is the new street ride height. With that set now I can start plotting out the subframe. To keep the weight down the subframe will be made out of 6061 aluminum just like the stock unit. The uprights have complex curvature to them so it took a few tries to get everything to hit the right points. 

Pt. 5 Making A Custom Sport Classic Seat

Part 1.
Part 2.
Part 3.
Part 4.

Part 5: I got the seat back from Newchurch Moto the other day and it came out great! Her stitch work is phenomenal. We went with a marine grade "perforated" vinyl. The vinyl allows you to do a looks-like perforation that doesn't actually put holes through the material. This means it's still water proof. The sides are leather. 

You can see the new placement of the LED tail/turn light strip inbetween the seat and frame. I don't remember if I mentioned it but I built brackets to mount Scrambler fenders front and rear. I also machined the triple to accept standard bar clamps and fitted some Moose Racing aluminum CR-HI bars. Just a little scrambler-style flare within the owner's budget.

Pt. 4 Making A Custom Sport Classic Seat

Part 1.
Part 2.
Part 3.

Part 4: The foam's been shaped so next was creating a guide for the upholsterer. Here's the rendering I did along with a stitching guide.

I had a brass logo die made so I could punch out leather tags to be sewn onto the upholstery. I have friends that own a motorcycle luggage company so I hopped up to Seattle to use their 30 ton clicker press.

Everything got shipped up to Ginger at Newchurch Moto for the final upholstery work.

Pt. 3 Making A Custom Sport Classic Seat

Part 1.
Part 2.

Part 3: On to the foam. I use 2" rebonded foam adhered with 3M Super 90 spray. I carve out the overall shape with an electric carving knife and do the fine tuning with a flap disc on a grinder.

It was looking a little too tail-heavy so I kept removing material from the top. Here's the finished foam shape. I drew in stitching reference lines for the upholsterer. That's where the seams will be. The idea behind the design was to mimic the trapezoidal protrusions in the tank.

Pt. 1: Making A Custom Sport Classic Seat

A client came to me recently with a 2016 Ducati SC100 looking to transform it's appearance on a tight budget. In my opinion, one of the best bang-for-the-buck transformation pieces is a custom seat. We decided to look at redesigning what was on there while retaining subframe mounts and tabs so that the bike could be brought back to stock relatively easy. I'll go through my entire process over a few blog posts to help anyone else trying to tackle something similar.

As with all my custom work, it started out in 2D. I like to create a design plan before touching a bike. I find it helps make execution much more straight forward. Here were the different iterations we discussed. 

The 2nd to last concept was chosen. The idea was that it's shape would mimic the trapezoidal protrusions on the side of the SC tank. My goal was to reveal the subframe rails and also narrow up the seat width. These things have absurdly wide seats that look like they were grafted in from a Roadking. Here's a rendering of the complete bike with a few other mods we were tackling; Scrambler fenders and low rise MX bars.

Moto-Mucci_Custom_Ducati_Sport_Classic_Rendering.jpg

I was hoping I could get away with simply pulling off the cowl, cover and foam, laying down my own foam and reusing the stock seat pan. It turned out to not be that straight forward. The seat pan was wider and taller than the design called for so I began trimming and sectioning the plastic.

The goal soon became "try to at least save the mounting bits."

And the hackery has concluded. I was able to salvage all rubber mounting, the front hook system and the rear release latch. Next time - grafting the pieces back together.

Daniel Peter's SR540 Street Tracker

Un-Mellow Yellow
Yamaha SR500
Build & Photos: Daniel Peter

Yamaha_Custom_Tracker_SR500_Daniel_Peter_Moto-Mucci (4)

Damn, Daniel (sorry) has gotten really good at this custom SR500 thing. After building 3 and racing the last one to multiple podium finishes in the AHRMA vintage class he's gotten very good at tweaking them to their full potential. In this, his 4th take, Daniel's managed to shave a whopping 66lbs off the stock 348lbs dry weight. On top of being a feathery 282lbs it's also perfectly balanced. I mean PERFECTLY; an even 141.0 lbs per tire. I've seen the scale photos. 

Yamaha_Custom_Tracker_SR500_Daniel_Peter_Moto-Mucci (8)
Yamaha_Custom_Tracker_SR500_Daniel_Peter_Moto-Mucci

Shaving 20% of the weight off any bike would produce serious butt-dyno gains but where's the fun in stopping at 3rd gear wheelies when there's 2 left? The displacement was punched out to 540cc and compression was raised to 10.5:1 with a JE piston. The motor also got a lighter XT500 crank, 25130 Megacycle cam for better low end torque, and R&D valve springs with titanium caps. Spark is controlled with a Powerdynamo ignition, and a Kedo high flow oil pump was added for better reliability. The carburetor is a 39mm Keihin FCR flatslide. The scrambler-style exhaust exits via a Cone Engineering muffler.

Yamaha_Custom_Tracker_SR500_Daniel_Peter_Moto-Mucci (2).jpg
Yamaha_Custom_Tracker_SR500_Daniel_Peter_Moto-Mucci (16).jpg
Yamaha_Custom_Tracker_SR500_Daniel_Peter_Moto-Mucci (20).jpg

Up next: braking and suspension. Brakes are a very strong Brembo/Beringer combo, with an RCS 14 radial master up front. The bike is rolling on 17" supermoto wheels (KTM front and CRF450 rear, if you're curious) with Pirelli MT60 Corsa rubber. The front is a 120, and the rear a chunky 160 on a 5" rim. "It juuust fits." The forks might look stock from a distance, but they're actually a 41mm, fully adjustable set from a 95 ZX6R. Slightly lowered a re-sprung to match the light bike. The rear sports a set of 13.75" adjustable Gazi shocks and a beautiful aluminum MotoLanna swingarm. Toxic Moto chain block keeps the DID chain from biting into the tire. Very minimalistic LED lights are shining bright at both ends. The taillight is Daniel's own design; whipped up on his lathe. The tank is aluminum, from an XT500, with a paint scheme "inspired by an unforgettable riding trip through Baja."

Yamaha_Custom_Tracker_SR500_Daniel_Peter_Moto-Mucci (1).jpg
Yamaha_Custom_Tracker_SR500_Daniel_Peter_Moto-Mucci (17).jpg
Yamaha_Custom_Tracker_SR500_Daniel_Peter_Moto-Mucci (23).jpg
Yamaha_Custom_Tracker_SR500_Daniel_Peter_Moto-Mucci (11).jpg

Daniel would like the thank: "My good friend Adam for the donor bike, Jason at Artistimo for nailing the paint job, and Kevin Silvers, Bibu and Tony at Analog for their help."

Wrapping Up Custom K100 Parts

Custom Parts Project
1985 BMW K100

Custom_BMW_K100_Parts_Moto-Mucci (3).jpg

A local rider brought his unfinished K100 project to me recently for some custom parts and final tweaks. I built some caged side panels out of 6160 aluminum solid rod and sheet to cover up the battery area. The design borrows cues from flat track number plate tail sections. I wanted to cover a large area but keep the design light and airy so that's where the idea to do bars came from. The owner had a headlight picked out that needed mounting so I bent up a bracket that mimicked the design of side panels, again using 6160. The bracket utilizes the triple clamp bosses on the GSXR 750 front end.

All the gauges were stripped from the bike and replaced with Motogadget parts. I wired up the Motoscope Mini gauge with Combi indicator light housing, mLock keyless ignition, and the mBlaze Disc bar end turn signals. The mLock RFID disc was the perfect diameter to mount in the GSXR's ignition bezel. I designed a bracket that put the mLock in the original bezel and incorporated the Motoscope gauge just beyond it.

The owner wanted a custom seat that hinges open so I built a stainless steel seat pan that hugged the shape of the subframe. In order to have the seat hinge open and sit flush to the frame it needed to hinge from the rear. To do this with a side hinge would mean putting the hinges on the exterior of the frame and I wasn't feeling that. The end result is a cable actuated spring latch. The latch itself is from a Honda RC51 mounted up by the tank and a knurled pull knob is mounted between the rear stainless hinges.

There are still a couple items that need finishing that the owner will be tackling. He'll be making a wooden deck for the open section of frame out back to hide the hinge area. I carved the seat foam in-house but the owner will be stitching his own leather seat cover. I'll post some photos when she's all wrapped up.